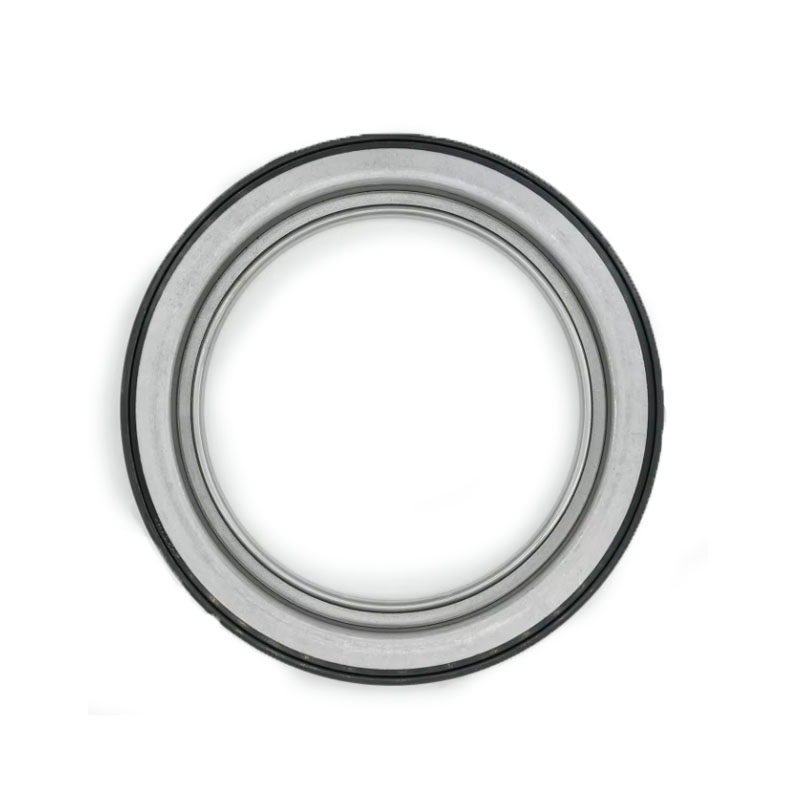
installing crankshaft seal
Installing a Crankshaft Seal A Comprehensive Guide
The crankshaft seal plays a vital role in the performance and longevity of an engine. As a critical component, it ensures that the engine oil remains contained within the crankcase while preventing any external contaminants from entering. Over time, crankshaft seals can wear out, leading to oil leaks and potential engine damage. In this article, we will guide you through the process of installing a crankshaft seal, ensuring your engine remains in optimal condition.
Tools and Materials Required
Before you begin, gather the following tools and materials - New crankshaft seal - Engine oil or seal lubricant - Torque wrench - Socket set (including torque socket if applicable) - Screwdriver set - Pliers - Clean rags or paper towels - Jack and jack stands (if necessary)
Step 1 Prepare the Vehicle
Start by ensuring the vehicle is on a flat surface. If you need to lift the car, use a jack and securely place jack stands underneath for safety. Disconnect the battery to avoid any electrical short circuits. It’s also advisable to drain the engine oil to prevent spillage during the seal replacement.
Step 2 Remove Relevant Components
Depending on where the crankshaft seal is located (front or rear), you may need to remove various components. For a front crankshaft seal, you generally need to remove the timing belt or chain cover. For a rear seal, access may require removal of the transmission. Use your socket set to remove any bolts carefully, placing them in a container to avoid losing them. Be mindful of any sensors or wires that may obstruct your work.
Step 3 Remove the Old Crankshaft Seal
installing crankshaft seal

Once you have access to the crankshaft seal, you can proceed to remove it. Use a screwdriver or seal puller to pry out the old seal carefully. Be cautious not to damage the surrounding components or the crankshaft itself. Clean the area around the seal thoroughly with a rag, removing any debris or old sealant.
Step 4 Install the New Crankshaft Seal
Before installing the new seal, apply a small amount of engine oil or seal lubricant to the outer lip of the seal. This lubrication will help with installation and ensure a proper seal. Align the new crankshaft seal with the crankshaft and press it into place. It’s essential to install it evenly and straight to prevent leaks. You can use a seal driver tool or a suitable socket to gently tap it into place until it sits flush with the housing.
Step 5 Reassemble Components
With the new seal installed, it’s time to reassemble any components you removed earlier. Start by reinstalling the timing cover or the transmission, depending on where you worked. Ensure all components are secured tightly, and reconnect any sensors or wires as necessary. Follow the manufacturer’s torque specifications to avoid overtightening or damaging any parts.
Step 6 Refill Engine Oil and Test
Once everything is reassembled, refill the engine with fresh oil and reconnect the battery. Start the engine and let it idle for a few minutes. Keep an eye out for any oil leaks around the crankshaft seal area. If everything appears to be in order, take the vehicle for a short test drive to verify the installation.
Conclusion
Installing a crankshaft seal may seem daunting, but with the right tools and careful attention to detail, it can be accomplished by most DIY enthusiasts. Remember to take your time during each step and consult your vehicle’s service manual for specific instructions related to your make and model. By replacing a worn crankshaft seal, you not only prevent leaks but also ensure the long-term reliability and performance of your engine.
-
Understanding the Front Main Engine Seal: Purpose, Maintenance, and Installation
News Jul.29,2025
-
Understanding O-Rings and Seal Rings: Types, Applications, and Custom Solutions
News Jul.29,2025
-
Understanding Crankshaft Oil Seals: Rear Seals, Pulley Seals, and Their Role in Engine Integrity
News Jul.29,2025
-
The Importance of Front and Rear Crankshaft Seals in Engine Performance and Oil Management
News Jul.29,2025
-
Crank Oil Seals: Functions, Types, and Cost Considerations in Engine Maintenance
News Jul.29,2025
-
A Comprehensive Guide to O-Rings and Seals: Types, Materials, and Global Applications
News Jul.29,2025
-
Mastering Diesel and Performance Engine Maintenance: A Guide to Critical Oil Gaskets
News Jul.28,2025
Products categories


