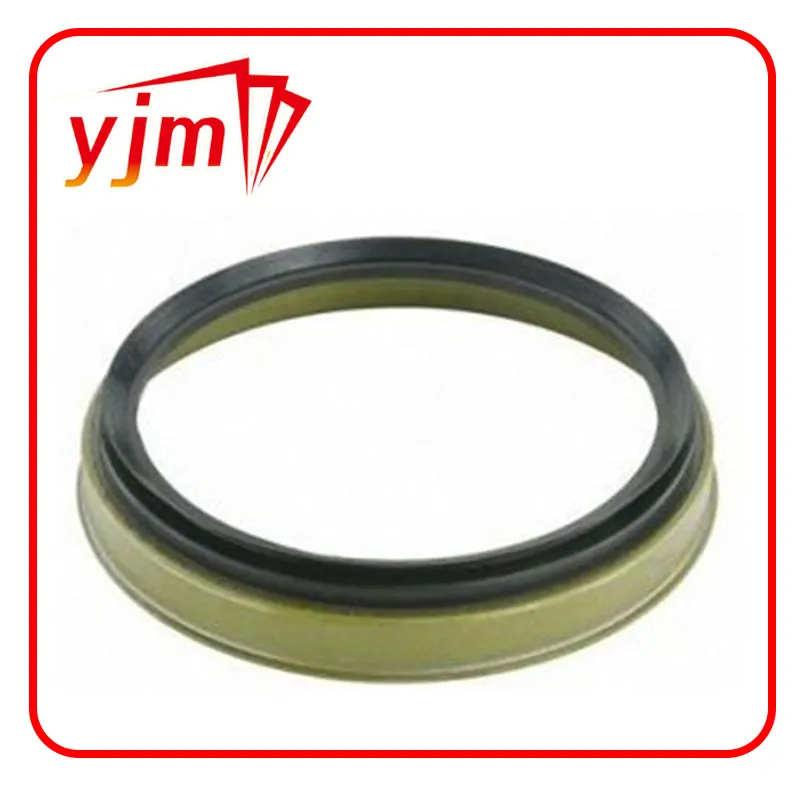
installing crankshaft seal
Installing a Crankshaft Seal A Step-by-Step Guide
The crankshaft seal plays a vital role in maintaining the integrity of your vehicle's engine. It prevents oil from leaking out while ensuring that contaminants do not enter the crankcase. Over time, these seals can wear out, leading to oil leaks that can cause significant engine damage if not addressed promptly. Installing a new crankshaft seal may seem daunting, but with the right tools and a bit of patience, you can complete this task at home. Here’s a detailed guide on how to install a crankshaft seal properly.
Tools and Materials Needed
Before you begin, gather the following tools and materials
- New crankshaft seal - Seal installer or socket that matches the seal's diameter - Hammer - Screwdrivers (flathead and Phillips) - Wrench set - Oil (for lubrication) - Clean rags - Torque wrench - Protective gloves
Step 1 Preparation
1. Safety First Before starting any automotive repair, make sure the vehicle is parked on a flat surface. Engage the parking brake and wear protective gloves to safeguard your hands.
2. Disconnect the Battery To prevent any electrical shorts or shocks, disconnect the negative terminal of the battery.
3. Lift the Vehicle If your crankshaft seal is located under the vehicle, use a jack to lift the car. Place jack stands to ensure it is secure and stable.
Step 2 Remove Necessary Components
1. Access the Crankshaft Depending on your vehicle, you may need to remove various components such as the engine cover, timing belt or chain, harmonic balancer, or oil pan to access the crankshaft.
2. Clean the Area Use clean rags to wipe down the area around the crankshaft seal. This will help prevent any debris from falling into the engine during the installation.
Step 3 Remove the Old Seal
1. Extract the Old Seal Use a flathead screwdriver or a seal puller to gently pry out the old crankshaft seal. Be careful not to damage the surrounding surfaces.
installing crankshaft seal

2. Inspect the Crankshaft Once the seal is removed, inspect the crankshaft’s sealing surface for any signs of wear or damage. If the surface is worn, it may be necessary to replace the crankshaft.
Step 4 Prepare for Installation
1. Lubricate the New Seal Before installing the new seal, lightly coat the outer edge with engine oil. This will help facilitate an easier installation and create a better seal.
Step 5 Install the New Seal
1. Position the Seal Align the new crankshaft seal with the seal housing.
2. Use a Seal Installer If you have a seal installer or a suitable socket, place it over the seal and gently tap it in with a hammer. Ensure the seal is flush with the mounting surface. Avoid excessive force as this could damage the seal.
Step 6 Reassemble and Test
1. Reinstall Removed Components Once the new crankshaft seal is securely in place, reinstall all the components you removed earlier, such as the oil pan, harmonic balancer, and timing cover.
2. Torque to Specifications Use a torque wrench to tighten the bolts to the manufacturer’s specifications, as outlined in the service manual.
3. Reconnect the Battery Once everything is back together, reconnect the negative terminal of the battery.
4. Start the Engine Start the vehicle and let it run for a few minutes. Check for any oil leaks around the new seal. If no leaks are present, you have successfully installed the crankshaft seal.
Conclusion
Installing a crankshaft seal can be a straightforward task if approached methodically. Regular maintenance and timely repairs can prolong the life of your vehicle's engine. By following this guide, you should be able to replace a worn crankshaft seal with ease and confidence, ultimately ensuring your engine remains well-protected from leaks and damage.
-
Understanding the Front Main Engine Seal: Purpose, Maintenance, and Installation
News Jul.29,2025
-
Understanding O-Rings and Seal Rings: Types, Applications, and Custom Solutions
News Jul.29,2025
-
Understanding Crankshaft Oil Seals: Rear Seals, Pulley Seals, and Their Role in Engine Integrity
News Jul.29,2025
-
The Importance of Front and Rear Crankshaft Seals in Engine Performance and Oil Management
News Jul.29,2025
-
Crank Oil Seals: Functions, Types, and Cost Considerations in Engine Maintenance
News Jul.29,2025
-
A Comprehensive Guide to O-Rings and Seals: Types, Materials, and Global Applications
News Jul.29,2025
-
Mastering Diesel and Performance Engine Maintenance: A Guide to Critical Oil Gaskets
News Jul.28,2025
Products categories


