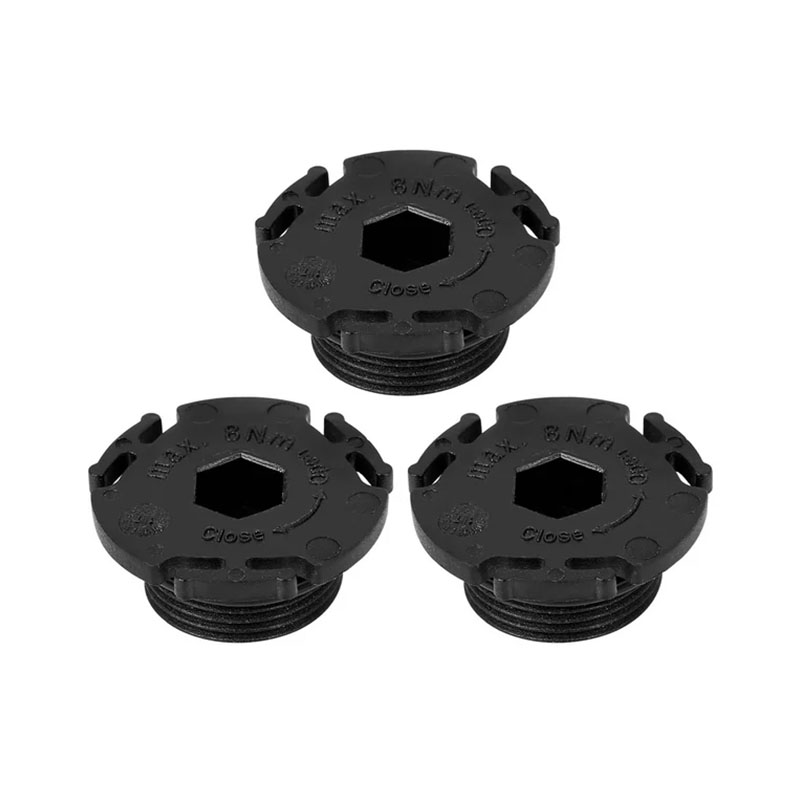
Helicoil Solutions for Repairing Oil Drain Plug Threads in Your Vehicle
Understanding Helicoils for Oil Drain Plugs An Essential Guide
When it comes to maintaining the performance and longevity of your vehicle, the oil drain plug plays a critical role. This small yet significant component ensures that the engine oil is drained properly during an oil change, preventing leaks and maintaining the necessary pressure within the engine. However, over time, the threads that hold the oil drain plug in place can wear out, leading to a potential leak that can cause severe engine damage if not addressed promptly. This is where helicoils come into play.
What is a Helicoil?
A helicoil is a type of threaded insert designed to repair stripped or damaged threads in metal components. It consists of a coiled wire of stainless steel that is shaped into a spiral. This insert is installed into the existing thread of a hole, providing a new, durable surface for a screw or bolt to grip. Helicoils are commonly used in various applications, including automotive, aerospace, and manufacturing industries, making them a reliable choice for fixing oil drain plug issues.
Why Use a Helicoil for Oil Drain Plug Repairs?
1. Cost-Effective Solution Repairing the threads of your oil drain plug with a helicoil is often more economical than replacing the entire oil pan. This can save you significant amounts of money, especially in older vehicles where parts may be hard to find.
2. Permanent Fix Unlike other temporary solutions, helicoils provide a lasting repair. Once installed properly, they can withstand the heat, pressure, and corrosive environment typical of engine oil, ensuring that the oil drain plug remains secure.
3. Ease of Installation Installing a helicoil is a relatively straightforward process that can be performed by anyone with basic mechanical skills. All that’s needed are a few tools—most importantly, a helicoil kit that includes the appropriate size insert, installation tool, and a tap for threading the hole.
4. Versatility Helicoils are not only suitable for oil drain plugs but can also be used in various other applications where threaded holes are required, such as in motorcycle engines, lawnmowers, or any equipment with metal housing.
The Installation Process
Installing a helicoil requires careful attention to detail. Here's a step-by-step guide
helicoil for oil drain plug

2. Inspect the Threads Check the threads for damage. If they are stripped or broken, a helicoil can be a viable solution.
3. Select the Correct Size Helicoil Choose a helicoil that matches the thread specifications of your oil drain plug. This information can usually be found in the vehicle’s service manual or online forums.
4. Drill Out the Damaged Threads Use a drill bit that corresponds to the size recommended for the helicoil installation. Be cautious to drill straight and avoid damaging the surrounding material.
5. Tap the Hole Using the tap from your helicoil kit, create new threads in the drilled hole. Ensure the tap turns smoothly and straight.
6. Insert the Helicoil Using the installation tool provided in the helicoil kit, insert the helicoil into the newly tapped hole. It’s important to ensure that it is seated correctly to avoid future issues.
7. Reinstall the Oil Drain Plug With the helicoil securely in place, you can now reinstall the oil drain plug. It’s advisable to use a thread sealant for extra security and to prevent leaks.
8. Check for Leaks After replacing the oil and running the engine, always check for leaks around the oil drain plug to ensure the repair was successful.
Conclusion
Using a helicoil for repairing a damaged oil drain plug is a time-tested and effective method that can prolong the life of your vehicle while saving you money. It is essential, however, to follow the installation steps carefully and ensure that the helicoil is appropriate for your specific needs. By doing so, you can enjoy peace of mind knowing that your engine is secure and protected from the harmful effects of leaks. Whether you are a seasoned mechanic or a DIY enthusiast, mastering this repair technique will undoubtedly contribute to your automotive skillset.
-
The Ultimate Guide to Car Repair Kits: Tools and Essentials Every Driver Should Own
News Aug.01,2025
-
The Complete Guide to Oil Pan Gaskets: Sealing Engine Leaks the Right Way
News Aug.01,2025
-
Preventing Oil Leaks: A Complete Guide to Oil Pan Gaskets and Drain Seals
News Aug.01,2025
-
Everything You Need to Know About Oil Pan Gaskets and Drain Plug Seals
News Aug.01,2025
-
Essential for Car Owners: How to Use a Car Repair Kit to Deal with Minor Breakdown
News Aug.01,2025
-
Comprehensive Guide to Engine Oil Sump Gaskets and Related Seals
News Aug.01,2025
-
The Ultimate Guide to Boat Propeller Bearings and Trailer Wheel Bearings
News Jul.31,2025
Products categories


