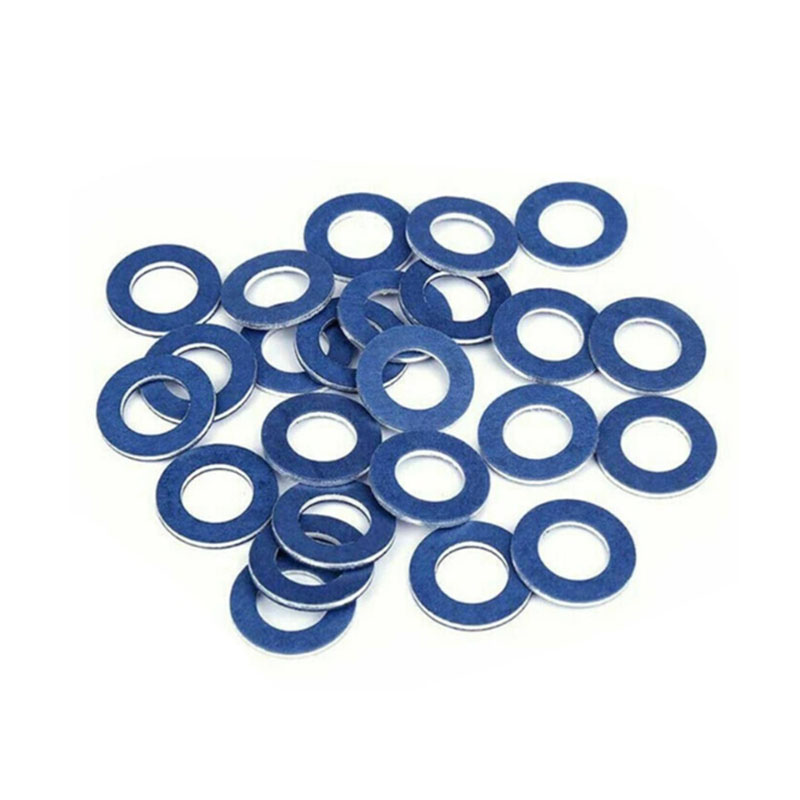
Half Shaft Seal Replacement - Step-by-Step Guide
Half Shaft Seal Replacement A Comprehensive Guide
When it comes to maintaining the integrity and performance of your vehicle, paying attention to small yet critical components can make a significant difference. One such component is the half shaft seal, which plays a crucial role in ensuring that the axle and transmission fluids remain sealed within the assembly. Over time, these seals can wear out or become damaged, leading to leaks and potential axle failure. This guide provides a detailed look at half shaft seal replacement, including symptoms of failure, tools required, and the step-by-step replacement process.
Symptoms of a Failing Half Shaft Seal
Recognizing the warning signs of a failing half shaft seal is essential in preventing more extensive repairs. Common symptoms include
1. Fluid Leaks The most obvious sign is the presence of fluid under your vehicle. Look for puddles of transmission fluid or differential oil, which can indicate a compromised seal. 2. Noise During Movement A worn-out seal can lead to increased play in the axle, resulting in clunking or grinding noises when you accelerate or turn.
3. Reduced Performance If you notice a decrease in power or responsiveness from your vehicle, it may be due to fluid loss affecting the axle's functionality.
Tools Required for Replacement
Before starting the replacement process, gather the necessary tools
- Jack and jack stands - Wrench set - Screwdrivers (flathead and Phillips) - Pry bar - New half shaft seal - Gear oil or transmission fluid (if required) - Clean rags
Step-by-Step Replacement Process
half shaft seal replacement

1. Prepare Your Vehicle Start by parking your vehicle on a level surface and engaging the parking brake. Use a jack to lift the front or rear, depending on which half shaft seal requires replacement. Secure the vehicle with jack stands.
2. Remove the Wheel (if applicable) If you’re working on the front half shaft, use a wrench to remove the nuts and safely take off the wheel to access the axle.
3. Locate the Half Shaft Seal The half shaft seal is located where the half shaft enters the transmission or differential. Inspect the area for any visible damage or wear.
4. Remove the Old Seal Carefully use a pry bar to remove the old seal, being cautious not to damage the housing. Clean the area thoroughly to prepare for the new seal.
5. Install the New Seal Lubricate the new seal's outer edge with a small amount of fluid to help it slide in smoothly. Gently tap the seal into place using a seal driver or a suitable piece of wood to ensure it's seated evenly.
6. Reassemble Components If you removed the wheel, replace it and securely tighten the lug nuts. If applicable, reattach any components that were removed during the process.
7. Lower the Vehicle and Test Once everything is back in place, lower your vehicle off the jack stands. Start the engine and let it idle while checking for leaks around the newly installed seal.
Conclusion
Replacing a half shaft seal is a manageable task that can save you from more extensive repairs down the line. By staying vigilant for signs of wear and following this straightforward guide, you can ensure your vehicle remains in optimal condition. Regular maintenance and prompt repairs are key to extending the lifespan of your vehicle’s drivetrain.
-
Understanding the Front Main Engine Seal: Purpose, Maintenance, and Installation
News Jul.29,2025
-
Understanding O-Rings and Seal Rings: Types, Applications, and Custom Solutions
News Jul.29,2025
-
Understanding Crankshaft Oil Seals: Rear Seals, Pulley Seals, and Their Role in Engine Integrity
News Jul.29,2025
-
The Importance of Front and Rear Crankshaft Seals in Engine Performance and Oil Management
News Jul.29,2025
-
Crank Oil Seals: Functions, Types, and Cost Considerations in Engine Maintenance
News Jul.29,2025
-
A Comprehensive Guide to O-Rings and Seals: Types, Materials, and Global Applications
News Jul.29,2025
-
Mastering Diesel and Performance Engine Maintenance: A Guide to Critical Oil Gaskets
News Jul.28,2025
Products categories


