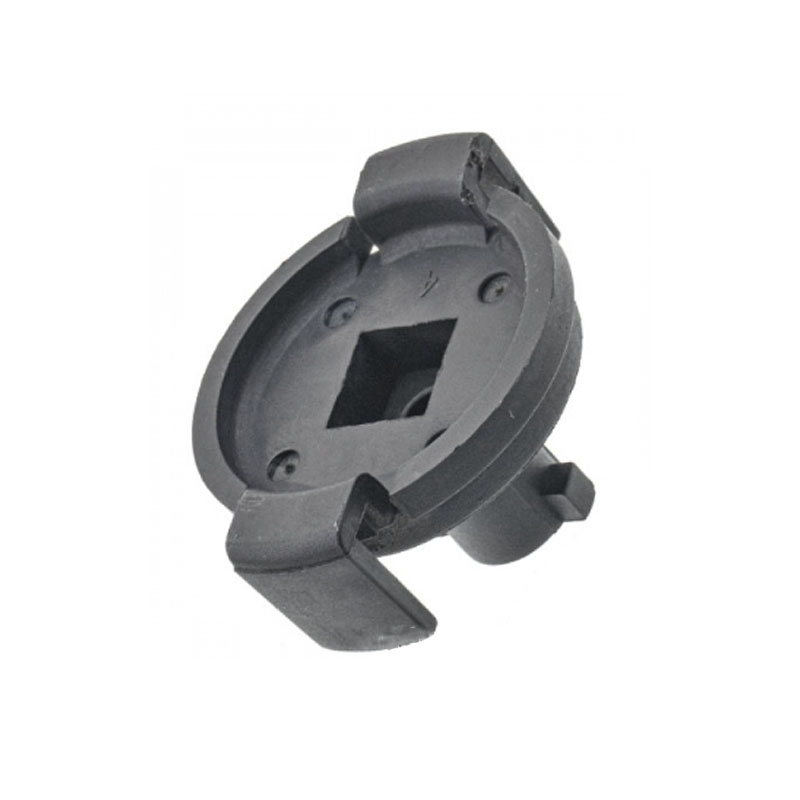
front axle seal replacement
Front Axle Seal Replacement A Step-by-Step Guide
The front axle seal plays a crucial role in your vehicle’s overall performance by preventing grease and oil from leaking out of the axle assembly. Over time, these seals can wear out due to exposure to harsh conditions, leading to leaks that can damage other components. Replacing a worn front axle seal is essential for maintaining vehicle integrity and performance. Here’s a step-by-step guide on how to replace it effectively.
Tools and Materials Needed
Before you begin the replacement process, gather the following tools and materials - New front axle seal - Socket set - Wrenches - Hammer - Seal puller or pry bar - Clean rags - Lubricant - Jack and jack stands - Safety goggles and gloves
Step 1 Preparation
Start by parking your vehicle on a flat surface and turning off the engine. Ensure safety by wearing goggles and gloves. Use a jack to lift the front of the vehicle and secure it with jack stands. Remove the front wheel to access the axle assembly.
Step 2 Remove the Axle
To replace the front axle seal, it’s necessary to remove the axle itself. Locate the axle nut and use a socket to loosen and remove it. Afterward, disconnect any components that may obstruct the axle’s removal, such as the brake caliper or any sway bar links. Gently pull the axle out of the hub assembly, taking care not to damage any surrounding parts.
Step 3 Remove the Old Seal
front axle seal replacement

With the axle out, inspect the front axle seal. Using a seal puller or pry bar, carefully remove the old seal from its housing. Take your time during this process to avoid scratching the axle surface, as this could lead to further issues.
Step 4 Install the New Seal
Before installing the new seal, lubricate its edges with a little grease. This step helps ensure a better fit and prevents damage during installation. Carefully position the new seal into the housing, making sure it is seated evenly. Use a hammer and a suitable tool to gently tap it into place until it’s flush with the axle housing.
Step 5 Reassemble the Axle
Once the new seal is installed, reinsert the axle carefully back into the hub assembly. Reattach any components you removed earlier, including the brake caliper and any links. Replace the axle nut and tighten it as per the manufacturer’s specifications.
Step 6 Final Checks
After reassembling, double-check that everything is properly installed. Replace the wheel, lower the vehicle back to the ground, and remove the jack stands. Finally, start the engine and inspect the area around the new seal for any signs of leaks.
Conclusion
Replacing a front axle seal may seem daunting, but with the right tools and a little patience, it is a manageable task for any DIY enthusiast. Performing this maintenance not only saves money but prolongs the life of your vehicle’s components. Always ensure to follow safety protocols and refer to your vehicle’s manual for specific instructions related to your model. Happy driving!
-
Understanding the Front Main Engine Seal: Purpose, Maintenance, and Installation
News Jul.29,2025
-
Understanding O-Rings and Seal Rings: Types, Applications, and Custom Solutions
News Jul.29,2025
-
Understanding Crankshaft Oil Seals: Rear Seals, Pulley Seals, and Their Role in Engine Integrity
News Jul.29,2025
-
The Importance of Front and Rear Crankshaft Seals in Engine Performance and Oil Management
News Jul.29,2025
-
Crank Oil Seals: Functions, Types, and Cost Considerations in Engine Maintenance
News Jul.29,2025
-
A Comprehensive Guide to O-Rings and Seals: Types, Materials, and Global Applications
News Jul.29,2025
-
Mastering Diesel and Performance Engine Maintenance: A Guide to Critical Oil Gaskets
News Jul.28,2025
Products categories


