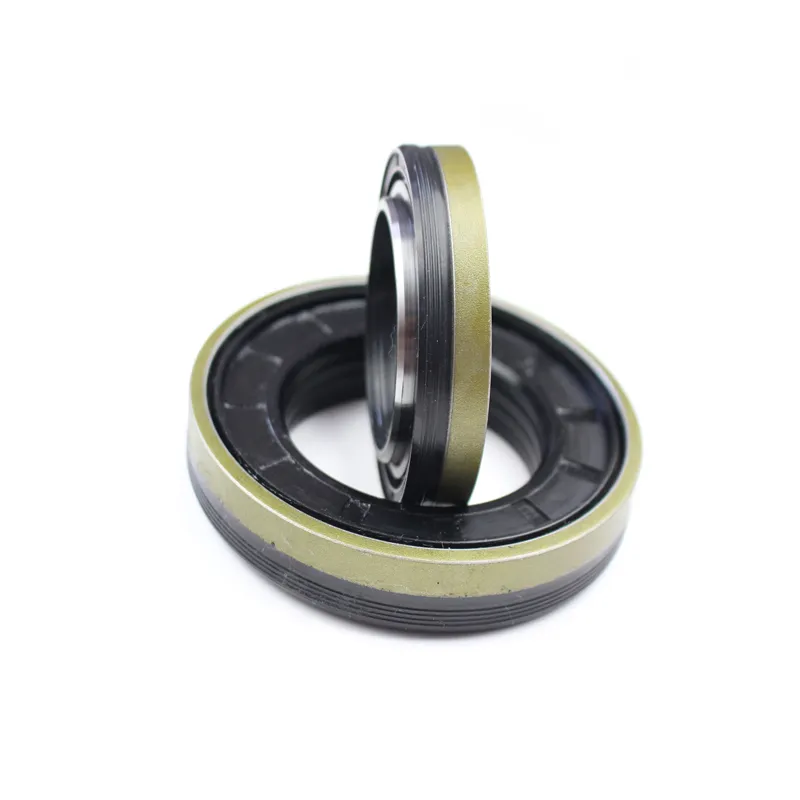
Front Axle Seal Replacement Guide for Optimal Vehicle Performance and Maintenance
Front Axle Seal Replacement A Comprehensive Guide
When it comes to vehicle maintenance, the front axle seal plays a crucial role in ensuring optimal performance and longevity. Over time, seals can wear out, leading to leaks that can affect the integrity and functionality of your vehicle’s drivetrain. This article will walk you through the importance of front axle seals, the signs of failure, and the steps needed for replacement.
Understanding Front Axle Seals
Front axle seals are crucial components that prevent differential oil from leaking out of the axle housing. They are located at the ends of the axle shafts, where they connect to the wheel hubs. Their primary function is to keep the lubricant contained while keeping debris and moisture out. A well-maintained seal ensures smooth operation and protects the internal components of the axle assembly.
Signs of a Failing Front Axle Seal
Several symptoms may indicate that your front axle seal needs replacement. Being aware of these signs can save you from more significant issues down the road
1. Visible Leaks One of the first signs is the formation of puddles or drips of differential oil underneath your vehicle. This can typically be seen when parked.
2. Noise If you hear grinding or whining noises coming from the front axle, this could indicate a lack of lubrication due to a compromised seal.
3. Vibration Excessive vibrations while driving may suggest that the axle components are not properly lubricated, potentially leading to further damage.
4. Fluid Levels Regularly check your differential fluid levels. A drop in levels may indicate a leak caused by a failing seal.
If you experience any of these symptoms, it is crucial to address the issue promptly to avoid costly repairs.
Tools and Materials Needed
Before starting the replacement process, ensure you have the necessary tools and materials
- Jack and jack stands - Socket set - Screwdrivers - Pliers - Oil catch pan - Clean rags - New front axle seals - Differential fluid (as specified by the vehicle manufacturer)
front axle seal replacement

Steps to Replace the Front Axle Seal
1. Preparation Start by parking your vehicle on a level surface and engaging the parking brake. Gather all necessary tools and materials.
2. Lift the Vehicle Use a jack to lift the front of the vehicle and secure it with jack stands for safety.
3. Remove the Wheel Take off the wheel on the side where you will be replacing the seal. This allows for better access to the axle and differential.
4. Extract the Axle Depending on your vehicle type, you may need to detach the axle from the wheel hub. Remove any retaining clips, bolts, or nuts that hold the axle in place. Gently pull the axle out of the differential housing. Be careful, as it may still contain some fluid.
5. Remove the Old Seal Once the axle is out, locate the old front axle seal. Use a seal removal tool or a flat screwdriver to carefully pry it out of its housing. Take care not to scratch the housing.
6. Install the New Seal Before installing the new seal, lubricate the inner lip with differential fluid to ensure a proper seal. Press the new seal into place, ensuring it sits evenly and is fully seated in its housing.
7. Reassemble the Axle Slide the axle back into the differential housing. Make sure it is properly aligned and secure it with the retaining components you removed earlier.
8. Replace the Wheel After ensuring everything is in place, reattach the wheel and tighten the lug nuts to the manufacturer’s specifications.
9. Lower the Vehicle Carefully lower the vehicle from the jack stands and remove the jack.
10. Refill Differential Fluid Check the differential fluid level and refill it as necessary, following your manufacturer’s guidelines.
11. Test Drive Finally, take your vehicle for a short test drive. Monitor for any unusual noises or fluid leaks, ensuring everything operates smoothly.
Conclusion
Replacing a front axle seal may seem daunting, but with the right tools and knowledge, it can be accomplished in a few hours. Regular maintenance and attention to signs of wear will keep your vehicle running smoothly and prolong its lifespan. Always consult your vehicle’s manual for specific guidance and specifications. If you're uncomfortable performing this task, seek professional help to ensure it’s done correctly.
-
Understanding the Front Main Engine Seal: Purpose, Maintenance, and Installation
News Jul.29,2025
-
Understanding O-Rings and Seal Rings: Types, Applications, and Custom Solutions
News Jul.29,2025
-
Understanding Crankshaft Oil Seals: Rear Seals, Pulley Seals, and Their Role in Engine Integrity
News Jul.29,2025
-
The Importance of Front and Rear Crankshaft Seals in Engine Performance and Oil Management
News Jul.29,2025
-
Crank Oil Seals: Functions, Types, and Cost Considerations in Engine Maintenance
News Jul.29,2025
-
A Comprehensive Guide to O-Rings and Seals: Types, Materials, and Global Applications
News Jul.29,2025
-
Mastering Diesel and Performance Engine Maintenance: A Guide to Critical Oil Gaskets
News Jul.28,2025
Products categories


