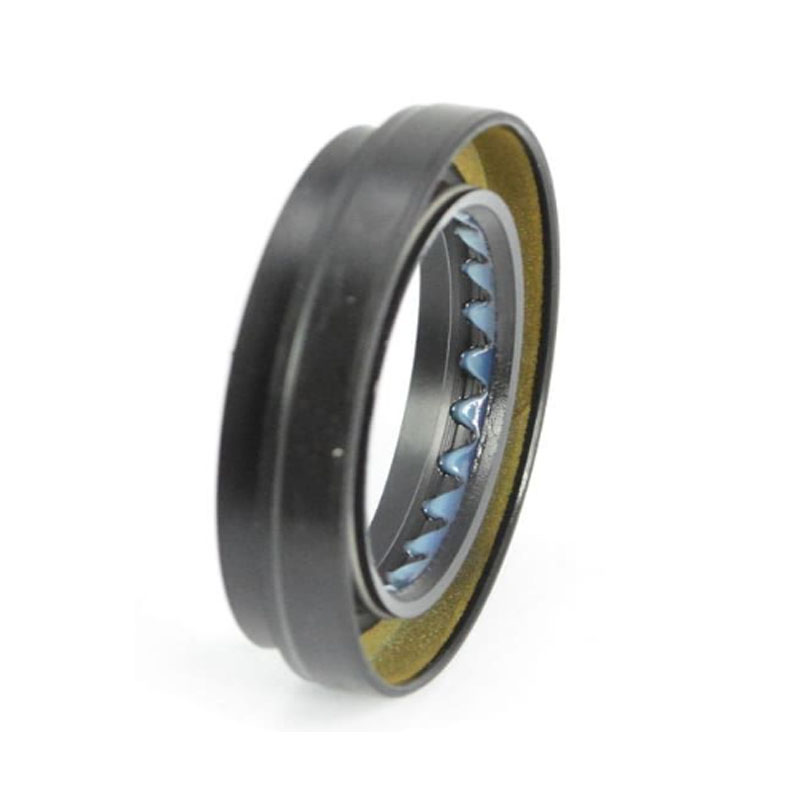
Replacing Differential Axle Seals for Optimal Vehicle Performance and Reliability
Differential Axle Seal Replacement A Comprehensive Guide
The differential axle seal plays a vital role in your vehicle’s drivetrain, ensuring that the differential fluid remains contained and preventing contaminants from entering this critical component. Over time, these seals can deteriorate due to age, heat, and friction, leading to leaks that can cause severe damage to your vehicle's differential and, ultimately, its entire drivetrain. If you notice leaking fluid or unusual noises from the differential, it may be time to consider a differential axle seal replacement.
Symptoms of a Failing Axle Seal
The first sign of a failing differential axle seal is often a fluid leak. You might observe a puddle of oily fluid beneath the center of your vehicle, typically a dark-colored liquid that can identify as differential fluid. Additionally, if you hear whining or grinding noises while driving, this can indicate that the differential is running low on lubricant due to a leak. It is crucial to address these symptoms promptly, as neglecting them can lead to more costly repairs.
Tools and Materials Needed
Before starting the replacement process, gather the necessary tools and materials. You will need
- A socket set and wrenches - A jack and jack stands - Oil catch pan - Replacement axle seals - Gear oil - A seal puller or a flathead screwdriver - Clean rags for oil cleanup - A torque wrench
Step-by-Step Replacement Process
1. Preparation Start by parking your vehicle on a level surface and engaging the parking brake. Lift the vehicle using a jack and secure it with jack stands.
differential axle seal replacement

2. Drain the Differential Fluid Place an oil catch pan underneath the differential and remove the drain plug to allow the fluid to drain completely.
3. Remove the Axle Depending on your vehicle, you might need to remove the wheel and brake components. Once accessible, unbolt the axle from the differential housing carefully, being mindful of any retaining clips.
4. Remove the Old Seal Use a seal puller or a flathead screwdriver to gently pry out the old seal. Be careful not to damage the surrounding housing.
5. Install the New Seal Apply a bit of differential fluid to the new seal's outer edge for lubrication and carefully press it into place, ensuring it is seated evenly.
6. Reassemble Reinstall the axle, brake components, and wheel. Make sure to torque all bolts according to your vehicle manufacturer’s specifications.
7. Refill Differential Fluid Replace the drain plug and refill the differential with the appropriate gear oil.
8. Final Check Lower the vehicle and take it for a short drive. Check for any leaks and listen for unusual noises.
Conclusion
Replacing the differential axle seal is a manageable task for those with basic mechanical skills. Prompt attention to leaking seals can save vehicle owners from costly repairs down the line. If you’re ever in doubt, consulting a professional mechanic is a wise choice to ensure the longevity and performance of your vehicle.
-
The Ultimate Guide to Boat Propeller Bearings and Trailer Wheel Bearings
News Jul.31,2025
-
The Essential Guide to Marine Bearings and Boat Trailer Wheel Bearings
News Jul.31,2025
-
The Complete Guide to Heavy Duty Seals: Protecting Doors and Spaces Efficiently
News Jul.31,2025
-
Essential Guide to Marine Shaft Bearings and Boat Trailer Axle Bearings
News Jul.31,2025
-
Comprehensive Guide to Marine and Trailer Bearings for Safe Boating and Transport
News Jul.31,2025
-
Comprehensive Guide to Automotive Oil Seals: Protecting Your Engine and Shafts
News Jul.31,2025
-
Understanding Automotive Oil Seals: Essential Components for Engine and Shaft Protection
News Jul.30,2025
Products categories


