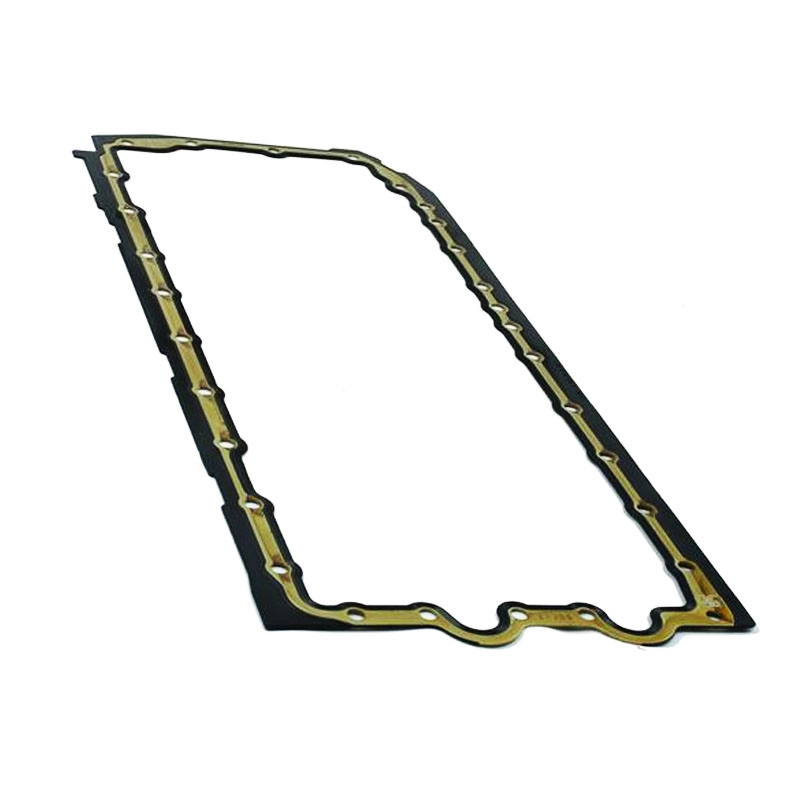
Replacing the Crankshaft Seal for Optimal Engine Performance and Longevity
Crankshaft Seal Replacement A Comprehensive Guide
The crankshaft seal is an essential component of any vehicle's engine, playing a critical role in maintaining the engine’s efficiency and performance. Over time, wear and tear can lead to leaks, which can cause significant damage if not addressed promptly. Replacing the crankshaft seal may seem daunting, but with the right tools and knowledge, it can be a manageable DIY project. This article will walk you through the process of crankshaft seal replacement, along with tips to ensure success.
Understanding the Crankshaft Seal
The crankshaft seal serves as a barrier between the engine's crankshaft and the engine block. It prevents oil from leaking out of the engine, thereby maintaining proper oil levels and pressure. A malfunctioning seal can lead to oil leaks, decreased engine performance, and potentially more severe engine damage if left unchecked. Signs of a failing crankshaft seal include oil spots under the vehicle, an oil smell in the engine compartment, or a drop in oil levels.
Tools Needed for Replacement
Before starting the replacement process, ensure you have the following tools
- A flashlight - Socket set and ratchets - Screwdrivers (both flathead and Phillips) - Pliers - Crankshaft seal removal tool (optional but helpful) - Oil drain pan - New crankshaft seal - Engine oil - Clean rags
Step-by-Step Replacement Process
1. Preparation Begin by parking your vehicle on a level surface and ensuring the engine is cold. Disconnect the battery to prevent accidental starts.
2. Access the Crankshaft Seal Depending on your vehicle, you may need to remove various components such as the serpentine belt, timing cover, or oil pan to access the crankshaft seal. Refer to your vehicle’s service manual for specific instructions.
crankshaft seal replacement

3. Drain Engine Oil Position the oil drain pan underneath the oil pan and drain the oil. This step is crucial to prevent mess and ensure safer working conditions.
4. Remove the Old Seal Using a seal removal tool or a flathead screwdriver, carefully pry out the old crankshaft seal. Take caution not to damage the surrounding components during this step.
5. Clean the Seal Housing Once the old seal is removed, clean the housing with a rag to remove any debris or old sealant. This ensures a proper fit for the new seal.
6. Install the New Seal Before installation, apply a thin layer of engine oil to the lip of the new seal. This helps ensure a better seal and prevents damage during installation. Gently tap the new seal into place using a seal installation tool or a suitable-sized socket.
7. Reassemble Components Reattach any parts you previously removed to access the crankshaft seal. Ensure all bolts are tightened to the manufacturer’s specifications.
8. Refill Engine Oil Replace the drain plug and refill the engine with new oil. Check for any leaks around the new seal after filling.
9. Reconnect the Battery Finally, reconnect the battery and start the engine. Monitor for leaks and listen for any unusual noises indicating improper installation.
Conclusion
Replacing a crankshaft seal is a task that requires attention to detail and patience. While it may seem intimidating, understanding the process can save you money and help you maintain your vehicle's performance. Regular checks and timely replacements ensure that your engine runs smoothly and efficiently, prolonging its lifespan. Always consult your vehicle's service manual for specifics related to your model, and when in doubt, seek professional assistance. With the right approach and care, you can tackle crankshaft seal replacement with confidence.
-
The Ultimate Guide to Boat Propeller Bearings and Trailer Wheel Bearings
News Jul.31,2025
-
The Essential Guide to Marine Bearings and Boat Trailer Wheel Bearings
News Jul.31,2025
-
The Complete Guide to Heavy Duty Seals: Protecting Doors and Spaces Efficiently
News Jul.31,2025
-
Essential Guide to Marine Shaft Bearings and Boat Trailer Axle Bearings
News Jul.31,2025
-
Comprehensive Guide to Marine and Trailer Bearings for Safe Boating and Transport
News Jul.31,2025
-
Comprehensive Guide to Automotive Oil Seals: Protecting Your Engine and Shafts
News Jul.31,2025
-
Understanding Automotive Oil Seals: Essential Components for Engine and Shaft Protection
News Jul.30,2025
Products categories


