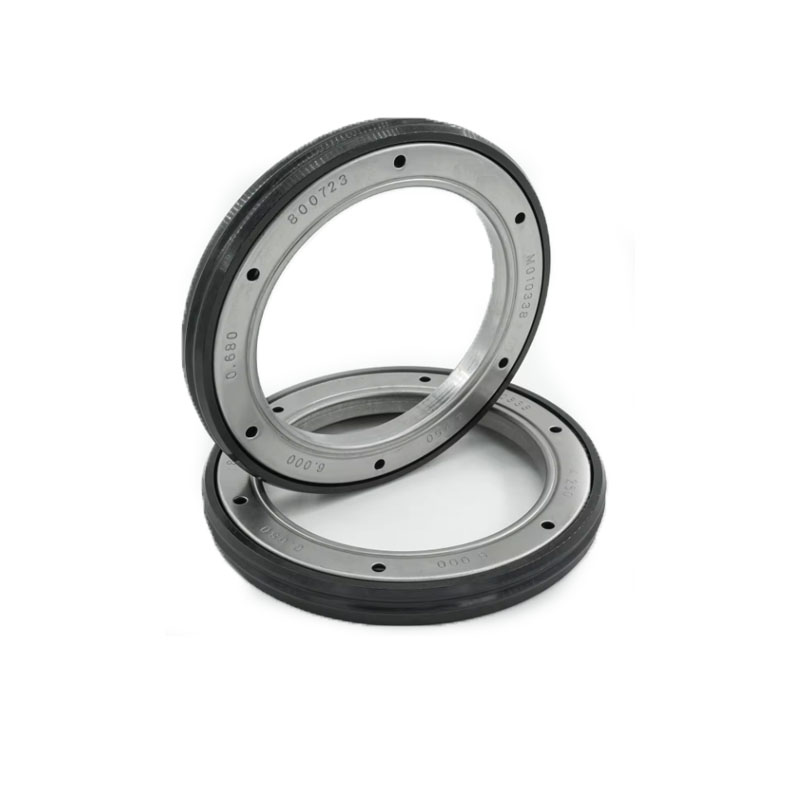
crankshaft seal replacement
Crankshaft Seal Replacement An Essential Guide
The crankshaft seal plays a crucial role in maintaining the integrity of your engine. It is designed to keep oil within the engine while preventing dirt and contaminants from entering. Over time, however, crankshaft seals can wear out, leading to oil leaks and potentially serious engine damage. In this article, we will explore the importance of crankshaft seal replacement, signs of wear, and the steps involved in the replacement process.
Importance of the Crankshaft Seal
The crankshaft seal functions to safeguard the engine's internal components by creating a tight barrier against oil leaks. Oil lubricates the engine's moving parts, reducing friction and heat, which enhances performance and extends longevity. A malfunctioning seal can result in significant oil loss, leading to overheating and engine failure. Additionally, oil leaks can create unsafe driving conditions, resulting in slick roads and potential accidents.
Signs of Crankshaft Seal Wear
Before embarking on a crankshaft seal replacement, it's essential to recognize the symptoms of a failing seal. Common signs include
1. Oil Leaks The most apparent sign of a failing crankshaft seal is oil pooling beneath the vehicle. If you notice oil spots where your vehicle is parked, it's time to investigate further. 2. Oil Pressure Issues A drop in oil pressure can indicate a breach in the sealing capability of the crankshaft seal. 3. Engine Noise Unusual knocking or tapping sounds emanating from the engine may be a result of insufficient lubrication due to oil leaks.
4. Poor Performance If you experience decreased engine performance or notice an increase in exhaust smoke, it may be due to oil leaking from the crankshaft seal.
The Replacement Process
crankshaft seal replacement

Replacing a crankshaft seal can seem daunting, but with the right tools and a bit of mechanical know-how, it can be accomplished. Here’s an overview of the general steps involved
1. Preparation Start by gathering the necessary tools a socket set, torque wrench, screwdriver, seal puller, and new crankshaft seal. Ensure the vehicle is parked on a flat surface and support it securely with jack stands.
2. Accessing the Crankshaft Seal Depending on your vehicle, this may involve removing the drive belts, pulleys, and the timing cover. Make sure to take photos or notes during disassembly to simplify reassembly.
3. Removing the Old Seal Use a seal puller to carefully remove the old crankshaft seal. Be cautious not to damage the surrounding components.
4. Installing the New Seal Before installation, clean the area around the seal seat thoroughly. Apply a thin layer of oil to the new seal’s edge, then press it into place gently. It should be flush with the surrounding metal.
5. Reassembly Replace all previously removed components in reverse order. Ensure all bolts are tightened to the manufacturer's specifications using a torque wrench.
6. Testing After reassembly, start the engine and allow it to run for a few minutes. Check for any oil leaks and listen for abnormal noises.
Conclusion
Replacing a crankshaft seal may sound complicated, but it is a manageable task for those familiar with automotive repairs. Regular inspection and timely replacement not only maintain the performance of your vehicle but also prevent costly repairs down the line. If you're unsure about any step of the process, consult a professional mechanic for assistance. Keeping your engine sealed properly will ensure it runs smoothly for years to come.
-
The Ultimate Guide to Boat Propeller Bearings and Trailer Wheel Bearings
News Jul.31,2025
-
The Essential Guide to Marine Bearings and Boat Trailer Wheel Bearings
News Jul.31,2025
-
The Complete Guide to Heavy Duty Seals: Protecting Doors and Spaces Efficiently
News Jul.31,2025
-
Essential Guide to Marine Shaft Bearings and Boat Trailer Axle Bearings
News Jul.31,2025
-
Comprehensive Guide to Marine and Trailer Bearings for Safe Boating and Transport
News Jul.31,2025
-
Comprehensive Guide to Automotive Oil Seals: Protecting Your Engine and Shafts
News Jul.31,2025
-
Understanding Automotive Oil Seals: Essential Components for Engine and Shaft Protection
News Jul.30,2025
Products categories


