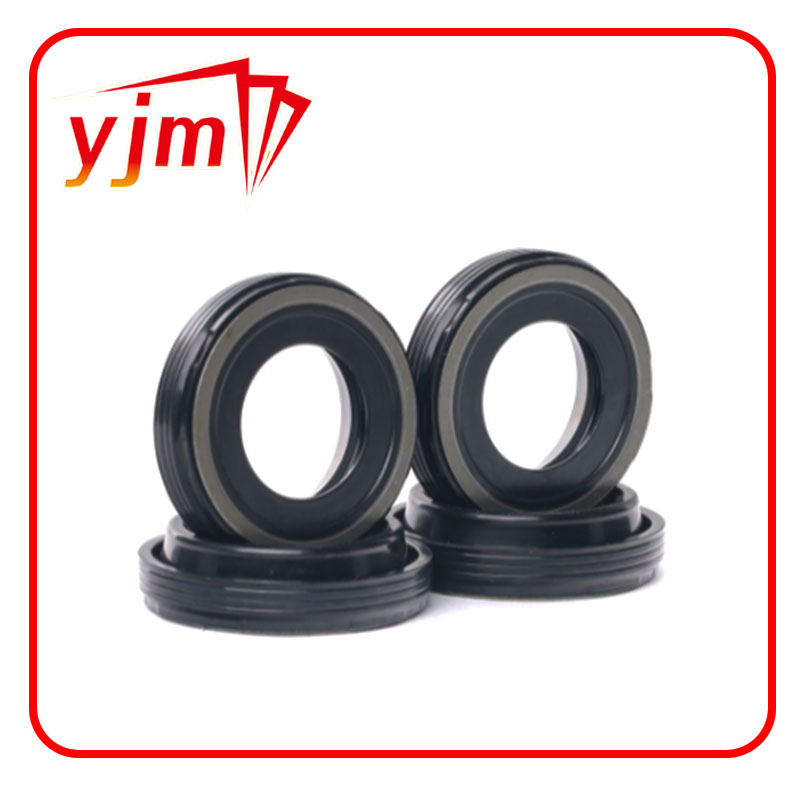
changing oil filter housing gasket
Changing the Oil Filter Housing Gasket A Comprehensive Guide
The oil filter housing gasket plays a crucial role in your vehicle's engine health by providing a tight seal between the oil filter and the engine. Over time, this gasket can wear out, leading to leaks that can compromise engine performance. Regular maintenance of your vehicle includes checking and replacing components like the oil filter housing gasket. In this article, we'll explore the process of changing this vital gasket and the benefits of keeping your engine in top shape.
Why Change the Oil Filter Housing Gasket?
The oil filter housing gasket is responsible for preventing engine oil from leaking out of the engine block where the oil filter is mounted. A worn or damaged gasket can lead to various issues, including low oil levels, which can cause severe engine damage. If you notice oil spots under your vehicle or a drop in oil pressure, it may be time to inspect the oil filter housing gasket.
Tools and Materials Needed
Before starting the replacement process, gather the following tools and materials
- New oil filter housing gasket - Oil filter wrench - Socket set - Torque wrench - Clean rags - Engine oil - Optional gasket scraper or razor blade for cleaning
Steps to Change the Oil Filter Housing Gasket
1. Preparation Park your vehicle on a level surface and allow the engine to cool. Gather all necessary tools and materials.
2. Drain the Oil If you're changing the oil filter at the same time, drain the old engine oil using a drain pan. Remove the oil drain plug and let the oil flow out completely.
changing oil filter housing gasket

3. Remove the Oil Filter Use the oil filter wrench to unscrew the oil filter. Be prepared for some residual oil to spill out.
4. Access the Gasket Locate the oil filter housing, which is usually bolted to the engine. Remove the bolts using your socket set. Carefully detach the housing from the engine.
5. Replace the Gasket Remove the old gasket from the housing and the engine. Clean the surfaces thoroughly with a rag and, if necessary, use a gasket scraper to ensure a smooth sealing surface. Place the new gasket onto the oil filter housing, aligning it with the bolt holes.
6. Reassemble the Housing Reattach the oil filter housing to the engine block and tighten the bolts to the manufacturer’s specified torque. Ensure there’s no over-tightening, which could damage the new gasket.
7. Install the New Oil Filter Before replacing the oil filter, apply a bit of new oil to the rubber gasket of the new filter. This helps create a better seal. Screw the new oil filter onto the housing.
8. Refill Engine Oil Replace the oil drain plug and refill the engine with new oil through the oil filler cap. Use the recommended type and grade of oil for your vehicle.
9. Check for Leaks Start the engine and let it run for a few minutes. Check for any oil leaks around the oil filter housing. If everything looks good, you're all set!
Conclusion
Changing the oil filter housing gasket is a relatively straightforward task that can save you from costly engine repairs down the line. Regular maintenance of this gasket, along with your oil filter and oil changes, will keep your engine running smoothly. Always refer to your vehicle's service manual for specific instructions and torque specifications. Take pride in maintaining your vehicle, and it will reward you with years of reliable performance.
-
Understanding the Front Main Engine Seal: Purpose, Maintenance, and Installation
News Jul.29,2025
-
Understanding O-Rings and Seal Rings: Types, Applications, and Custom Solutions
News Jul.29,2025
-
Understanding Crankshaft Oil Seals: Rear Seals, Pulley Seals, and Their Role in Engine Integrity
News Jul.29,2025
-
The Importance of Front and Rear Crankshaft Seals in Engine Performance and Oil Management
News Jul.29,2025
-
Crank Oil Seals: Functions, Types, and Cost Considerations in Engine Maintenance
News Jul.29,2025
-
A Comprehensive Guide to O-Rings and Seals: Types, Materials, and Global Applications
News Jul.29,2025
-
Mastering Diesel and Performance Engine Maintenance: A Guide to Critical Oil Gaskets
News Jul.28,2025
Products categories


