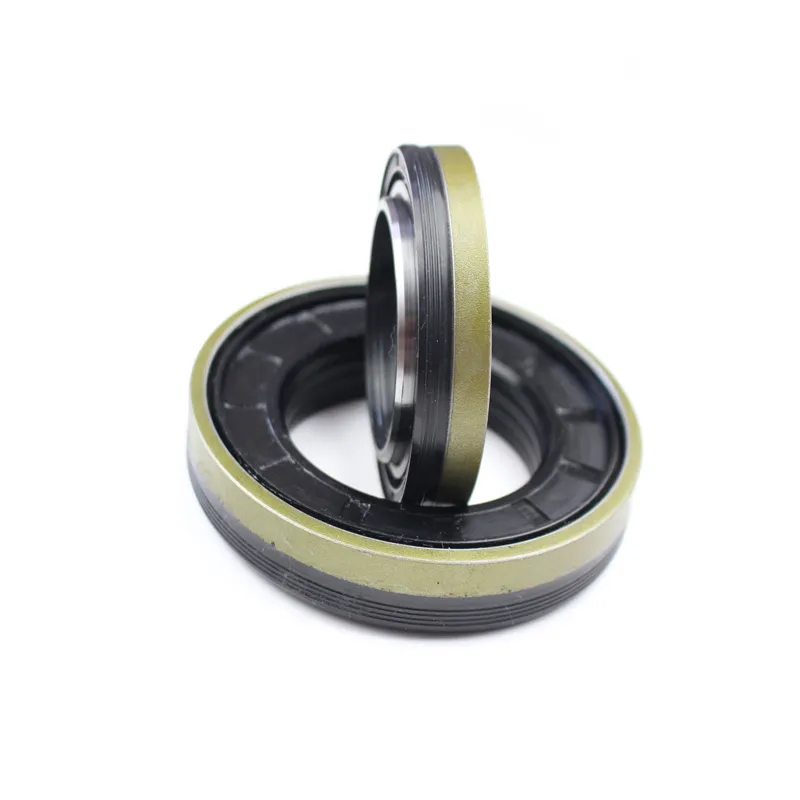
Cassette Seal Installation
In the world of sealing technology, the cassette seal stands as an unsung hero, critical for maintaining the integrity of various systems. Understanding the intricacies of cassette seal installation can greatly enhance the performance and longevity of your equipment. In this article, we will delve deep into the essential components, advantages, and step-by-step guide on installing a cassette seal effectively.
What is a Cassette Seal?
A cassette seal is an innovative sealing solution designed to provide robust protection against leakage and contamination in a multitude of applications. Crafted from advanced materials, cassette seals are engineered to withstand harsh environments, making them ideal for industries such as automotive, manufacturing, and industrial machinery. Their design encapsulates the sealing elements within a protective casing, thereby enhancing their durability and performance.
Why Choose Cassette Seals?
There are several reasons why incorporating cassette seals into your systems can be advantageous:
1. Enhanced Protection: With their unique design, cassette seals provide excellent resistance to dust, moisture, and other external factors that may cause wear and tear.
2. Easy Installation: The installation process is straightforward, which can save both time and money on maintenance.
3. Longer Lifespan: Due to the protective casing, cassette seals typically have a longer operational life compared to traditional seals.
4. Versatility: They can be used in various applications across different industries, reinforcing their reputation as a go-to sealing solution.
Step-by-Step Guide to Cassette Seal Installation
When it comes to cassette seal installation, proper technique is crucial for ensuring optimal performance. Follow these steps for a successful installation:
1. Preparation:
- Gather all necessary tools and materials, including the cassette seal, cleaning cloths, a suitable lubricant, and any other required installation tools.
- Ensure that the area where the installation will take place is clean and free of debris.
2. Inspect the Equipment:
- Before installation, check the equipment for any wear or damage to ensure compatibility with the cassette seal.
3. Clean the Sealing Surface:
- Use cleaning cloths to thoroughly clean the sealing surface. Removing any contaminants like dirt, old grease, and dust will promote a better seal.
4. Lubricate the Seal:
- Apply a light layer of lubricant to the outer edge of the cassette seal. This helps with the installation and minimizes wear on both the seal and the mating surface.
5. Install the Cassette Seal:
- Carefully position the cassette seal into the designated area, ensuring it's seated squarely. Apply even pressure around the seal until it is fully installed and flush with the surface.
6. Final Inspection:
- Inspect the seal to ensure it is properly installed, checking for any gaps or misalignment, which could lead to leaks.
7. Test the System:
- Once the installation is complete, run a test to ensure that the equipment operates correctly and that there are no leaks around the new cassette seal.
The process of cassette seal installation is one that, when done correctly, can vastly improve the reliability and efficiency of your machinery. By opting for high-quality cassette seals, you're investing in prolonged equipment life and minimize maintenance costs. Remember to follow the steps carefully, and always prioritize proper techniques to reap the full benefits of this formidable sealing solution.
By understanding the significance of cassette seals and mastering their installation, you position yourself at the forefront of operational excellence. Make the shift today and see the difference that a well-installed cassette seal can make!

-
Seal 12x20x5: Precision Radial Shaft Seals for Industrial Reliability
News Nov.24,2025
-
Seal 12x18x5: Essential Guide to Specifications, Applications & Vendors
News Nov.24,2025
-
Understanding Seal 12 20 5: Applications, Specifications & Industry Insights
News Nov.23,2025
-
Durable Oil Seal 85x110x12 – Reliable Sealing Solutions for Industry
News Nov.23,2025
-
Durable and Precise Oil Seal 75x95x10 for Efficient Machinery | YJM Seal
News Nov.22,2025
-
Durable Oil Seal 75x100x10 for Reliable Industrial Performance | YJM Seal
News Nov.22,2025
-
High-Quality Oil Seal 65x90x10 | Durable & Reliable Sealing Solutions
News Nov.22,2025
Products categories


