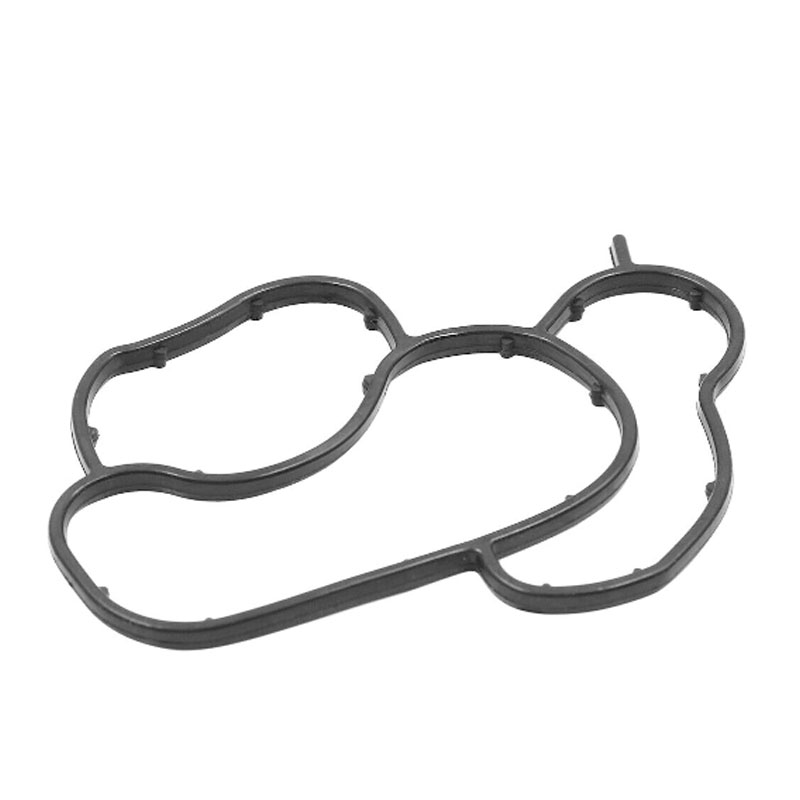
A Comprehensive Guide to Properly Installing Oil Seals for Optimal Performance and Durability
Installing Oil Seals A Comprehensive Guide
Oil seals, also known as radial lip seals, are essential components in various machinery and automotive applications. Their primary function is to prevent the leakage of lubricants and to keep contaminants out of the machine parts they protect. Proper installation of oil seals is crucial for ensuring optimal performance and longevity of equipment. This article will outline the importance of oil seals, the steps involved in their installation, and some useful tips for ensuring a successful installation.
Importance of Oil Seals
Oil seals serve multiple functions in machinery. First and foremost, they prevent oil leakage, which is vital for the lubrication of moving parts. Without proper lubrication, friction can lead to excessive wear and tear on components, resulting in costly repairs and machine downtime. Additionally, oil seals protect against the entry of dirt, dust, and other contaminants that can compromise the integrity of lubricants and the overall functioning of the system. In many applications, such as engines and hydraulic systems, the reliability of oil seals directly impacts the performance and efficiency of the machinery.
Preparation for Installation
Before starting the installation process, ensure you have the right tools and materials on hand. You will need a clean work environment, oil seals of the correct size, a seal installation tool, and possibly a lubricant for the sealing surface. Always consult the manufacturer’s specifications for the type of seal required, as different applications may necessitate specific seals with unique dimensions or materials.
Steps for Installing Oil Seals
1. Clean the Installation Area Before installing the oil seal, ensure that the area where it will be placed is clean and free of debris. Any dirt or contaminants can cause the seal to fail prematurely.
installing oil seals

2. Inspect the Area Check the sealing surface for any signs of damage or wear. Look for scratches, nicks, or corrosion that could affect the seal’s performance. If the surface is damaged, it may need to be repaired or replaced before a new seal can be installed.
3. Lubricate the Seal Applying a thin layer of lubricant or oil on the lips of the seal will help ease installation and improve the initial sealing capability. Be sure to use an appropriate lubricant that is compatible with the type of oil seal being installed.
4. Align the Seal Carefully position the oil seal in the intended location. Ensure it is properly aligned with the housing or shaft to avoid pinching or distortion during installation.
5. Install the Seal Using a seal installation tool or a soft-faced hammer, gently tap the seal into place. It's important to apply even pressure around the circumference of the seal to prevent it from bending or collapsing. Avoid using metal tools that could damage the seal.
6. Check for Proper Seating After installation, inspect the seal to confirm it is properly seated and flush with the surrounding surface. Any misalignment can lead to leaks and decreased performance.
7. Test the System Once the seal is installed, reassemble any components that were removed during the process. Then, fill the system with the appropriate lubricant and conduct a test run to ensure there are no leaks. Monitor the performance over the next few days to catch any potential issues early.
Conclusion
Installing oil seals may seem like a simple task, but it requires attention to detail and proper technique to ensure a long-lasting and effective seal. Following the above steps will help you achieve a successful installation, maintaining the efficiency and reliability of your machinery. Remember, when in doubt, always refer to the manufacturer's guidelines for the specific type of oil seal being used. Proper care and installation will ultimately lead to reduced maintenance costs and improved equipment lifespan.
-
Understanding the Front Main Engine Seal: Purpose, Maintenance, and Installation
News Jul.29,2025
-
Understanding O-Rings and Seal Rings: Types, Applications, and Custom Solutions
News Jul.29,2025
-
Understanding Crankshaft Oil Seals: Rear Seals, Pulley Seals, and Their Role in Engine Integrity
News Jul.29,2025
-
The Importance of Front and Rear Crankshaft Seals in Engine Performance and Oil Management
News Jul.29,2025
-
Crank Oil Seals: Functions, Types, and Cost Considerations in Engine Maintenance
News Jul.29,2025
-
A Comprehensive Guide to O-Rings and Seals: Types, Materials, and Global Applications
News Jul.29,2025
-
Mastering Diesel and Performance Engine Maintenance: A Guide to Critical Oil Gaskets
News Jul.28,2025
Products categories


