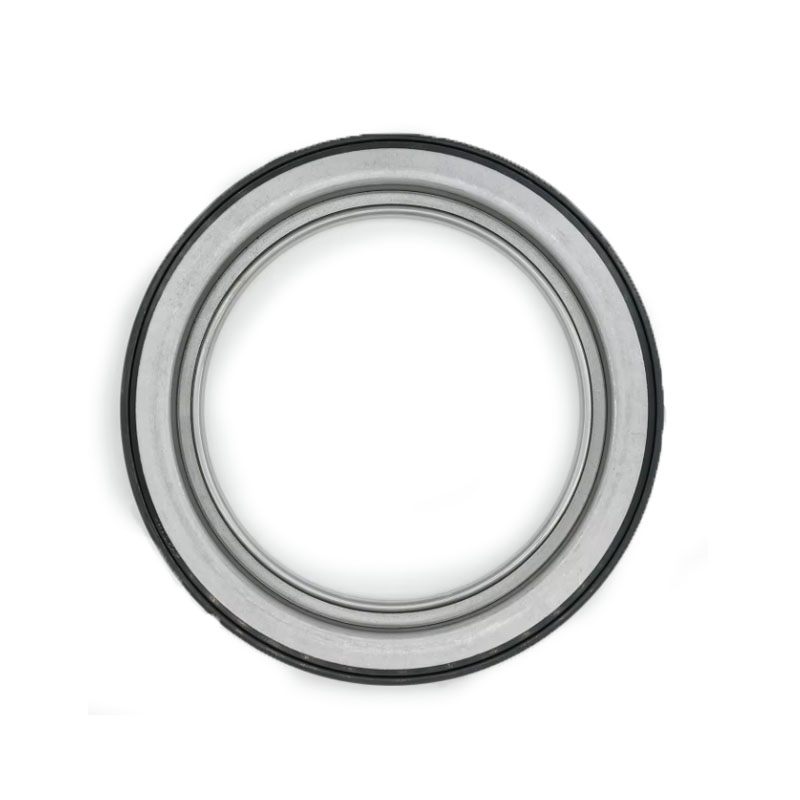
Replacement Seal for 727 Transmission Dipstick Tube for Improved Performance and Leak Prevention
Understanding the 727 Transmission Dipstick Tube Seal
The Chrysler 727 transmission, known for its durability and performance, found its place in various vehicles from the late 1960s into the early 1980s. One of the key components in maintaining the integrity and performance of the 727 transmission is the dipstick tube seal. This often-overlooked component plays a critical role in ensuring that transmission fluid remains where it belongs and that the transmission operates effectively.
The Importance of the Dipstick Tube Seal
The dipstick tube seal is designed to prevent transmission fluid from leaking out of the dipstick tube. When the seal is functioning correctly, it ensures that the fluid levels remain adequate, which is crucial for the lubrication and cooling of the transmission’s moving parts. A leak from the dipstick tube can lead to low fluid levels, resulting in poor transmission performance, overheating, and potential damage.
In addition to maintaining fluid levels, a well-sealed dipstick tube helps in keeping dirt and contaminants out of the transmission. Contamination can cause significant harm to the internal components of the transmission, leading to premature wear and costly repairs.
Common Signs of a Failing Dipstick Tube Seal
There are several signs that may indicate a dipstick tube seal is failing
1. Fluid Leaks One of the most obvious signs is the presence of red or brown fluid spots under the vehicle. If you notice fluid pooling beneath your car, the dipstick tube seal could be compromised.
2. Low Transmission Fluid Levels If you’re frequently adding fluid or noticing the dipstick reading lower than it should, it’s essential to investigate further, as this may be a sign of a seal failure.
3. Transmission Slipping Low fluid levels caused by a leak can lead to the transmission slipping during operation. This can manifest as delayed shifts or sudden shifts that can be alarming for drivers.
727 transmission dipstick tube seal

Replacing the Dipstick Tube Seal
Replacing a failing dipstick tube seal is a relatively straightforward process but should be approached with caution and some mechanical knowledge. Here’s a simplified overview of the steps involved
1. Lift the Vehicle Use jack stands to secure the vehicle, ensuring it’s safely elevated for access to the transmission.
2. Remove the Dipstick Tube Depending on the vehicle, you may need to disconnect certain components to access the dipstick tube. Once visible, carefully unbolt it from the transmission.
3. Replace the Seal Remove the old seal from the dipstick tube and clean the area. Install the new seal, ensuring it fits snugly and correctly in the groove.
4. Reinstall the Dipstick Tube Place the dipstick tube back into its original position and secure it with bolts. Be cautious not to overtighten, as this can damage the new seal.
5. Check Fluid Levels After reinstallation, fill the transmission with the appropriate fluid and check levels according to the manufacturer’s specifications.
6. Test Drive Finally, take the vehicle for a short test drive, monitoring for any leaks or unusual behavior from the transmission.
Conclusion
The dipstick tube seal may seem like a small and insignificant component, but its role in the operation of the 727 transmission is critical. Regular inspections and timely replacements can save drivers from costly repairs and ensure the longevity of their vehicle’s transmission. If you suspect any issues with the dipstick tube seal or notice signs of fluid leaks, it’s vital to address these concerns promptly to maintain a healthy transmission system.
-
Understanding the Front Main Engine Seal: Purpose, Maintenance, and Installation
News Jul.29,2025
-
Understanding O-Rings and Seal Rings: Types, Applications, and Custom Solutions
News Jul.29,2025
-
Understanding Crankshaft Oil Seals: Rear Seals, Pulley Seals, and Their Role in Engine Integrity
News Jul.29,2025
-
The Importance of Front and Rear Crankshaft Seals in Engine Performance and Oil Management
News Jul.29,2025
-
Crank Oil Seals: Functions, Types, and Cost Considerations in Engine Maintenance
News Jul.29,2025
-
A Comprehensive Guide to O-Rings and Seals: Types, Materials, and Global Applications
News Jul.29,2025
-
Mastering Diesel and Performance Engine Maintenance: A Guide to Critical Oil Gaskets
News Jul.28,2025
Products categories


