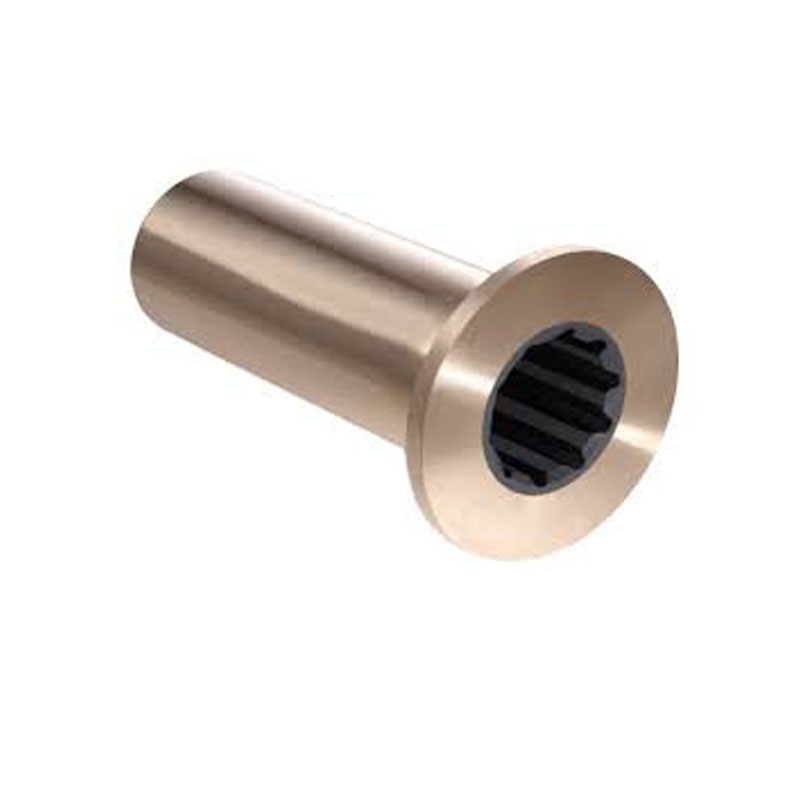
Replacement Guide for 300 TDI Front Crankshaft Oil Seal Installation and Maintenance
Understanding the 300 TDI Front Crankshaft Oil Seal An Essential Component
The 300 TDI engine, a well-regarded powertrain in Land Rover's lineup, has gained a devoted following thanks to its robust performance and reliability. However, like any component, it is susceptible to wear and tear over time. One critical part that often necessitates attention is the front crankshaft oil seal. This article aims to provide a comprehensive overview of the 300 TDI front crankshaft oil seal, including its function, signs of wear, replacement procedures, and maintenance tips.
What is the Front Crankshaft Oil Seal?
The front crankshaft oil seal is designed to prevent engine oil from leaking out of the front of the engine where the crankshaft exits the engine block. It serves a crucial role in maintaining the engine's lubrication system. The oil seal ensures that oil remains in the engine, providing necessary lubrication for moving parts like the crankshaft and timing belt, while also preventing dirt and debris from entering the engine.
Signs of Oil Seal Failure
Recognizing the signs of a failing front crankshaft oil seal is essential for any 300 TDI owner. Common indications include
1. Oil Leaks The most apparent sign is an oil leak at the front of the engine. If you notice oil pooling under your vehicle or spotting on your driveway, it’s time to investigate further.
2. Loss of Engine Oil If your engine oil level drops rapidly or you find yourself frequently topping it up, a faulty oil seal can be the culprit.
3. Unusual Noises When the oil seal fails, it can lead to diminished lubrication in the engine, causing knocking or grinding sounds as metal components begin to wear against each other.
4. Engine Overheating Insufficient oil due to a leak can lead to increased friction and overheating, which can severely damage your engine over time.
Replacing the Front Crankshaft Oil Seal
If you determine that your oil seal requires replacement, it’s vital to approach the task methodically. While it can be a straightforward task for someone with mechanical experience, it’s important to have the right tools and parts.
Step-by-Step Replacement Process
300tdi front crankshaft oil seal

1. Preparation Begin by gathering the necessary tools, including a socket set, torque wrench, gasket scraper, and replacement oil seal. Make sure you also have clean oil for reassembly.
2. Remove the Harmonic Balancer To access the oil seal, you will first need to remove the harmonic balancer. This usually requires loosening a bolt and gently pulling the balancer off.
3. Extract the Old Seal Use a seal puller or a similar tool to carefully remove the old oil seal from its housing. Be cautious to avoid damaging the surrounding area.
4. Install the New Seal Before installation, apply a small amount of oil to the new seal’s lip. This helps it seat properly and reduces the chance of failure. Press the new seal into place, ensuring it is flush with the engine block.
5. Reassemble Replace the harmonic balancer and torque it to the manufacturer's specifications. Recheck that all connections are secure to prevent future leaks.
6. Test the Repair After reassembly, start the engine and let it run for a few minutes. Check for leaks around the newly installed seal, and monitor oil levels over the next few days.
Maintenance Tips
To prolong the life of your front crankshaft oil seal, consider the following maintenance tips
- Regular Oil Changes Ensure you perform regular oil changes with the recommended oil type and change intervals.
- Monitor Fluid Levels Keep an eye on your engine oil level and coolant levels to catch any potential issues early.
- Inspect for Leaks Make it a habit to inspect your engine for any signs of leakage, particularly after long trips.
In conclusion, the front crankshaft oil seal is not just a minor component; it plays a vital role in ensuring your 300 TDI runs smoothly and efficiently. By paying attention to signs of wear and replacing the oil seal when necessary, you can help ensure your engine operates at its best for many years to come.
-
Understanding the Front Main Engine Seal: Purpose, Maintenance, and Installation
News Jul.29,2025
-
Understanding O-Rings and Seal Rings: Types, Applications, and Custom Solutions
News Jul.29,2025
-
Understanding Crankshaft Oil Seals: Rear Seals, Pulley Seals, and Their Role in Engine Integrity
News Jul.29,2025
-
The Importance of Front and Rear Crankshaft Seals in Engine Performance and Oil Management
News Jul.29,2025
-
Crank Oil Seals: Functions, Types, and Cost Considerations in Engine Maintenance
News Jul.29,2025
-
A Comprehensive Guide to O-Rings and Seals: Types, Materials, and Global Applications
News Jul.29,2025
-
Mastering Diesel and Performance Engine Maintenance: A Guide to Critical Oil Gaskets
News Jul.28,2025
Products categories


