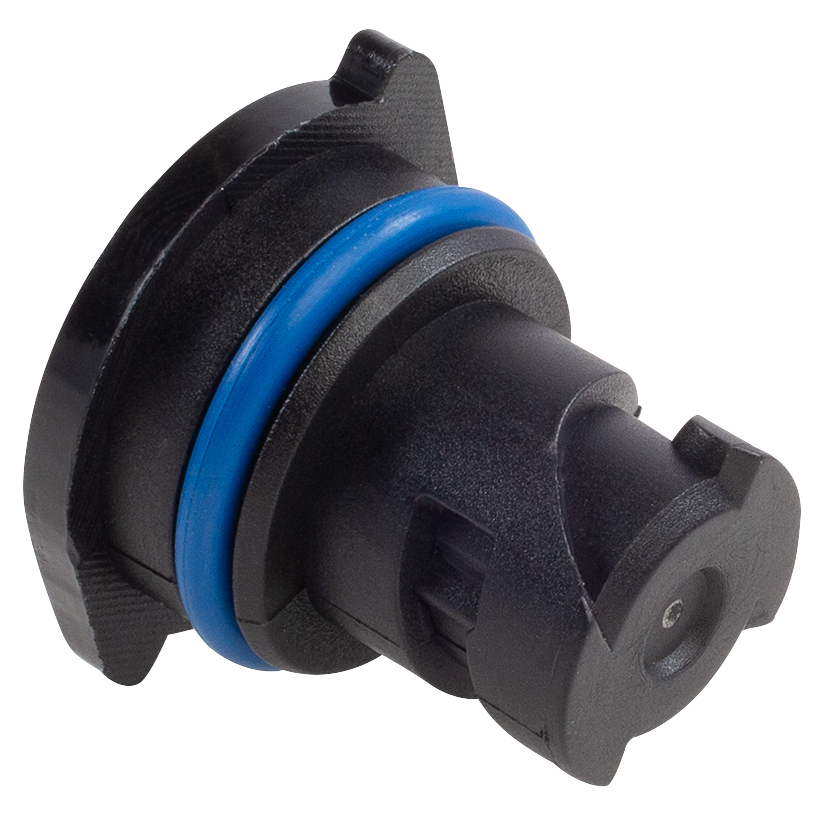
Replacing Seals on 14 Bolt Axles for Improved Performance and Longevity
How to Replace 14-Bolt Axle Seal A Comprehensive Guide
If you own a vehicle with a 14-bolt axle, you may eventually find yourself needing to replace the axle seal. This is a vital maintenance task that helps prevent fluid leaks and ensures the longevity of your axle. In this guide, we will discuss the necessary tools, steps, and tips for successfully replacing the 14-bolt axle seal.
Understanding the 14-Bolt Axle Seal
The 14-bolt axle seal plays a crucial role in your vehicle's drivetrain. It is responsible for preventing differential fluid from leaking out of the axle housing, which is essential for proper lubrication and cooling of the axle components. Over time, exposure to heat, dirt, and road conditions can lead to wear and tear on the seal, resulting in leaks that can ultimately damage your axle.
Tools and Materials Needed
Before you begin the replacement process, ensure you have the following tools and materials on hand
1. Safety gear Safety glasses and gloves. 2. Jack and jack stands To lift the vehicle securely. 3. Wrench set For removing bolts. 4. Socket set To access tight spots. 5. Axle seal replacement kit This typically includes the new seal and other components, depending on the vehicle make and model. 6. Pry bar or flathead screwdriver To help remove the old seal. 7. Torque wrench To ensure proper tightening of bolts when reassembling. 8. Clean rags For cleaning up any spilled differential fluid. 9. Differential fluid For refilling after the seal replacement.
Step-by-Step Replacement Process
1. Safety First Ensure the vehicle is on a flat surface. Engage the parking brake and place wheel chocks behind the rear wheels.
2. Lift the Vehicle Use a jack to lift the vehicle and secure it with jack stands. Ensure it is stable before proceeding.
3. Remove the Wheel and Tire Take off the wheel and tire on the side where you are replacing the axle seal.
14 bolt axle seal replacement

4. Access the Axle Depending on your vehicle, you may need to remove brake components or differential covers. Take note of how everything is assembled for reinstallation.
5. Extract the Old Seal Use a pry bar or flathead screwdriver to carefully remove the old axle seal. Be cautious not to damage the surrounding housing. Cleaning around the area will also help prevent debris from mixing with new seals.
6. Clean the Area Thoroughly clean the seal area to remove any debris, dirt, or old fluid. A clean surface is critical for the new seal to function properly.
7. Install the New Seal Take the new axle seal from your replacement kit and press it into the prepared area. Make sure it sits flush with the axle housing and ensure it is oriented correctly according to the manufacturer's specifications.
8. Reassemble the Components Reattach any components removed earlier, including the differential cover and brake parts, if applicable. Make sure to tighten all bolts to the specified torque rating using a torque wrench.
9. Refill Differential Fluid If any fluid was lost during the process, now is the time to refill the differential with the appropriate type of fluid as specified for your vehicle.
10. Reattach the Wheel and Tire Put the wheel back on, securing it with the lug nuts. Lower the vehicle back to the ground.
11. Check for Leaks After starting the vehicle, check around the area where you replaced the seal for any signs of leaking fluid.
Conclusion
Replacing the 14-bolt axle seal is a task that can be tackled with the right tools and a bit of know-how. By following these steps carefully, vehicle owners can save money on labor costs and ensure their vehicle continues to run smoothly. Regular maintenance, including checking for leaks and worn seals, can significantly prolong the life of your axle and the overall performance of your vehicle. Always consult your vehicle’s service manual for specific instructions related to your model and reach out to professionals if you're unsure about any step in the process. Happy repairing!
-
Understanding the Front Main Engine Seal: Purpose, Maintenance, and Installation
News Jul.29,2025
-
Understanding O-Rings and Seal Rings: Types, Applications, and Custom Solutions
News Jul.29,2025
-
Understanding Crankshaft Oil Seals: Rear Seals, Pulley Seals, and Their Role in Engine Integrity
News Jul.29,2025
-
The Importance of Front and Rear Crankshaft Seals in Engine Performance and Oil Management
News Jul.29,2025
-
Crank Oil Seals: Functions, Types, and Cost Considerations in Engine Maintenance
News Jul.29,2025
-
A Comprehensive Guide to O-Rings and Seals: Types, Materials, and Global Applications
News Jul.29,2025
-
Mastering Diesel and Performance Engine Maintenance: A Guide to Critical Oil Gaskets
News Jul.28,2025
Products categories


