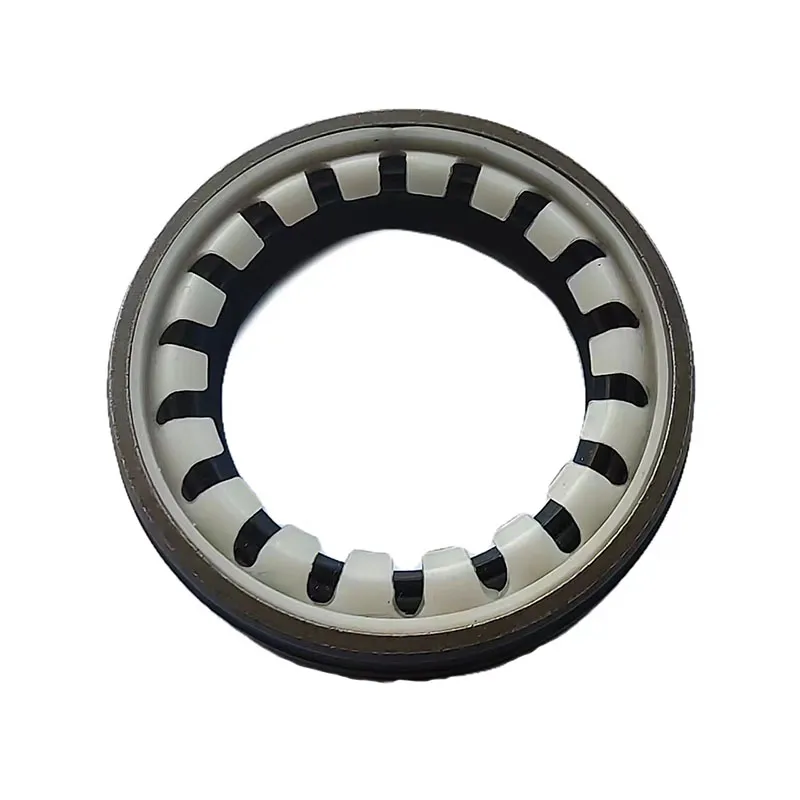
Steps to Replace Front Engine Oil Seal for Optimal Performance
Replacing Front Engine Oil Seal A Comprehensive Guide
The front engine oil seal is a critical component that plays a vital role in maintaining the integrity of the engine by preventing oil leaks. Over time and with regular engine operation, the oil seal can wear out due to heat, friction, and exposure to various environmental factors. When it fails, it can lead to significant engine problems, including loss of lubrication, overheating, and even severe damage if not addressed promptly. This article provides a step-by-step guide on how to replace a front engine oil seal effectively.
Understanding the Importance of the Oil Seal
Before diving into the replacement process, it’s essential to understand the function of the front engine oil seal. This seal is designed to keep the engine oil contained within the engine and prevent it from leaking out. It is typically located at the front of the engine, often around the crankshaft or camshaft. A failure of this seal can not only lead to oil leaks but can also attract dirt, debris, and moisture into the engine, which can cause wear and tear on engine components. Regular inspection and timely replacement of the oil seal are crucial for maintaining optimal engine performance.
Signs You Need to Replace Your Oil Seal
Identifying the right time to replace your front engine oil seal is crucial. Some common signs of a failing oil seal include
- Oil Leaks Puddles of oil underneath your vehicle or oily spots on the engine itself. - Oil Low Warning Light Illuminated dashboard lights indicating low oil levels. - Burning Oil Smell A noticeable odor indicating oil is burning on heated engine surfaces.
If you notice any of these signs, it's time to consider replacing the oil seal.
Tools and Materials Needed
Before starting the replacement process, gather the following tools and materials
- New front engine oil seal - Socket set and wrenches - Screwdrivers (both flat-head and Phillips) - Oil catch pan - Seal puller or a flat pry tool - Lubricating oil or grease - Clean rags - Safety glasses and gloves
replacing front engine oil seal

Step-by-Step Replacement Process
1. Prepare the Vehicle Start by parking the vehicle on a flat surface and securing it with wheel chocks. If necessary, raise the front of the vehicle using a jack and secure it on jack stands.
2. Drain Engine Oil Place an oil catch pan under the oil pan and drain the engine oil. This step is crucial to avoid any mess while replacing the seal.
3. Remove Accessories Depending on your vehicle make and model, you may need to remove certain components, such as belts and hoses, obstructing access to the front engine oil seal.
4. Remove the Old Seal Using a seal puller or a flat pry tool, carefully remove the old oil seal. Be cautious not to damage the surrounding surfaces. Clean the area thoroughly to ensure no debris enters the engine.
5. Install the New Seal Before installing the new seal, lightly lubricate the outer edge with engine oil or grease. Gently press the new oil seal into place, ensuring it is seated evenly without any misalignment. A rubber mallet can be used to tap it in gently if necessary.
6. Reassemble Components Once the new seal is secured, reattach any removed accessories, belts, and hoses. Make sure everything is connected properly and securely.
7. Refill Engine Oil Replace the drain plug and refill the engine with fresh oil through the oil filler cap. Follow the manufacturer's specifications for the correct oil type and quantity.
8. Check for Leaks Start the engine and let it run for a few minutes. Check for any signs of oil leakage around the newly installed seal. If everything appears secure, turn off the engine and check the oil level, adding more oil if necessary.
Conclusion
Replacing the front engine oil seal may seem daunting, but with the right tools and follow-through on the steps outlined above, it can be accomplished by most car enthusiasts. Regular check-ups and maintaining the integrity of the oil seal not only ensure the longevity of your engine but also enhance its performance. If you're uncomfortable performing this task on your own, it's advisable to seek help from a professional mechanic. Take care of your engine; it will pay you back in longevity and reliability.
-
Understanding the Importance of the Crankshaft Oil Seal in Engine Performance
News Jun.16,2025
-
The Unsung Heroes of Engine Protection: Understanding Automotive Shaft Seals and Oil Seals
News Jun.16,2025
-
Keeping the Engine Tight: The Role of Crankshaft Seals and Gaskets in Oil Control
News Jun.16,2025
-
Complete Protection in Harsh Conditions: A Deep Dive into Cassette Seals
News Jun.16,2025
-
Choosing the Right Oil Seal: A Guide to Trusted Brands and Suppliers
News Jun.16,2025
-
Advanced Sealing Technologies: Exploring the Range of Modern Oil Seals
News Jun.16,2025
-
Your Essential Guide to Car Repair Kits: From Rust to Dings
News Jun.13,2025
Products categories


