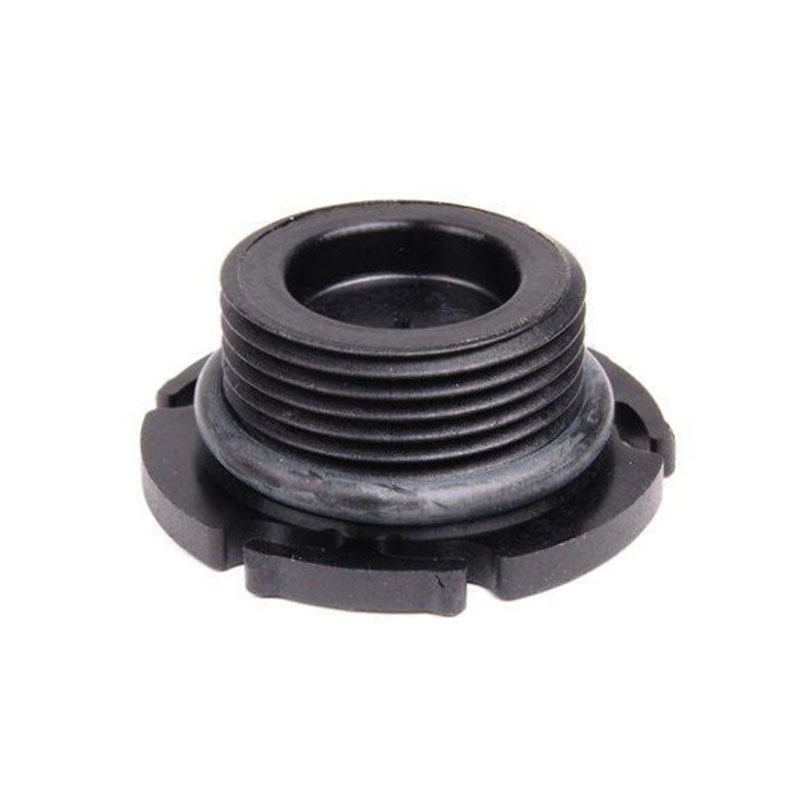
Replacing the Front Engine Oil Seal for Improved Performance and Reliability
Replacing the Front Engine Oil Seal A Comprehensive Guide
The front engine oil seal is a crucial component of the engine, responsible for preventing oil from leaking out of the engine's front. Over time, this seal can wear out due to heat, pressure, and the constant movement of engine parts. When this happens, oil leaks can occur, leading to potential engine damage and decreased performance. If you’ve noticed oil spots on your garage floor or a drop in engine oil levels, it might be time to replace the front engine oil seal.
Understanding the Role of the Front Engine Oil Seal
The front oil seal is located at the front of the engine, commonly near the crankshaft. Its primary function is to maintain oil within the engine while allowing the crankshaft to rotate freely. This seal ensures that oil circulates properly to lubricate engine components, reduce friction, and dissipate heat. A worn or damaged seal can lead to oil leakage, which may cause the engine to run low on oil, resulting in increased wear and potential engine failure.
Signs of a Worn Front Engine Oil Seal
Before diving into the replacement process, it's essential to recognize the signs of a failing front engine oil seal. Common indicators include
1. Oil Leaks If you see fresh oil puddles or spots under your vehicle, especially near the engine's front, this can indicate a leaking oil seal.
2. Oil Levels Dropping Regularly checking your dipstick and noticing a frequent drop in oil levels can signal a leak.
3. Engine Smell Burning oil often emits a distinct odor that can be detected if oil is leaking onto hot engine components.
4. Increased Engine Noise Low oil levels can lead to inadequate lubrication, resulting in engine noise due to friction.
Replacing the Front Engine Oil Seal A Step-by-Step Guide
replacing front engine oil seal

1. Preparation Begin by gathering the necessary tools, such as a wrench set, screwdriver, oil seal puller, new oil seal, and engine oil. Ensure you have safety gear, including gloves and goggles.
2. Drain Engine Oil Before starting, it's crucial to drain the engine oil. This prevents spills and allows for easier access to the oil seal.
3. Remove Necessary Components Depending on your vehicle, you may need to remove several parts to access the oil seal. This could include the timing cover, crankshaft pulley, or harmonic balancer.
4. Extract the Old Oil Seal Use an oil seal puller to carefully remove the old seal. Be cautious not to damage the crankshaft or surrounding areas during this process.
5. Clean the Area Before installing the new seal, clean the surface where the seal sits to ensure a proper fit. Any debris or old sealant can compromise the performance of the new seal.
6. Install the New Oil Seal Carefully press the new oil seal into place, ensuring it's aligned correctly. A small amount of oil on the outer surface can help ease installation.
7. Reassemble Components Reinstall any parts you previously removed. Make sure to tighten all bolts to the manufacturer’s specifications.
8. Refill Engine Oil Once everything is back in place, refill the engine with the appropriate type and amount of oil.
9. Test for Leaks Start the engine and let it run for a few minutes. Check the area around the new oil seal for any signs of leakage.
Conclusion
Replacing the front engine oil seal is a manageable task for those with some mechanical knowledge. Regular inspection of your engine components and prompt replacement of worn out parts can significantly prolong the life of your vehicle. If you’re unsure, however, or if the task seems daunting, consult a professional mechanic for assistance. Keeping your engine well-maintained will lead to better performance and reliability in the long run.
-
Understanding Automotive Oil Seals: Essential Components for Engine and Shaft Protection
News Jul.30,2025
-
The Importance of Heavy Duty Seals in Industrial and Residential Applications
News Jul.30,2025
-
Exploring Industrial Oil Seals: From Felt Oil Seals to TTO and CFW Solutions
News Jul.30,2025
-
Essential Guide to Oil Seals: From Radial to Metal-Cased Seals for Industrial Reliability
News Jul.30,2025
-
Choosing the Right Oil Seals and Gaskets for Industrial and Automotive Applications
News Jul.30,2025
-
Cassette Seals: Durable Sealing Solutions for Harsh Environments
News Jul.30,2025
-
Understanding the Front Main Engine Seal: Purpose, Maintenance, and Installation
News Jul.29,2025
Products categories


