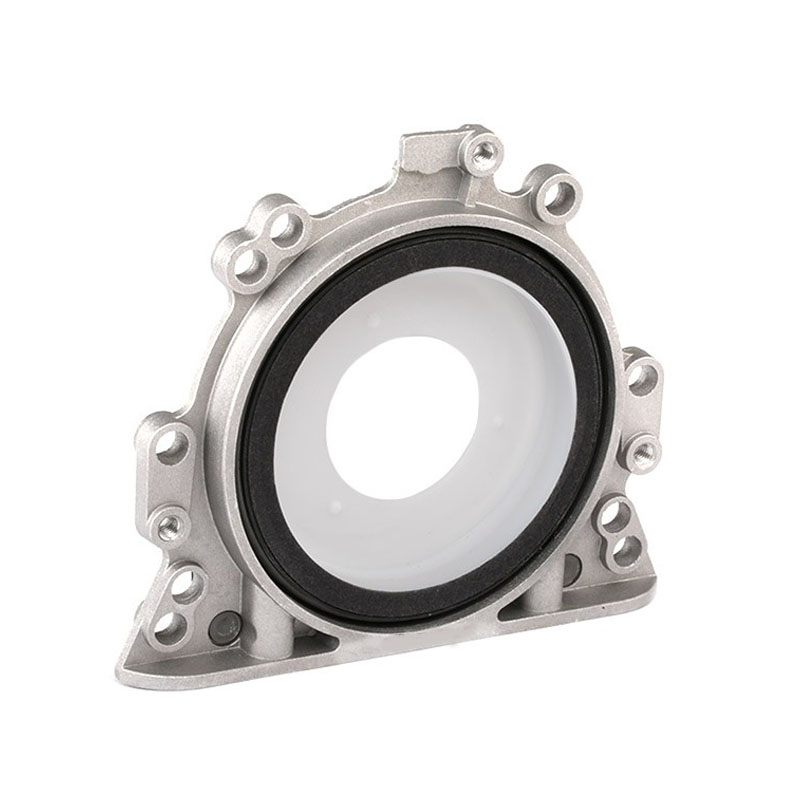
replacing front main seal
Replacing the Front Main Seal A Comprehensive Guide
The front main seal is a crucial component in your vehicle's engine, serving as a barrier between the engine block and the crankshaft. Its primary function is to prevent oil leaks, and over time, exposure to high temperatures and pressure can lead to wear and degradation. If you notice oil pooling under your vehicle or find that your oil consumption has increased, it might be time to replace the front main seal.
Symptoms of a Failing Front Main Seal
Before diving into the replacement process, it’s essential to recognize the warning signs of a faulty front main seal. Common symptoms include
1. Oil Leaks A clear sign is the presence of oil spots on the ground where you park your vehicle. 2. Engine Performance Issues Excessive oil loss may lead to lower oil levels, which can affect engine performance and longevity.
3. Oil Pressure Warning Light If this light comes on your dashboard, it could indicate low oil levels caused by a leak.
Given these symptoms, if you suspect a failing front main seal, it’s advisable to address the issue promptly to prevent further engine damage.
Replacement Process
Replacing the front main seal can be a daunting task, but with the right tools and patience, it can be accomplished with relative ease.
replacing front main seal

1. Gather Your Tools You will need a socket set, screwdrivers, a torque wrench, a seal puller, and a new front main seal.
2. Prepare Your Vehicle Begin by disconnecting the battery and draining the engine oil. This step is crucial for preventing any accidents.
3. Remove the Timing Cover Most front main seals are located behind the timing cover. Therefore, you will need to carefully remove it and any belts or pulleys blocking access.
4. Extract the Old Seal Use a seal puller to gently remove the old seal from its housing. Be cautious not to scratch the surfaces around it.
5. Install the New Seal Before installing the new seal, ensure that the sealing surface is clean. Place the new seal evenly into its housing, using a seal driver or a soft mallet to ensure it sits flush.
6. Reassemble Reattach the timing cover, belts, and any other components you removed. Refill the engine with oil and reconnect the battery.
Conclusion
Replacing the front main seal can save you from costly repairs down the line. While it requires effort and care, the satisfaction of resolving an oil leak and maintaining your vehicle’s performance is well worth it. Always consult your vehicle’s manual for specific instructions and torque specifications, and if you're unsure, don’t hesitate to seek professional assistance.
-
Understanding Automotive Oil Seals: Essential Components for Engine and Shaft Protection
News Jul.30,2025
-
The Importance of Heavy Duty Seals in Industrial and Residential Applications
News Jul.30,2025
-
Exploring Industrial Oil Seals: From Felt Oil Seals to TTO and CFW Solutions
News Jul.30,2025
-
Essential Guide to Oil Seals: From Radial to Metal-Cased Seals for Industrial Reliability
News Jul.30,2025
-
Choosing the Right Oil Seals and Gaskets for Industrial and Automotive Applications
News Jul.30,2025
-
Cassette Seals: Durable Sealing Solutions for Harsh Environments
News Jul.30,2025
-
Understanding the Front Main Engine Seal: Purpose, Maintenance, and Installation
News Jul.29,2025
Products categories


