Changing Oil Filter Housing Gasket
Changing the Oil Filter Housing Gasket A Step-by-Step Guide
Changing the oil filter housing gasket is a crucial maintenance task that helps prevent oil leaks and ensures the efficiency of your vehicle’s engine. Over time, gaskets can become worn or damaged due to heat, pressure, and exposure to oil, leading to leaks that can cause serious engine damage if left unchecked. This guide will walk you through the process of changing your oil filter housing gasket.
Gathering the Necessary Tools and Materials
Before you begin, make sure you have all the tools and materials you'll need. This typically includes a socket set, a torque wrench, a gasket scraper, clean rags, and the new oil filter housing gasket. It’s advisable to also have a small container to catch any dripped oil during the process and engine oil for refilling.
Preparing the Vehicle
Start by ensuring your vehicle is on a flat, stable surface. If necessary, lift the front of the vehicle using a jack and secure it with jack stands. Make sure the engine is cool to avoid burns. Detach the negative battery terminal to prevent any electrical accidents during the maintenance.
Removing the Old Gasket
changing oil filter housing gasket
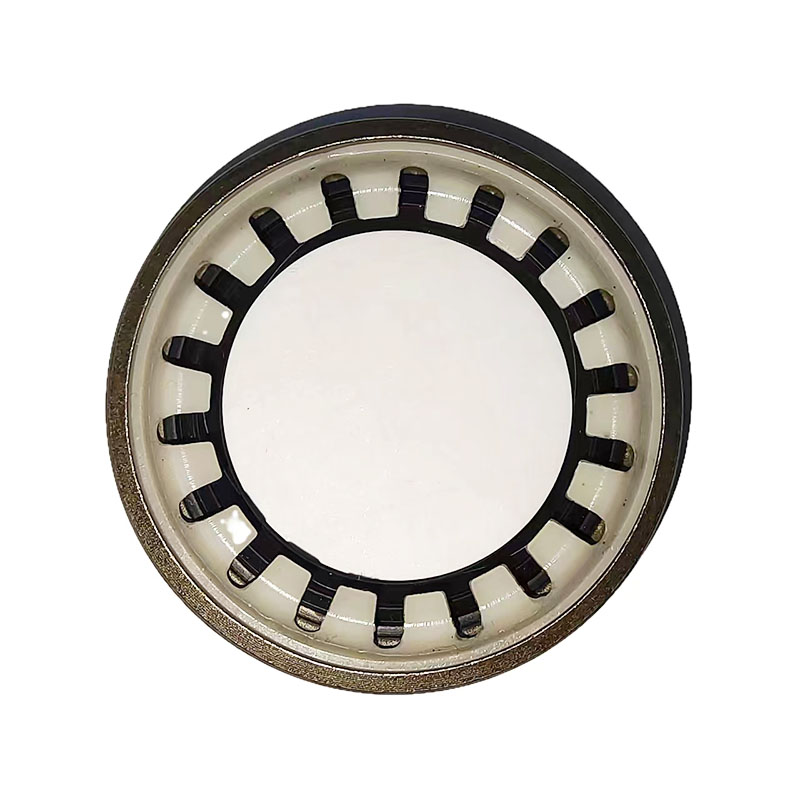
Locate the oil filter housing, which is usually situated near the engine block. Remove the oil filter and any plastic covers that might obstruct access. Use a gasket scraper to carefully remove the old gasket material from the mating surfaces. Be cautious not to damage the surfaces, as this can create further issues with sealing.
Installing the New Gasket
Before placing the new gasket, clean the surfaces thoroughly with a rag to remove any debris and oil. Position the new gasket on the oil filter housing. Ensure it sits properly and aligns with all holes. Reinstall the oil filter and any covers you removed earlier, tightening them to the manufacturer's specifications using a torque wrench to avoid over-tightening.
Refilling Oil and Testing for Leaks
Once everything is securely reassembled, refill the engine with fresh oil as specified in your vehicle's manual. Reconnect the negative battery terminal. Start the engine and let it run for a few minutes while checking for leaks around the oil filter housing. If you notice any leaks, review your work and tighten the components as needed.
Changing the oil filter housing gasket might seem daunting, but with patience and attention to detail, you can successfully complete this task, ensuring your vehicle runs smoothly and efficiently. Regular maintenance will go a long way in extending the life of your engine.
-
Understanding Automotive Gaskets: Keeping Your Engine and Transmission Leak-Free
News May.07,2025
-
The Ultimate Guide to Car Repair Kits: Everything You Need for On-the-Go Fixes
News May.07,2025
-
The Small Seal with a Big Job: Understanding Oil Drain Plug Washers
News May.07,2025
-
The Rise of Plastic Oil Drain Plugs: Convenience or Compromise?
News May.07,2025
-
Mastering Oil Pan Sealing: Gaskets, Plugs, And Materials Explained
News May.07,2025
-
A Comprehensive Guide to Oil Pan Gaskets for Transmission and B-Series Engines
News May.07,2025
-
Understanding the Front Main Engine Seal: Importance, Symptoms & Replacement
News May.06,2025
Products categories
-

Brass cutlass marine bearing
-
Genuine OEM Engine Oil Filter Housing Cover O-Ring For VW/Audi 06E115446
-
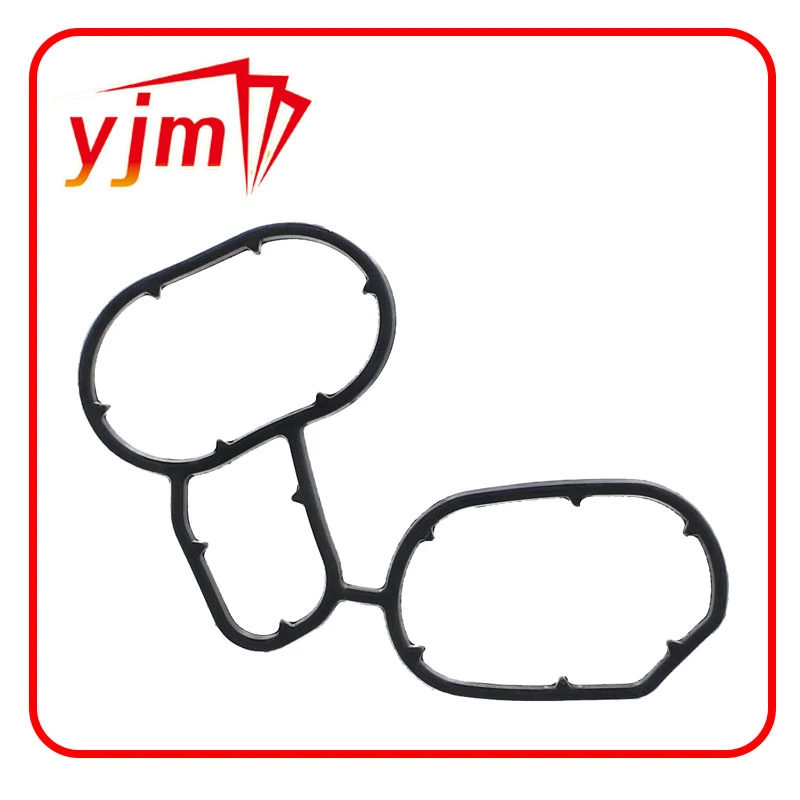
Oil Filter Stand Gasket,Oil filter cover seal
-
Oil Cooler Gasket, Oil Cooler to Oil Filter Housing 11427525335
-
11427508970 BMW - OIL FILTER HOUSING GASKETS
-

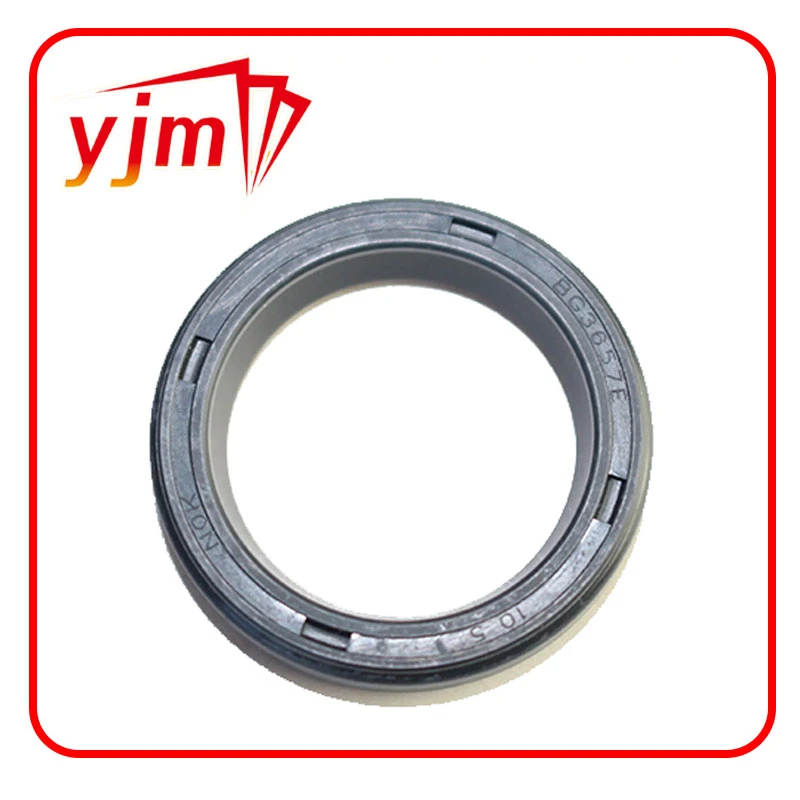
SEAL, OIL Genuine Toyota (9031170011)
-
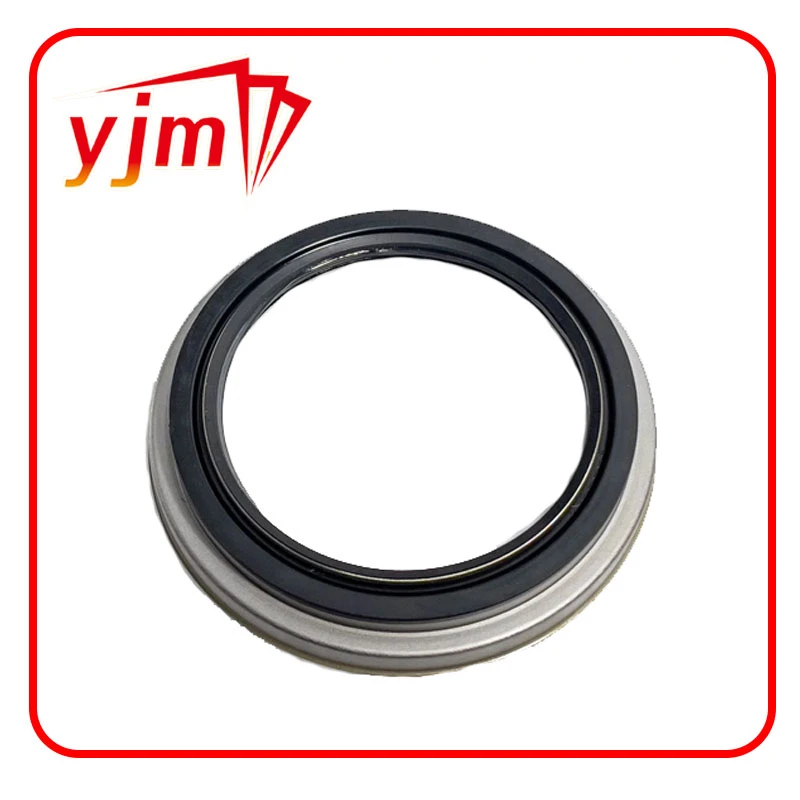
Transfer Case Output Shaft Seal Part 9031223001
-
SEAL, OIL Genuine Toyota (9031672001)
-

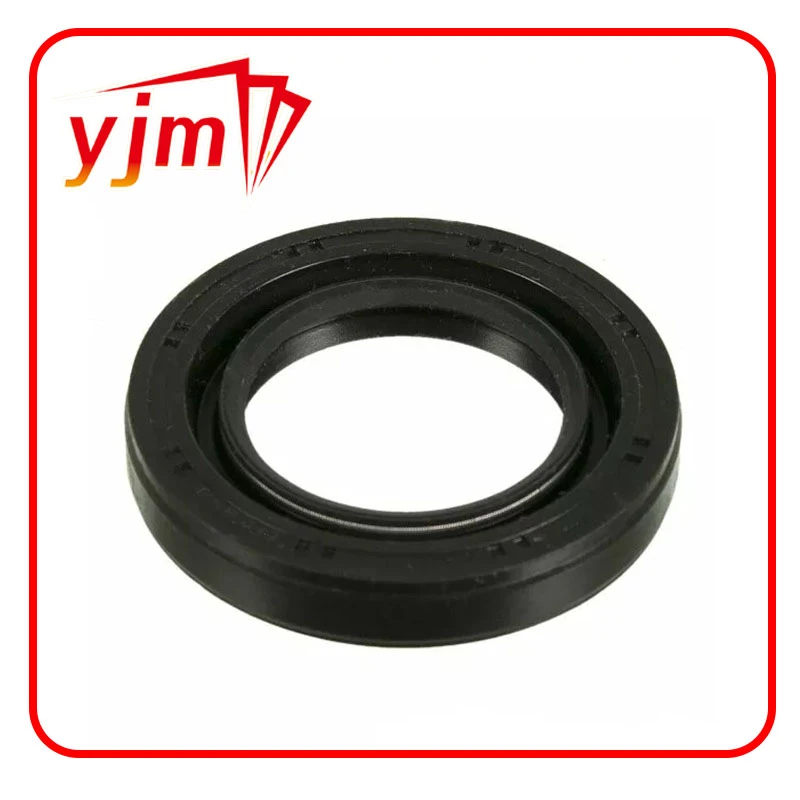
Engine Crankshaft Oil Seal No.9031138096
-
Toyota Transfer Case Output Shaft Seal Front 9031136006
-
Seal, type v oil 9031287001 TOYOTA
-
Oil pump seal 9031143010
-

Genuine Toyota Oil SEAL 90311-54006
-
Toyota SEAL TYPE T OIL 90311-48031
-

Type T Oil Seal, Front Drive Shaft, Left 9031150064
-
Seal, type d oil 9031634001 TOYOTA