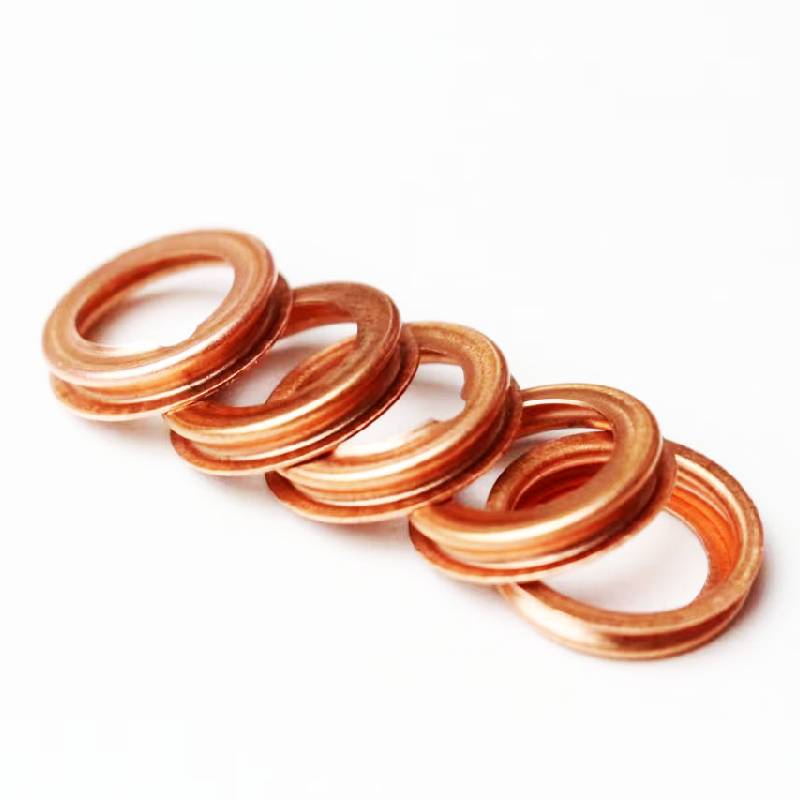
How to Replace the Oil Filter Housing Gasket for Your Vehicle
Replacing Oil Filter Housing Gasket A Step-by-Step Guide
The oil filter housing gasket plays a crucial role in maintaining the integrity of your vehicle's lubrication system. Over time, gaskets can deteriorate due to heat, exposure to oil, or simply because of age. A faulty oil filter housing gasket can lead to oil leaks, which can damage engine components and lead to costly repairs. If you notice oil spots under your vehicle or the engine oil level dropping unexpectedly, it may be time to replace the oil filter housing gasket. Here’s a comprehensive guide on how to tackle this task efficiently.
Tools and Materials Needed
1. New oil filter housing gasket 2. Oil filter wrench 3. Socket set 4. Torque wrench 5. Gasket scraper or razor blade 6. Clean rags 7. Engine oil 8. Safety gloves and goggles 9. Drain pan
Step 1 Safety First
Before starting any maintenance work, ensure your vehicle is parked on a level surface. Engage the parking brake, and if necessary, elevate the vehicle using ramps or jack stands for better access. It’s also wise to wear safety gloves and goggles to protect yourself from any debris or oil splashes.
Step 2 Drain the Engine Oil
To prevent spills, place a drain pan under the oil pan and remove the drain plug to let the old oil drain completely. This step is essential to avoid creating a mess and making it easier to work on the oil filter housing.
Step 3 Remove the Oil Filter
Using an oil filter wrench, carefully unscrew the oil filter from its housing. Be prepared for some residual oil to spill out when disconnecting the filter. Make sure to dispose of the old filter properly according to local regulations.
Step 4 Access the Oil Filter Housing Gasket
Locate the oil filter housing, which is typically situated on the engine block. Remove any components that might obstruct access, such as air intake ducts or covers. This might require a socket set, so be prepared to remove several bolts.
replacing oil filter housing gasket

Step 5 Remove the Old Gasket
Once you can see the housing, carefully remove the old gasket using a gasket scraper or a razor blade. Ensure that no debris falls into the oil passages, as this can lead to serious engine damage. Clean the sealing surfaces thoroughly to ensure a proper seal with the new gasket.
Step 6 Install the New Gasket
Position the new gasket onto the oil filter housing. Make sure it aligns with the holes and is seated properly. Reinstall the oil filter housing and tighten the bolts to the manufacturer’s specifications using a torque wrench to prevent over-tightening.
Step 7 Reinstall the Oil Filter
Screw in the new oil filter, ensuring it is securely in place. Lubricate the rubber gasket on the filter with a bit of new oil before installation to create a better seal.
Step 8 Refill Engine Oil
After everything is secured, replace the drain plug and refill the engine with the appropriate type and amount of oil as specified in your owner’s manual.
Step 9 Check for Leaks
Start the engine and let it run for a few minutes while monitoring for any leaks around the oil filter and housing. If you notice any leaks, turn off the engine and investigate the issue.
Replacing an oil filter housing gasket can seem daunting, but with patience and the right tools, it is a manageable task that can save you from larger problems down the road. Regular maintenance is key to keeping your engine running smoothly.
-
Understanding Automotive Oil Seals: Essential Components for Engine and Shaft Protection
News Jul.30,2025
-
The Importance of Heavy Duty Seals in Industrial and Residential Applications
News Jul.30,2025
-
Exploring Industrial Oil Seals: From Felt Oil Seals to TTO and CFW Solutions
News Jul.30,2025
-
Essential Guide to Oil Seals: From Radial to Metal-Cased Seals for Industrial Reliability
News Jul.30,2025
-
Choosing the Right Oil Seals and Gaskets for Industrial and Automotive Applications
News Jul.30,2025
-
Cassette Seals: Durable Sealing Solutions for Harsh Environments
News Jul.30,2025
-
Understanding the Front Main Engine Seal: Purpose, Maintenance, and Installation
News Jul.29,2025
Products categories


