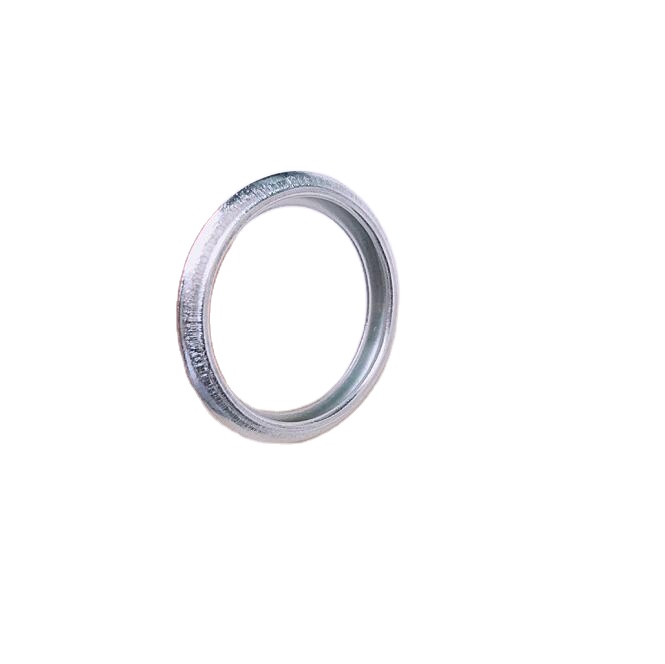
Steps to Change an Oil Filter Housing in Your Vehicle
Replacing Oil Filter Housing A Comprehensive Guide
The oil filter housing plays a critical role in your vehicle's engine performance. It is responsible for holding the oil filter in place and ensuring that the oil is effectively circulated throughout the engine, promoting smoother operation and longevity of engine components. Over time, the oil filter housing can wear out, become damaged, or develop leaks, necessitating a replacement. This article will provide a comprehensive guide on how to replace the oil filter housing in your vehicle.
Understanding the Oil Filter Housing
The oil filter housing is the component that accommodates the oil filter. The housing is typically made from metal or high-quality plastic and is strategically placed to allow oil to circulate through the filter before it returns to the engine. A well-functioning oil filter housing is essential for maintaining proper oil pressure and ensuring that the engine oil remains clean and free of debris.
Signs of a Failing Oil Filter Housing
Before deciding to replace your oil filter housing, it is crucial to identify the signs of failure. Common indicators include
1. Oil Leaks One of the most apparent signs is the presence of oil spots under your vehicle. If you notice oil pooling or dripping, it may originate from a compromised oil filter housing. 2. Low Oil Pressure A drop in oil pressure can signal leaks in the system. If your oil pressure warning light illuminates, it’s advisable to check the housing. 3. Engine Noise Lack of sufficient oil circulation can lead to increased engine noise as components do not receive the lubrication they require.
4. Overheating Reduced oil circulation can also cause the engine to overheat due to insufficient lubrication.
Tools and Materials Needed
To replace the oil filter housing, you'll need some tools and materials
- New oil filter housing - Oil filter (if replacing) - Engine oil - Socket set - Screwdrivers - Oil drain pan - Gasket sealant - Torque wrench - Clean rags
Step-by-Step Replacement Procedure
replacing oil filter housing

1. Prepare the Vehicle Park on a flat surface, engage the parking brake, and raise the front of the vehicle with jack stands. Always wear safety gear.
2. Drain the Engine Oil Place your oil drain pan under the oil pan and remove the drain plug to allow the oil to drain completely. Replace and secure the drain plug once emptied.
3. Remove the Old Oil Filter Locate the oil filter housing and unscrew the oil filter using an oil filter wrench. Allow any residual oil to drain into the pan.
4. Remove the Oil Filter Housing Disconnect any components obstructing access to the housing. Use the appropriate sockets to remove the bolts securing the oil filter housing. Carefully lift it away from the engine.
5. Clean the Mounting Surface Before installing the new housing, clean the mounting surface thoroughly to prevent leaks. Remove old gasket material if present.
6. Install the New Oil Filter Housing Apply a thin layer of gasket sealant on the new housing and position it correctly. Secure it in place using the bolts, tightening them to the manufacturer's recommended torque specifications.
7. Install the New Oil Filter Ensure that the rubber O-ring on the new filter is lubricated slightly with clean oil. Screw the new oil filter onto the housing, hand-tightening it securely.
8. Refill Engine Oil Pour the appropriate amount of new engine oil through the oil filler cap. Check your owner’s manual for the specific oil capacity.
9. Check for Leaks Recheck all connections and components. Start your engine and let it run for a few minutes while monitoring for leaks around the oil filter housing.
10. Dispose of Used Oil Properly Be sure to recycle the oil and filter as per local regulations.
Conclusion
Replacing the oil filter housing is a straightforward process that can significantly impact your vehicle's performance if done correctly. Regular maintenance and timely replacement of worn components will ensure your engine runs smoothly and efficiently. If you’re uncertain about any step, consulting a professional mechanic is always a prudent choice.
-
The Ultimate Guide to Car Repair Kits: Tools and Essentials Every Driver Should Own
News Aug.01,2025
-
The Complete Guide to Oil Pan Gaskets: Sealing Engine Leaks the Right Way
News Aug.01,2025
-
Preventing Oil Leaks: A Complete Guide to Oil Pan Gaskets and Drain Seals
News Aug.01,2025
-
Everything You Need to Know About Oil Pan Gaskets and Drain Plug Seals
News Aug.01,2025
-
Essential for Car Owners: How to Use a Car Repair Kit to Deal with Minor Breakdown
News Aug.01,2025
-
Comprehensive Guide to Engine Oil Sump Gaskets and Related Seals
News Aug.01,2025
-
The Ultimate Guide to Boat Propeller Bearings and Trailer Wheel Bearings
News Jul.31,2025
Products categories


