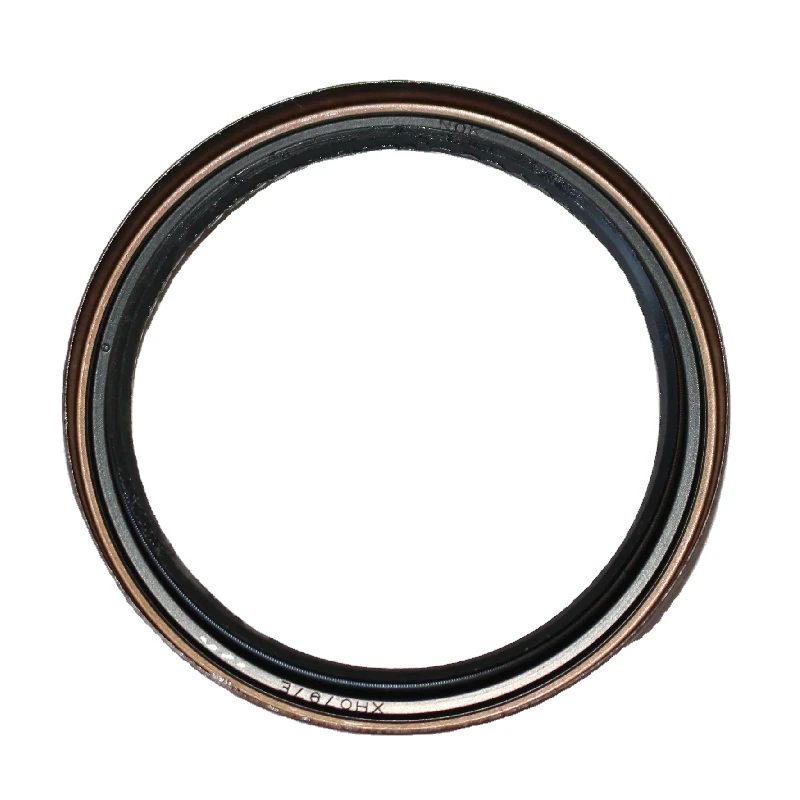
Tips for Replacing Your Oil Pan Gasket Effectively and Efficiently
Removing Oil Pan Gasket A Comprehensive Guide
The oil pan gasket is a vital component of your vehicle’s engine, providing a seal between the oil pan and the engine block. Over time, this gasket can wear out due to heat, pressure, and exposure to oil, leading to leaks that can significantly impact engine performance and longevity. Removing the oil pan gasket is a necessary procedure for replacing it and preventing further engine damage. Here’s a step-by-step guide on how to remove the oil pan gasket effectively.
Tools and Materials Needed
Before diving into the removal process, gather the necessary tools and materials, including
- Socket set - Wrench set - Torque wrench - Scraper tool - Gasket removal solvent - Clean rags - New oil pan gasket - Engine oil
Safety Precautions
Always remember safety first. Make sure the vehicle is parked on a flat surface, and the engine is cool. It’s also advisable to disconnect the battery to avoid any electrical issues during the removal process.
Step-by-Step Removal Process
1. Elevate the Vehicle Use a hydraulic jack to lift the front of the vehicle and secure it with jack stands. This provides ample space to work underneath.
2. Drain the Engine Oil Place an oil catch pan beneath the oil pan. Remove the oil drain plug and let the oil drain completely. Once drained, replace the drain plug.
removing oil pan gasket

3. Remove the Oil Pan Bolts Using a socket or wrench, remove all the bolts securing the oil pan. Remember to note their positions for reinstallation, as they can vary in size.
4. Detaching the Oil Pan Gently pry the oil pan away from the engine block using a scraper tool. Be cautious, as it may be stuck due to old gasket material. Avoid using excessive force to prevent damaging the pan or engine block.
5. Clean the Surface Once the oil pan is removed, use a gasket removal solvent and clean rags to remove any residue of the old gasket from both the oil pan and the engine block. Ensure the surfaces are smooth, as any leftover material can lead to leaks once the new gasket is installed.
6. Install the New Gasket Carefully place the new oil pan gasket onto the oil pan, ensuring it aligns with the bolt holes. If the gasket is reusable, ensure it is still in good condition.
7. Reattach the Oil Pan Position the oil pan back onto the engine block and hand-tighten the bolts. Once all bolts are in place, use a torque wrench to tighten them to the manufacturer’s specifications.
8. Refill Engine Oil With the oil pan securely reattached, refill the engine with fresh oil through the oil filler cap. Replace the cap securely once done.
9. Lower the Vehicle and Test Lower the vehicle back to the ground and reconnect the battery. Start the engine and check for any leaks around the oil pan area.
Conclusion
Removing and replacing the oil pan gasket is a straightforward process that can save you money and ensure your engine runs smoothly. Regular maintenance and vigilance for oil leaks can help prevent more significant engine problems in the future. Always refer to your vehicle’s manual for specific instructions and torque specifications. Happy repairing!
-
Understanding Automotive Oil Seals: Essential Components for Engine and Shaft Protection
News Jul.30,2025
-
The Importance of Heavy Duty Seals in Industrial and Residential Applications
News Jul.30,2025
-
Exploring Industrial Oil Seals: From Felt Oil Seals to TTO and CFW Solutions
News Jul.30,2025
-
Essential Guide to Oil Seals: From Radial to Metal-Cased Seals for Industrial Reliability
News Jul.30,2025
-
Choosing the Right Oil Seals and Gaskets for Industrial and Automotive Applications
News Jul.30,2025
-
Cassette Seals: Durable Sealing Solutions for Harsh Environments
News Jul.30,2025
-
Understanding the Front Main Engine Seal: Purpose, Maintenance, and Installation
News Jul.29,2025
Products categories


