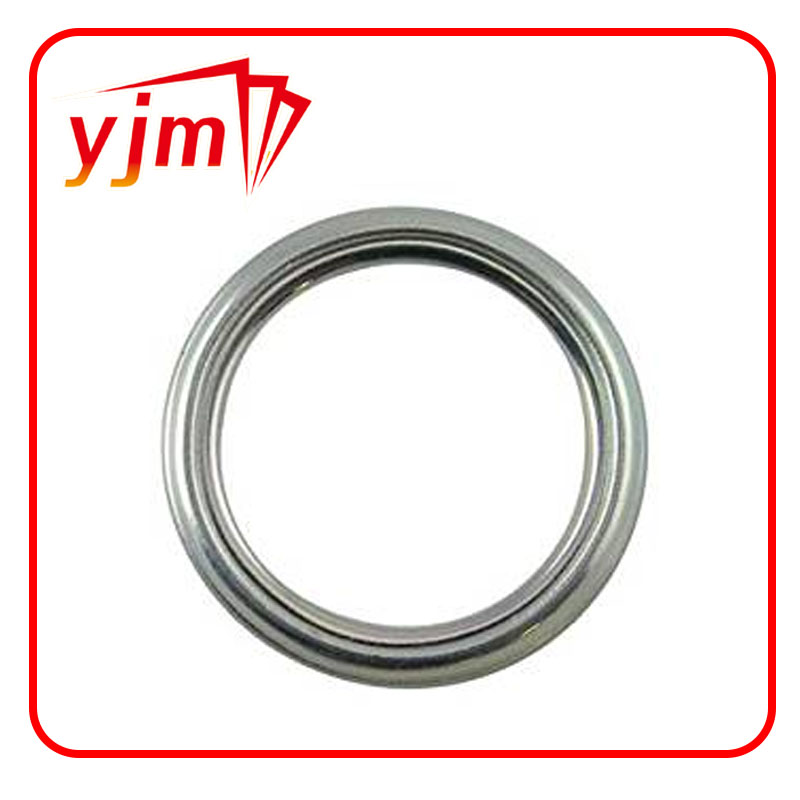
removing oil pan gasket
Removing Oil Pan Gasket A Step-by-Step Guide
Removing the oil pan gasket is a crucial part of maintaining your vehicle and ensuring that there are no leaks in the oil system. Whether you’re facing oil leaks or you’re undertaking a complete engine overhaul, understanding the proper procedure to remove the oil pan gasket is essential. Here’s a step-by-step guide to help you through the process.
Step 1 Gather Your Tools and Materials
Before you start, gather all the necessary tools. You will need a jack and jack stands, socket wrenches, a scraper or gasket removal tool, a torque wrench, and a new oil pan gasket. It's also a good idea to have some rags for cleanup and a drain pan to catch any oil that spills.
Step 2 Safety First
Before working on your vehicle, ensure it’s parked on a flat surface and engage the parking brake. If your car is low to the ground, use a jack to raise it and place it securely on jack stands. This will provide you with the necessary access to the oil pan.
Step 3 Drain the Engine Oil
To prevent a mess, start by draining the engine oil. Locate the oil drain plug under the oil pan and place your drain pan underneath it. Remove the drain plug and let the oil drain completely. Once all the oil has drained, replace the drain plug and tighten it securely.
Step 4 Remove the Oil Pan Bolts
removing oil pan gasket

Next, start removing the bolts that secure the oil pan. Depending on the engine design, you may need to remove other components such as the exhaust pipes or crossmembers to gain access to all the bolts. Be sure to keep track of which bolts go where, as they can vary in size and length.
Step 5 Take Off the Oil Pan
With all the bolts removed, gently tap the oil pan with a rubber mallet to loosen it from the engine block. Be careful not to damage the pan or the surface of the engine. Once it’s loose, carefully lift the oil pan away from the engine.
Step 6 Clean the Surfaces
Once the oil pan is removed, you’ll see the old gasket material stuck to the oil pan and the engine block. Use a scraper to remove the old gasket, ensuring the surfaces are clean and free of debris. This step is crucial for ensuring a good seal with the new gasket.
Step 7 Install New Gasket and Reassemble
Place the new gasket on the oil pan, making sure it aligns properly. Reattach the oil pan by reversing the removal steps, tightening all bolts to the manufacturer’s recommended torque specifications. Don't forget to refill the engine with oil after reassembly.
Conclusion
Removing the oil pan gasket may seem daunting, but with the right tools and following these steps, you can do it yourself. Always refer to your vehicle’s service manual for specific instructions and torque specifications. Regular maintenance can significantly extend the life of your engine, making it worth the effort.
-
The Ultimate Guide to Car Repair Kits: Tools and Essentials Every Driver Should Own
News Aug.01,2025
-
The Complete Guide to Oil Pan Gaskets: Sealing Engine Leaks the Right Way
News Aug.01,2025
-
Preventing Oil Leaks: A Complete Guide to Oil Pan Gaskets and Drain Seals
News Aug.01,2025
-
Everything You Need to Know About Oil Pan Gaskets and Drain Plug Seals
News Aug.01,2025
-
Essential for Car Owners: How to Use a Car Repair Kit to Deal with Minor Breakdown
News Aug.01,2025
-
Comprehensive Guide to Engine Oil Sump Gaskets and Related Seals
News Aug.01,2025
-
The Ultimate Guide to Boat Propeller Bearings and Trailer Wheel Bearings
News Jul.31,2025
Products categories


