installing oil seals
Installing Oil Seals A Comprehensive Guide
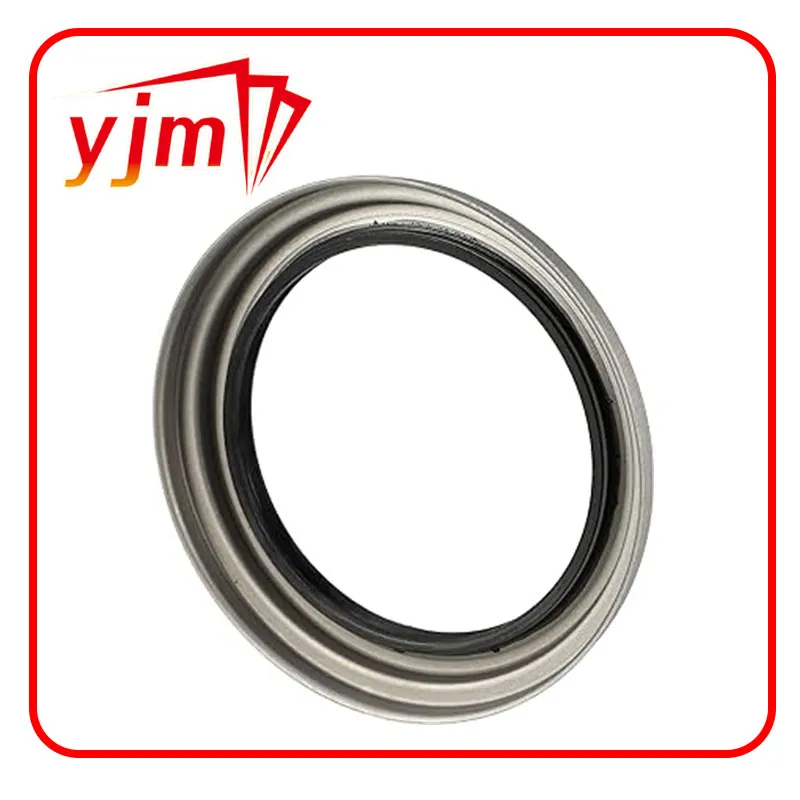
Oil seals, also known as rotary shaft seals, are crucial components in various machinery and engines. They are designed to prevent the leakage of lubricants, oil, or other fluids, while simultaneously keeping contaminants out. Proper installation of oil seals is essential for ensuring the longevity and efficiency of mechanical systems. In this article, we will walk you through the steps for correctly installing oil seals.
Understanding Oil Seals
Before diving into the installation process, it’s important to understand what oil seals are made of and their function. Typically constructed from rubber or elastomeric materials, oil seals can withstand oil, heat, and pressure. They come in various sizes and shapes, so selecting the right seal for your application is crucial. Make sure to measure the shaft diameter and the housing bore accurately before purchasing replacement seals.
Preparation for Installation
Preparation is key to a successful installation. Start by cleaning the shaft and the housing where the oil seal will be placed. Remove any dirt, old sealant, or remnants of the previous seal to ensure a smooth surface. Inspect the shaft for wear or damage, and replace it if necessary. Having the right tools on hand, such as a seal installer, a hammer, and a flat surface, will make the process easier.
Installation Steps
installing oil seals

1. Lubricate the Seal Before installation, apply a thin layer of oil or lubrication to the lip of the seal. This step helps the seal to slide into place and forms a better initial seal upon installation.
2. Align the Seal Position the oil seal over the shaft and ensure that it is aligned with the housing bore. Misalignment can cause leaks and premature wear.
3. Install the Seal Gently tap the seal into place using a seal installer or a blunt instrument. Make sure to strike evenly around the perimeter of the seal to prevent it from becoming cocked or damaged. If using a hammer, take care not to hit the edge of the seal directly to avoid deformation.
4. Verify Proper Seating Once the seal is installed, check that it is sitting flush against the housing. It should not be recessed or protruding excessively. Proper seating is critical for its functionality.
5. Final Checks After installation, double-check the area for any debris or dust, and make sure the surrounding components are clean. Reassemble any other parts that were removed during the installation process.
Conclusion
Installing oil seals may seem straightforward, but attention to detail is essential. By following the proper steps and ensuring the right tools and techniques are used, you can achieve a successful installation that extends the life of your machinery and prevents costly leaks. Regular checks and maintenance will also go a long way in keeping your equipment in top shape.
-
Understanding Automotive Oil Seals: Essential Components for Engine and Shaft Protection
News Jul.30,2025
-
The Importance of Heavy Duty Seals in Industrial and Residential Applications
News Jul.30,2025
-
Exploring Industrial Oil Seals: From Felt Oil Seals to TTO and CFW Solutions
News Jul.30,2025
-
Essential Guide to Oil Seals: From Radial to Metal-Cased Seals for Industrial Reliability
News Jul.30,2025
-
Choosing the Right Oil Seals and Gaskets for Industrial and Automotive Applications
News Jul.30,2025
-
Cassette Seals: Durable Sealing Solutions for Harsh Environments
News Jul.30,2025
-
Understanding the Front Main Engine Seal: Purpose, Maintenance, and Installation
News Jul.29,2025
Products categories


