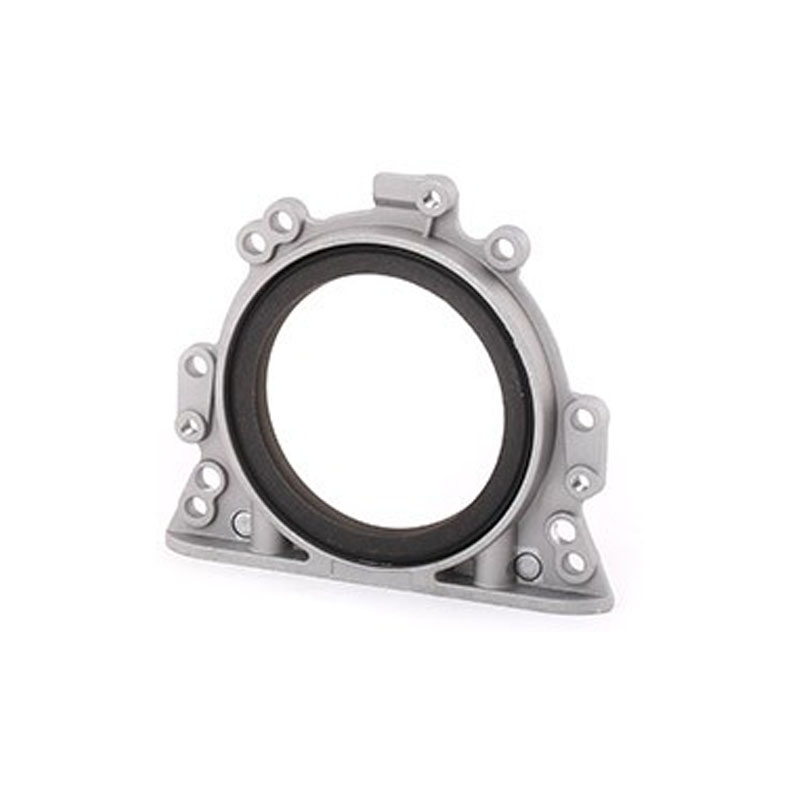
How to Change a Crankshaft Seal Step by Step Guide
Replacing the Crankshaft Seal A Step-by-Step Guide
The crankshaft seal is a crucial component in an engine that helps to prevent oil leaks and keeps the internal parts lubricated. Over time, these seals can wear out due to heat, pressure, and contaminants, leading to significant issues such as oil leaks and engine damage. If you find yourself in a situation where you need to replace the crankshaft seal, following the right steps can ensure a successful replacement.
Tools and Materials Needed
Before starting, gather the necessary tools and materials. You will need - A socket wrench set - A torque wrench - Screwdrivers - A seal puller or flathead screwdriver - Pliers - New crankshaft seal - Engine oil (for lubrication) - Gasket maker (if needed) - Clean rags
Step 1 Safety First
Ensure the vehicle is on a level surface and the engine is cool. Disconnect the battery to avoid any electrical hazards during the procedure.
Step 2 Remove Components
Depending on your vehicle's make and model, you may need to remove various components to access the crankshaft seal. This may include the harmonic balancer, timing cover, or oil pan. Use a guide specific to your vehicle for accurate instructions. Keep track of all bolts and parts removed.
Step 3 Extract the Old Seal
replacing crankshaft seal

Once you have access to the crankshaft seal, use a seal puller or flathead screwdriver to carefully remove the old seal. Be cautious not to damage the crankshaft or surrounding components. Any debris left behind can lead to leaks.
Step 4 Install the New Seal
Before installing the new seal, lubricate its outer edge with a bit of engine oil. This will help it fit more easily and create a better seal. Position the new seal in place, ensuring it is seated correctly. You can tap it gently with a hammer or use a seal driver tool to ensure it’s flush with the surrounding surface.
Step 5 Reassemble the Engine
With the new crankshaft seal in place, it’s time to reassemble any components you removed. Make sure to follow the manufacturer’s specifications for torque settings to avoid damaging any parts.
Step 6 Check for Leaks
After reassembling, reconnect the battery and start the engine. Allow it to run for a few minutes while inspecting the area around the crankshaft seal for any signs of leaks. If everything appears secure, you’ve successfully replaced the crankshaft seal!
Conclusion
Replacing the crankshaft seal can be a relatively straightforward task if approached with care and precision. By following these steps and taking proper safety measures, you can ensure a leak-free engine and maintain its optimal performance. If at any point you feel unsure, do not hesitate to consult with a professional mechanic.
-
Simplifying Oil Changes: A Comprehensive Guide to Oil Drain Plugs and Their Variants
News Aug.04,2025
-
Mastering Oil Drain Maintenance: Solutions for Stripped, Worn, and Upgraded Oil Plugs
News Aug.04,2025
-
Fixing Oil Pan Plug Issues: Leaks, Stripped Nuts, and the Right Replacement Solutions
News Aug.04,2025
-
Everything You Need to Know About Oil Drain Plugs: Sizes, Fixes, and Upgrades
News Aug.04,2025
-
Choosing the Right Oil Drain Plug: A Guide to Sizes, Materials, and Drain Innovations
News Aug.04,2025
-
A Complete Guide to Automotive Drain Plugs: Types, Problems, and Innovative Solutions
News Aug.04,2025
-
The Ultimate Guide to Car Repair Kits: Tools and Essentials Every Driver Should Own
News Aug.01,2025
Products categories


