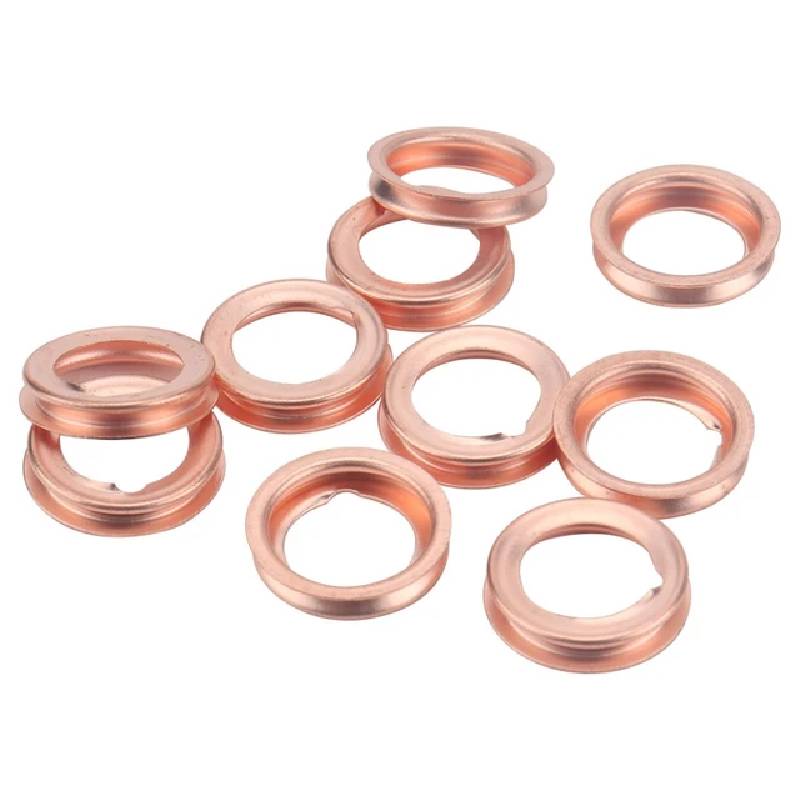
Step-by-Step Guide to Replace Oil Pan Gasket on 5.3 Engine Efficiently and Effectively
Replacing the Oil Pan Gasket on a 5.3L Engine A Step-by-Step Guide
The oil pan gasket is a critical component of your vehicle's engine that ensures a proper seal between the oil pan and the engine block. Over time, this gasket can wear out, leading to oil leaks that can cause serious damage to the engine if not addressed. If you own a vehicle with a 5.3L engine, such as those found in certain Chevy Silverado and GMC Sierra models, you might find yourself needing to replace the oil pan gasket. This guide will provide you with a step-by-step approach to successfully complete this task.
Tools and Materials Needed
Before starting, gather the necessary tools and materials - Socket set (including a deep socket) - Torque wrench - Screwdrivers (flathead and Phillips) - Oil pan gasket (make sure it’s specific to the 5.3L engine) - Engine oil (for refilling) - Oil filter (if you plan to change it) - Gasket scraper or razor blade - Clean rags - Oil catch pan - Safety glasses and gloves
Step 1 Preparation
Begin by ensuring you have a safe and well-ventilated workspace. Park your vehicle on a level surface and engage the parking brake. Before you begin the replacement, allow the engine to cool down completely to avoid burns.
Step 2 Draining the Engine Oil
Using an oil catch pan, drain the engine oil by removing the oil drain plug located at the bottom of the oil pan. Make sure to allow the old oil to completely drain out. Replace the drain plug once the oil is fully drained.
Step 3 Removing the Oil Pan
To access the oil pan gasket, you will need to remove the oil pan itself. Start by unbolting the oil pan from the engine. Depending on your vehicle’s model, you may need to remove other components such as the exhaust crossover pipe, or other parts that are obstructing access to the oil pan. Take care in protecting any wiring or hoses that may be nearby.
Step 4 Cleaning the Surfaces
replacing oil pan gasket on 5.3

Once the oil pan is removed, you will need to clean both the oil pan and the engine block surfaces thoroughly. Use a gasket scraper or razor blade to remove any remaining old gasket material. Be cautious not to scratch the surfaces. After scraping, clean the area with a rag to ensure there are no debris or contaminants.
Step 5 Installing the New Oil Pan Gasket
Take your new oil pan gasket and carefully position it on the cleaned surface of the oil pan. Many modern gaskets are pre-cut and designed to fit perfectly, making installation straightforward. Make sure it aligns properly with the bolt holes.
Step 6 Reinstalling the Oil Pan
Once the gasket is in place, lift the oil pan back into position under the engine block. Replace the bolts, tightening them in a crisscross pattern to evenly distribute the pressure. Consult your vehicle's service manual for the specific torque specifications to avoid over-tightening and damaging the gasket.
Step 7 Refilling Engine Oil
After reinstalling the oil pan, it’s time to refill the engine with fresh oil. Open the oil filler cap and pour in the recommended type and amount of engine oil. If you’re changing the oil filter, make sure to do that before adding new oil.
Step 8 Final Checks
Once everything is back in place, start the engine and let it run for a few minutes while checking for any signs of leaks. Turn off the engine and check the oil level using the dipstick. Adjust as necessary, adding more oil if needed.
Conclusion
Replacing the oil pan gasket on a 5.3L engine is a manageable task for those with basic mechanical skills. By following these steps carefully, you can help ensure your engine remains sealed and free of leaks, contributing to its longevity and performance. Always refer to your vehicle’s specific service manual for additional guidance tailored to your model. Happy wrenching!
-
Understanding the Importance of the Crankshaft Oil Seal in Engine Performance
News Jun.16,2025
-
The Unsung Heroes of Engine Protection: Understanding Automotive Shaft Seals and Oil Seals
News Jun.16,2025
-
Keeping the Engine Tight: The Role of Crankshaft Seals and Gaskets in Oil Control
News Jun.16,2025
-
Complete Protection in Harsh Conditions: A Deep Dive into Cassette Seals
News Jun.16,2025
-
Choosing the Right Oil Seal: A Guide to Trusted Brands and Suppliers
News Jun.16,2025
-
Advanced Sealing Technologies: Exploring the Range of Modern Oil Seals
News Jun.16,2025
-
Your Essential Guide to Car Repair Kits: From Rust to Dings
News Jun.13,2025
Products categories


