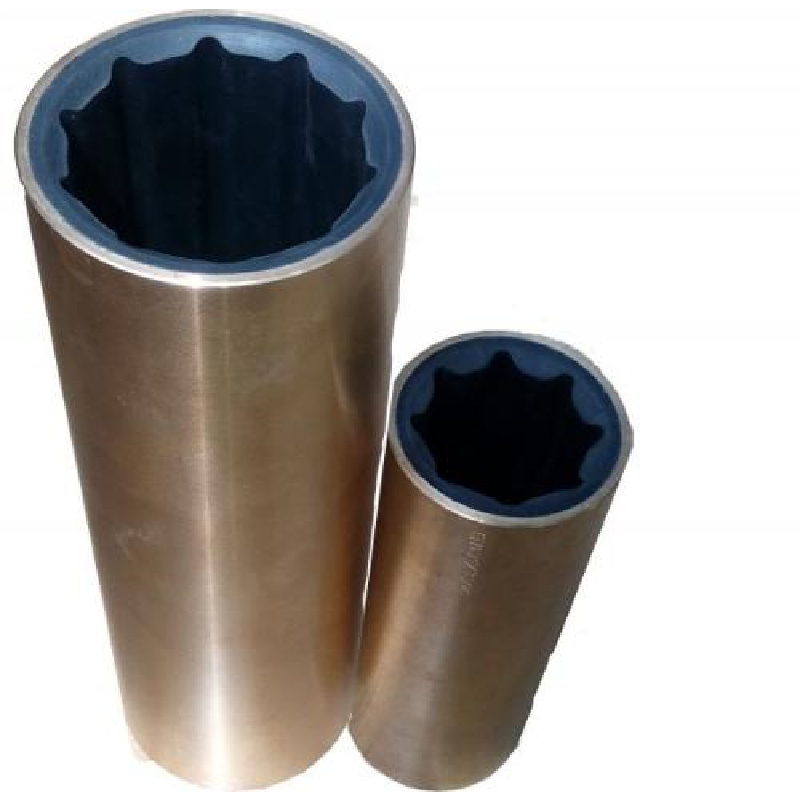
installing crankshaft seal
Installing a Crankshaft Seal A Step-by-Step Guide
A crankshaft seal is a critical component in your vehicle's engine, preventing oil leaks between the crankshaft and the engine block. Over time, these seals can wear out, leading to oil loss and potential engine damage. Replacing a crankshaft seal may seem daunting, but with the right tools and a careful approach, it can be accomplished by an enthusiastic DIYer. Here’s a step-by-step guide on how to install a crankshaft seal.
Tools and Materials Needed
Before you start, gather all necessary tools and materials. You will need - A new crankshaft seal - Seal installation tool or a socket (that matches the diameter of the seal) - Screwdrivers - Torque wrench - Clean rags - Engine oil or lubricant - Plastic scraper or putty knife - Safety glasses and gloves
Step 1 Preparation
Start by disconnecting the car battery to ensure safety while working. Raise the vehicle using jack stands for better access to the engine beneath. Remove any components that obstruct access to the crankshaft seal, such as the harmonic balancer, timing cover, or engine mounts. Consult your vehicle’s service manual for specific instructions on removing these parts.
Step 2 Locate and Remove the Old Seal
Once you have clear access to the crankshaft, locate the crankshaft seal, which is usually positioned at the rear or front of the engine. Use a screwdriver or a seal puller to carefully pry out the old seal. Take care not to damage the surrounding areas during this process. Clean the area thoroughly to remove old oil and debris, ensuring a proper seal for the new component.
installing crankshaft seal

Step 3 Prepare the New Seal
Before installation, lubricate the new crankshaft seal’s lip with a bit of clean engine oil. This will help it slide into place smoothly and provide better contact with the crankshaft.
Step 4 Install the New Seal
Align the new seal with the crankshaft and gently press it into place using your hand. To ensure an even installation, use your seal installation tool or a suitable-sized socket. Tap it gently with a hammer around the outer edge to drive the seal in until it is flush with the housing. Be cautious not to overdrive it; an improperly installed seal can lead to leaks.
Step 5 Reassemble and Test
Once the new seal is in place, reassemble all the components you removed earlier. Tighten fasteners to the manufacturer’s specifications using a torque wrench. Reconnect the battery and start the engine, allowing it to run for a few minutes while checking for leaks around the new seal.
Conclusion
Installing a crankshaft seal is a manageable task that can save you both time and money on repairs. With careful preparation and attention to detail, you can ensure your engine remains leak-free and runs smoothly. Remember to always consult your vehicle’s service manual for specific instructions tailored to your make and model.
-
The Ultimate Guide to Car Repair Kits: Tools and Essentials Every Driver Should Own
News Aug.01,2025
-
The Complete Guide to Oil Pan Gaskets: Sealing Engine Leaks the Right Way
News Aug.01,2025
-
Preventing Oil Leaks: A Complete Guide to Oil Pan Gaskets and Drain Seals
News Aug.01,2025
-
Everything You Need to Know About Oil Pan Gaskets and Drain Plug Seals
News Aug.01,2025
-
Essential for Car Owners: How to Use a Car Repair Kit to Deal with Minor Breakdown
News Aug.01,2025
-
Comprehensive Guide to Engine Oil Sump Gaskets and Related Seals
News Aug.01,2025
-
The Ultimate Guide to Boat Propeller Bearings and Trailer Wheel Bearings
News Jul.31,2025
Products categories


