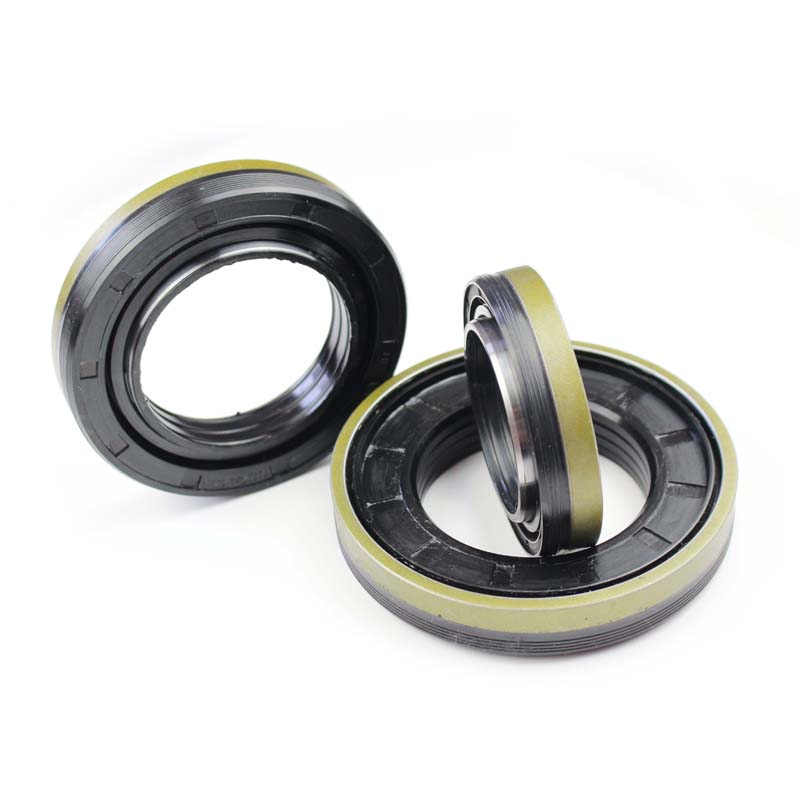
Replacing Front Crankshaft Seal
Replacing the Front Crankshaft Seal A Comprehensive Guide
The front crankshaft seal is an essential component in any internal combustion engine, playing a critical role in maintaining the engine's integrity and performance. Over time, however, seals can wear out, leading to oil leaks, reduced engine efficiency, and potential long-term damage. Replacing the front crankshaft seal may seem daunting, but with the right tools and guidance, it can be a manageable task for DIY enthusiasts and seasoned mechanics alike.
Understanding the Role of the Front Crankshaft Seal
The front crankshaft seal is located at the front of the engine, sealing the crankshaft against the timing cover or oil pan. Its primary function is to prevent engine oil from leaking out while also keeping contaminants from entering the engine. A failing seal can result in visible oil leaks, which can create a mess under the vehicle and may lead to more severe engine problems over time.
Signs of a Bad Crankshaft Seal
Before diving into the replacement process, it's essential to identify the symptoms of a bad front crankshaft seal. Common signs include
1. Oil Spots Puddles or spots of oil under the vehicle. 2. Oil on the Engine Visible oil streaks or dripping from the timing cover or front of the engine. 3. Increased Oil Consumption Draining oil levels without leaks from conventional sources.
Recognizing these signs early can save you from more extensive repairs down the line.
Tools and Materials Needed
Before starting the replacement process, gather the necessary tools and materials
- New crankshaft seal - Seal removal tool or a suitable pry bar - Socket set - Torque wrench - RTV silicone (if required by the vehicle manufacturer) - Clean cloths and engine degreaser
replacing front crankshaft seal

Step-by-Step Replacement Process
1. Preparation Begin by disconnecting the negative battery terminal to prevent any electrical short-circuits while you work.
2. Access the Crankshaft Seal Depending on your vehicle, you may need to remove components like the timing belt/chain, harmonic balancer, or accessory drive belts to access the crankshaft seal.
3. Remove the Old Seal Carefully use the seal removal tool or a pry bar to extract the old seal. Take care not to damage the surrounding components.
4. Clean the Area Once the old seal is removed, clean the sealing surface thoroughly to ensure the new seal seats properly.
5. Install the New Seal Apply a light coating of oil to the lip of the new crankshaft seal to facilitate proper seating. Gently push the new seal into place, ensuring it's flush with the housing.
6. Reassemble Components Reinstall any components removed during the access process, ensuring all bolts are torqued to manufacturer specifications.
7. Final Checks Reconnect the battery and start the engine. Check for leaks and monitor oil levels to ensure successful installation.
Conclusion
Replacing the front crankshaft seal is a vital maintenance task that can significantly impact your engine's performance and longevity. By following the steps outlined above and addressing any signs of seal failure promptly, you can help ensure your engine runs smoothly for years to come. Always consult your vehicle's service manual for specific instructions tailored to your make and model.
-
Understanding Automotive Oil Seals: Essential Components for Engine and Shaft Protection
News Jul.30,2025
-
The Importance of Heavy Duty Seals in Industrial and Residential Applications
News Jul.30,2025
-
Exploring Industrial Oil Seals: From Felt Oil Seals to TTO and CFW Solutions
News Jul.30,2025
-
Essential Guide to Oil Seals: From Radial to Metal-Cased Seals for Industrial Reliability
News Jul.30,2025
-
Choosing the Right Oil Seals and Gaskets for Industrial and Automotive Applications
News Jul.30,2025
-
Cassette Seals: Durable Sealing Solutions for Harsh Environments
News Jul.30,2025
-
Understanding the Front Main Engine Seal: Purpose, Maintenance, and Installation
News Jul.29,2025
Products categories


