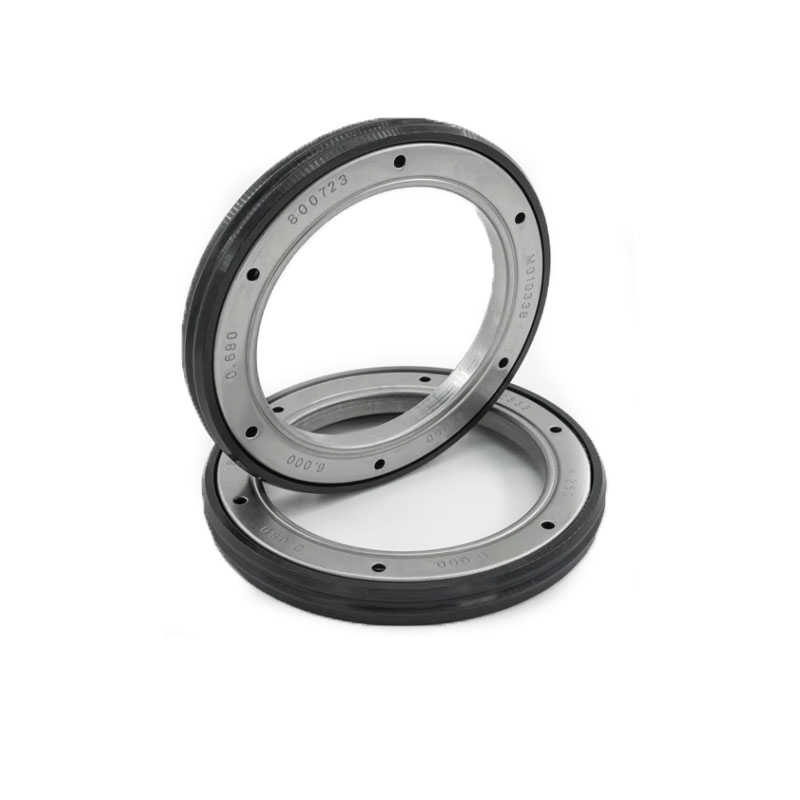
Steps for Replacing Rear End Seal in Your Vehicle to Prevent Fluid Leaks and Damage
Rear End Seal Replacement A Comprehensive Guide
The rear end seal, also known as the differential seal, plays a crucial role in your vehicle's drivetrain. It helps prevent lubricant leaks from the differential housing, ensuring that the gears operate smoothly and efficiently. Over time, however, this seal can wear out due to exposure to heat, friction, and contaminants. Consequently, a rear end seal replacement becomes a necessary maintenance task that can prevent more substantial issues down the line.
Signs of a Failing Rear End Seal
Before diving into the replacement process, it's essential to recognize when your rear end seal might be failing. Common indicators include
1. Oil Leaks If you notice fluid pooling under your vehicle, particularly a viscous, oily substance, this could be differential fluid leaking due to a faulty seal. 2. Unusual Noises Grinding or whining noises from the rear end can signal problems with the differential, potentially exacerbated by lack of lubrication caused by a leaking seal. 3. Decreased Performance A failing rear end can lead to poor handling or reduced traction, especially in all-wheel or four-wheel drive vehicles.
If you experience any of these symptoms, it might be time to inspect or replace your rear end seal.
Preparation for Replacement
Before you begin the replacement process, gather the necessary tools and materials. You will typically need
- Jack and jack stands - Wrench set - Screwdrivers - Differential fluid - Replacement rear end seal - Sealant (if required) - Clean rags
Make sure to work in a well-ventilated area and wear safety goggles and gloves for protection
.Step-by-Step Replacement Process
rear end seal replacement

1. Lift the Vehicle Use a jack to lift the rear of the vehicle and secure it with jack stands. It's crucial to ensure that the vehicle is stable to avoid accidents.
2. Remove the Differential Cover Using the appropriate wrench, remove the bolts from the differential cover. Be prepared for some fluid to spill out; have rags ready to catch it. Once the cover is off, inspect the condition of the fluid and gears.
3. Extract the Old Seal Locate the rear end seal, which is usually found around the housing where the driveshaft connects. Carefully pry out the old seal using a flathead screwdriver or seal puller, taking care not to damage the surrounding components.
4. Clean the Area Thoroughly clean the area where the new seal will be installed. Remove any old sealant or debris to ensure a proper seal.
5. Install the New Seal Apply a thin layer of differential fluid or sealant to the new seal’s outer edge to help it slide into place. Press the new seal in gently, ensuring it is seated evenly. You can use a seal driver or a large socket for more even pressure.
6. Reassemble the Differential Replace the differential cover and tighten the bolts in a crisscross pattern to ensure even pressure. This helps prevent warping, which could lead to future leaks.
7. Refill Differential Fluid Check your vehicle’s specifications for the correct type and quantity of differential fluid. Fill it as necessary.
8. Lower the Vehicle Remove the jack stands and carefully lower the vehicle back to the ground.
After Replacement Care
After you have replaced the rear end seal, monitor it for leaks over the next few days. If you notice any persistent leaks, you may need to re-evaluate your installation. Regularly checking your differential fluid levels can also help prevent issues in the future.
In conclusion, replacing a rear end seal may seem daunting, but with the proper tools and guidance, it's a task that can be accomplished by a confident DIYer. Regular maintenance and prompt attention to any signs of wear can extend the life of your vehicle's drivetrain and ensure a smoother driving experience.
-
Understanding Automotive Oil Seals: Essential Components for Engine and Shaft Protection
News Jul.30,2025
-
The Importance of Heavy Duty Seals in Industrial and Residential Applications
News Jul.30,2025
-
Exploring Industrial Oil Seals: From Felt Oil Seals to TTO and CFW Solutions
News Jul.30,2025
-
Essential Guide to Oil Seals: From Radial to Metal-Cased Seals for Industrial Reliability
News Jul.30,2025
-
Choosing the Right Oil Seals and Gaskets for Industrial and Automotive Applications
News Jul.30,2025
-
Cassette Seals: Durable Sealing Solutions for Harsh Environments
News Jul.30,2025
-
Understanding the Front Main Engine Seal: Purpose, Maintenance, and Installation
News Jul.29,2025
Products categories


