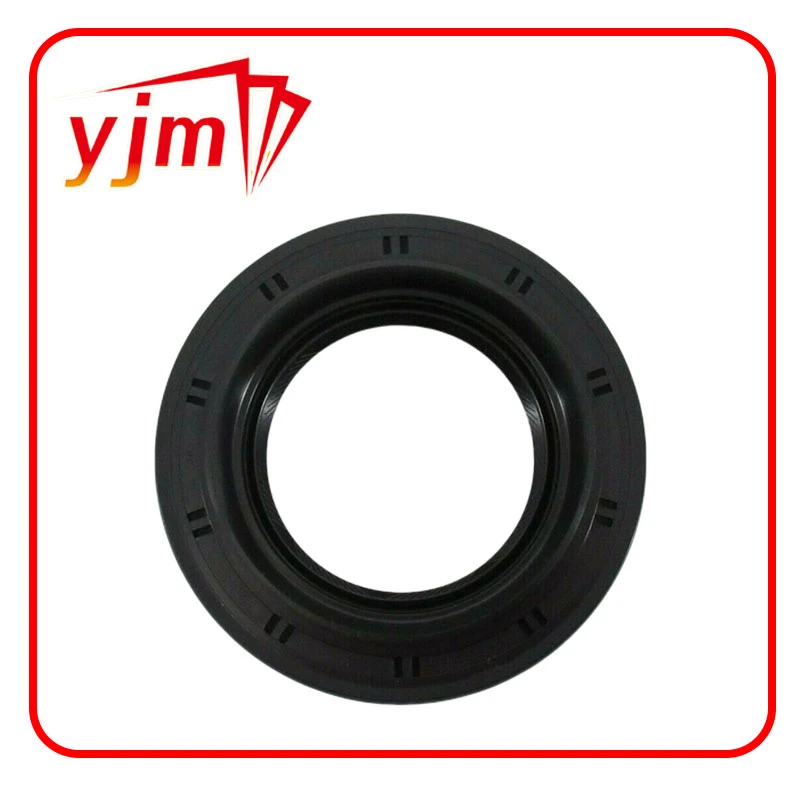
replacing front main seal
Replacing the Front Main Seal A Comprehensive Guide
When it comes to maintaining your vehicle, understanding what components need regular attention can save you time, money, and headaches down the road. One crucial yet often overlooked component is the front main seal. This small but vital part plays a significant role in your engine's performance and longevity. In this article, we will discuss what the front main seal is, why it may need replacing, the symptoms of a failing seal, and the steps to successfully replace it.
What is the Front Main Seal?
The front main seal is a rubber or silicone ring located at the front of the engine, sealing the area where the crankshaft exits the engine block. This seal prevents engine oil from leaking out and keeps contaminants from entering the engine. The front main seal is vital for maintaining proper oil pressure and ensuring that the engine runs smoothly.
Why Replace the Front Main Seal?
Over time, the front main seal can become worn or damaged due to exposure to heat, friction, and engine vibrations. Factors such as high mileage, poor maintenance, or the use of subpar oil can accelerate this wear. When the front main seal fails, it can lead to significant oil leaks, engine overheating, and potential damage to other components. Replacing the front main seal not only prevents these issues but also contributes to the overall health of your engine.
Symptoms of a Failing Front Main Seal
Identifying the signs of a failing front main seal early can help mitigate further damage and costly repairs. Common symptoms include
1. Oil Leaks One of the most obvious signs of a failing front main seal is the presence of oil spots under your vehicle. If you notice oil pooling beneath your engine or a visible oil leak at the front of the engine, it’s time to investigate further.
2. Oil Pressure Drops A failing seal can cause a drop in oil pressure, which may trigger warning lights on your dashboard. Low oil pressure is detrimental to your engine's health.
3. Burning Oil Smell If oil leaks onto hot engine components, it can produce a burning smell. If you detect this odor, check for signs of leakage around the front main seal.
4. Increased Engine Noise A compromised seal may lead to inadequate lubrication of the crankshaft and other engine components, resulting in increased friction and noise.
Steps to Replace the Front Main Seal
If you’ve determined that your front main seal needs replacement, following these steps will ensure a successful repair
replacing front main seal

Tools Required
- Socket set - Screwdriver set - Torque wrench - Oil catch pan - Gasket scraper - Replacement front main seal - Engine oil (as required)
Procedure
1. Preparation Begin by ensuring your vehicle is parked on a level surface. Disconnect the battery and let the engine cool.
2. Drain the Engine Oil Place an oil catch pan under the oil pan and remove the oil drain plug. Allow the oil to completely drain out.
3. Remove Necessary Components Depending on your vehicle's design, you may need to remove the crankshaft pulley, timing cover, or other surrounding components to access the front main seal. Carefully keep track of all bolts and screws for reassembly.
4. Remove the Old Seal Gently pry out the old front main seal using a screwdriver or seal puller. Be cautious not to damage the crankshaft or surrounding areas.
5. Clean the Area Use a gasket scraper to clean the sealing surface thoroughly. Ensure there are no debris or old sealant remnants left behind.
6. Install the New Seal Lightly lubricate the new seal with a bit of engine oil and carefully press or tap it into place using a seal driver or a similar tool. Ensure it is seated evenly.
7. Reassemble Reinstall any components you removed, ensuring that all bolts are torqued to the manufacturer's specifications.
8. Refill Engine Oil Replace the drain plug and refill the engine with fresh oil, checking for leaks as you do so.
9. Final Checks Reconnect the battery, start the engine, and monitor the area for any signs of leakage. Allow the engine to run for a few moments, then check the oil level again and top up if necessary.
Conclusion
Replacing the front main seal is a task that, while it might seem daunting, can be accomplished with the right tools and knowledge. Regular maintenance and timely replacement of worn components can significantly extend the life of your engine and enhance your vehicle's performance. If you're unsure about performing this repair yourself, don’t hesitate to consult a professional mechanic for assistance. After all, ensuring that every component of your vehicle is functioning optimally is key to a safe and enjoyable driving experience.
-
Your Essential Guide to Car Repair Kits: From Rust to Dings
News Jun.13,2025
-
Understanding Vital Engine Seals: Key Gaskets in Diesel and Performance Engines
News Jun.13,2025
-
The Vital Role of Bearings in Marine and Boating Applications
News Jun.13,2025
-
Sealing the System: A Complete Guide to Engine Oil Gaskets
News Jun.13,2025
-
Sealing the Foundation: A Complete Guide to Engine and Transmission Pan Gaskets
News Jun.13,2025
-
Essential Bearings and Hubs for Marine Vessels and Trailers
News Jun.13,2025
-
Your Complete Guide to Automotive Oil Drain Plugs and Valves
News Jun.12,2025
Products categories


