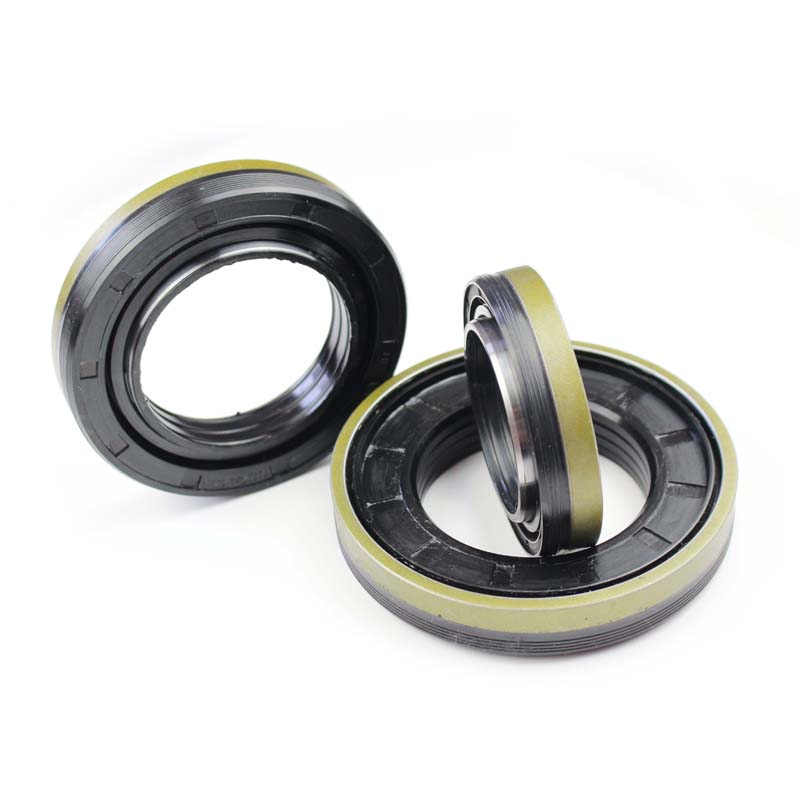
Steps to Successfully Replace Your Oil Filter Housing for Optimal Engine Performance
Replacing Oil Filter Housing A Comprehensive Guide
Maintaining your vehicle is crucial for its longevity and performance, and one of the vital components that often requires attention is the oil filter housing. Over time, the oil filter housing can develop leaks or become damaged, leading to a range of issues including decreased engine performance and potential engine damage. This article provides a comprehensive guide on how to replace an oil filter housing effectively.
Understanding Oil Filter Housing
The oil filter housing is the component that houses the oil filter and allows oil to flow from the engine to the filter, where impurities are removed. It is typically made of aluminum or plastic and is situated near the engine block. A faulty oil filter housing can lead to oil leaks, which can compromise the lubrication of engine parts and cause overheating.
Signs of a Failing Oil Filter Housing
Before diving into the replacement process, it’s essential to recognize the signs that indicate an oil filter housing may need replacement
1. Oil Leaks One of the most common indicators is the presence of oil spots under your vehicle. If you notice oil pooling around the area of the oil filter housing, it may be leaking.
2. Low Oil Pressure Warning Light A malfunction in the oil filter housing can lead to low oil pressure, triggering the warning light on your dashboard.
3. Engine Noise Insufficient lubrication due to oil leaks can cause engine components to become noisy or even lead to more severe damage.
If you notice these symptoms, it’s imperative to address the issue promptly.
Tools and Materials Needed
Before beginning the replacement process, gather the following tools and materials - Socket set - Torque wrench - Oil drain pan - New oil filter housing (specific to your vehicle model) - New oil filter - Engine oil - Gasket maker or new gasket (if required) - Clean rags
replacing oil filter housing

Step-by-Step Guide to Replacing Oil Filter Housing
1. Prepare the Vehicle Start by parking your vehicle on a level surface. Ensure the engine is cool before you begin. Disconnect the battery to ensure safety throughout the process.
2. Drain the Engine Oil Place an oil drain pan under the oil pan and remove the oil drain plug. Allow the oil to fully drain out before replacing the plug.
3. Remove the Old Oil Filter Housing Locate the oil filter housing. Use the appropriate socket to loosen and remove the mounting bolts. Gently pull the housing away from the engine, being cautious of any attached hoses or electrical connections.
4. Inspect and Clean Clean the surface where the old housing was mounted to ensure a good seal for the new housing. Remove any old gasket material if present.
5. Install the New Oil Filter Housing Place the new oil filter housing onto the engine. If your new housing requires a gasket, apply gasket maker or place the new gasket. Reinstall and tighten the mounting bolts, ensuring you follow the manufacturer’s torque specifications.
6. Replace the Oil Filter Before closing everything up, replace the oil filter to ensure you start fresh. Apply a thin layer of new oil to the rubber gasket on the new filter before installation.
7. Refill Engine Oil Remove the oil filler cap and pour in the recommended amount of new engine oil. Check the owner's manual for specifics. Replace the oil filler cap when done.
8. Reconnect the Battery and Start the Engine Reconnect the battery and start the engine. Allow it to idle and check for any leaks around the oil filter housing.
9. Dispose of Old Oil Properly Ensure that you dispose of the old oil and filter in accordance with local regulations.
Conclusion
Replacing the oil filter housing is a manageable task for those with basic mechanical skills. By following this guide, you can ensure your vehicle runs smoothly and efficiently. Regular maintenance, including checking for oil leaks and ensuring the oil filter housing is in good condition, can prevent more serious issues down the line. Always refer to your vehicle’s manual for specific guidelines and specifications related to your model. Happy driving!
-
Understanding Automotive Oil Seals: Essential Components for Engine and Shaft Protection
News Jul.30,2025
-
The Importance of Heavy Duty Seals in Industrial and Residential Applications
News Jul.30,2025
-
Exploring Industrial Oil Seals: From Felt Oil Seals to TTO and CFW Solutions
News Jul.30,2025
-
Essential Guide to Oil Seals: From Radial to Metal-Cased Seals for Industrial Reliability
News Jul.30,2025
-
Choosing the Right Oil Seals and Gaskets for Industrial and Automotive Applications
News Jul.30,2025
-
Cassette Seals: Durable Sealing Solutions for Harsh Environments
News Jul.30,2025
-
Understanding the Front Main Engine Seal: Purpose, Maintenance, and Installation
News Jul.29,2025
Products categories


