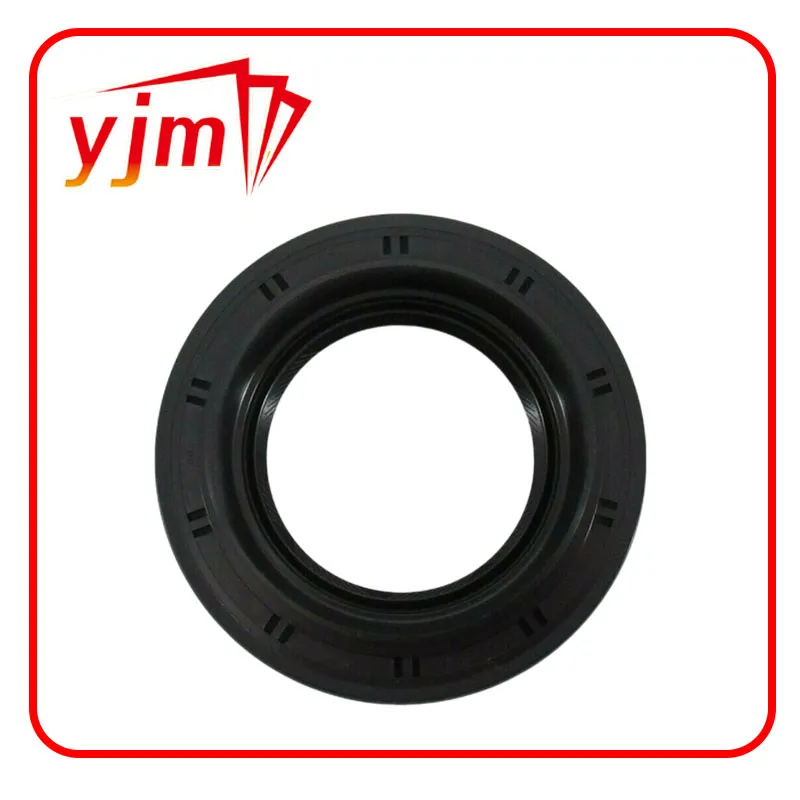
Replacing the Seal on the Left Rear Axle for Optimal Performance
Left Rear Axle Seal Replacement A Comprehensive Guide
The left rear axle seal is a crucial component in your vehicle's drivetrain system. Its primary role is to prevent gear oil from leaking out of the axle housing, ensuring a safe and smooth operation of the rear axle. When this seal begins to fail, it can lead to fluid leaks, which can cause severe damage to the axle and other associated components if not addressed promptly. This article will guide you through the process of replacing the left rear axle seal, ensuring your vehicle runs optimally and safely.
Understanding the Signs of a Worn Axle Seal
Before delving into the replacement process, it's essential to recognize the signs that indicate your axle seal may need replacement. Common symptoms include
1. Fluid Leaks The most obvious sign of a failing axle seal is the presence of oil on the ground beneath your vehicle. This is typically gear oil, and if you notice it, it's time to inspect the seals. 2. Whining or Grinding Noises If you hear unusual sounds coming from the rear axle during operation, especially while turning, it may indicate that the seal has worn out and allowed dirt and debris to enter the axle.
3. Decreased Performance Any noticeable decrease in acceleration or handling could also point toward axle seal issues, as the lubrication inside the axle is compromised.
Tools and Materials Needed
Before getting started, gather the necessary tools and materials
- New left rear axle seal - Socket set - Wrench set - Hammer or rubber mallet - Pry bar - Torque wrench - Fluid pump (if necessary) - Gear oil - Clean rags - Safety glasses and gloves
Step-by-Step Replacement Process
1. Preparation Start by parking your vehicle on a level surface and engaging the parking brake. Ensure you have all your tools and materials at hand.
2. Remove the Wheel Using a lug wrench, loosen the lug nuts of the left rear wheel before jacking up the vehicle. Once elevated, remove the lug nuts and take the wheel off.
left rear axle seal replacement

3. Access the Axle Depending on your vehicle, you may need to remove the brake drum or rotor and the brake caliper to access the axle assembly. Ensure you follow proper procedures for removing these components.
4. Remove the Axle After gaining access, use a pry bar to carefully tap the axle housing and pull the axle shaft out. Be cautious not to damage any surrounding parts.
5. Pry Out the Old Seal Once the axle brings out, locate the old seal in the housing. Using a pry bar or a flat-head screwdriver, gently pry out the seal. Take care to avoid scratching the housing to ensure a proper fit for the new seal.
6. Install the New Seal Before installing the new seal, ensure the housing is clean and free of any dirt or debris. Apply a small amount of gear oil around the edge of the new seal to aid installation. Carefully place the new seal into position and use a hammer or rubber mallet to gently tap it in until it’s flush with the housing.
7. Reinstall the Axle Slide the axle shaft back into place, ensuring it aligns properly with the differential.
8. Reassemble Brake Components Reinstall any brake components, such as the brake drum or rotor and caliper, ensuring everything is secured as per specifications.
9. Replace the Wheel Mount the left rear wheel back onto the vehicle and hand-tighten the lug nuts.
10. Lower the Vehicle After verifying that everything is in place, lower the vehicle back to the ground. Once stable, use a torque wrench to tighten the lug nuts to the manufacturer’s specified torque.
11. Check Fluid Levels Finally, check the differential fluid levels. If necessary, use a fluid pump to fill the differential with the appropriate gear oil.
Conclusion
Replacing the left rear axle seal can seem daunting, but with the right tools and a methodical approach, it is a manageable task for those with a basic understanding of automotive repair. Regular maintenance and prompt attention to symptoms of seal wear can save you from costly repairs down the line. Always refer to your vehicle’s repair manual for specific instructions tailored to your make and model for the best results.
-
Simplifying Oil Changes: A Comprehensive Guide to Oil Drain Plugs and Their Variants
News Aug.04,2025
-
Mastering Oil Drain Maintenance: Solutions for Stripped, Worn, and Upgraded Oil Plugs
News Aug.04,2025
-
Fixing Oil Pan Plug Issues: Leaks, Stripped Nuts, and the Right Replacement Solutions
News Aug.04,2025
-
Everything You Need to Know About Oil Drain Plugs: Sizes, Fixes, and Upgrades
News Aug.04,2025
-
Choosing the Right Oil Drain Plug: A Guide to Sizes, Materials, and Drain Innovations
News Aug.04,2025
-
A Complete Guide to Automotive Drain Plugs: Types, Problems, and Innovative Solutions
News Aug.04,2025
-
The Ultimate Guide to Car Repair Kits: Tools and Essentials Every Driver Should Own
News Aug.01,2025
Products categories


