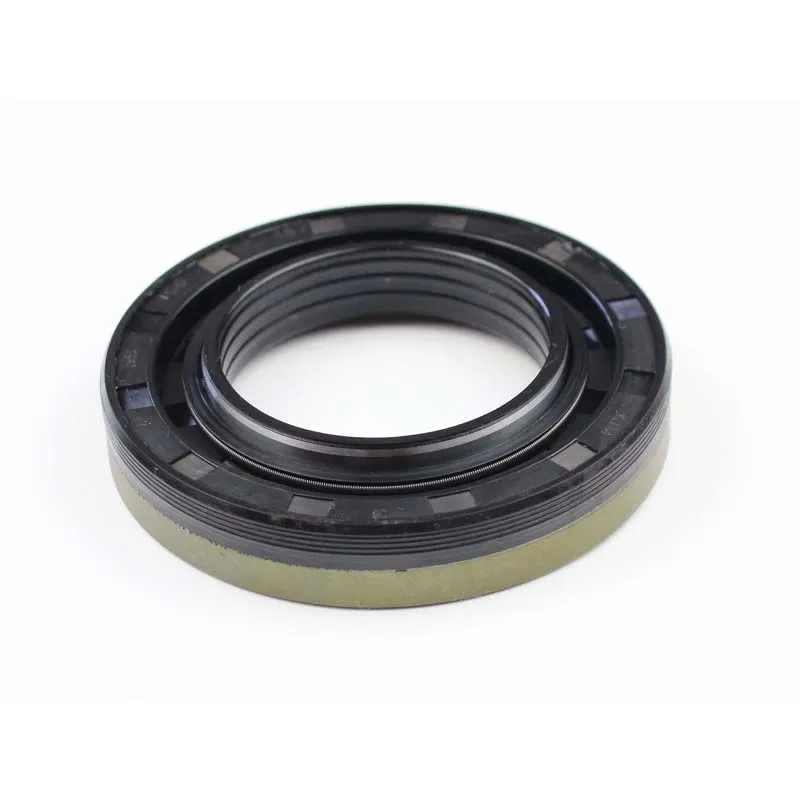
differential axle seal replacement
Differential Axle Seal Replacement A Comprehensive Guide
Maintaining your vehicle's differential is crucial for longevity and optimal performance. Among the various components, the axle seals often go unnoticed until a problem arises. This article discusses the importance of differential axle seals, the signs of wear, and a step-by-step guide for replacement.
Understanding Differential Axle Seals
Differential axle seals are essential components located at the ends of the axle housing, where the axle shafts exit the differential. Their primary function is to prevent oil leakage from the differential while keeping dirt and debris out. These seals are typically made from rubber or silicone materials that can endure high-pressure conditions and resist wear. However, like any mechanical component, they can degrade over time due to heat, friction, and exposure to environmental elements.
Signs of a Failing Axle Seal
It's essential to recognize when your differential axle seals may need replacement. Here are some common signs of failure
1. Oil Leaks The most obvious indication is the presence of oil on the ground beneath your vehicle. If you notice dark puddles or spots where you park, it could be differential oil leaking from worn seals.
2. Whining or Grinding Noises If you hear unusual sounds coming from the differential, it could indicate insufficient oil due to leaks. This could lead to further damage if not addressed promptly.
3. Reduced Performance A failing axle seal can cause improper lubrication within the differential, leading to subpar vehicle performance and increased wear on internal components.
4. Visible Damage Inspecting the area around the axle seals may reveal cracks, fraying, or flat spots, indicating the seals are no longer effective.
Tools and Materials Needed
Before embarking on the replacement process, ensure you have the following tools and materials
- New axle seals - Differential oil - Socket set and wrenches - Seal puller or pry bar - Torque wrench - Clean rags - Brake cleaner (optional) - Safety glasses and gloves
differential axle seal replacement

Step-by-Step Replacement Guide
1. Preparation Park your vehicle on a flat surface and engage the parking brake. Gather all necessary tools to ensure a smooth workflow. It may be beneficial to place jack stands under the vehicle for added safety.
2. Remove the Wheel and Brake Assembly Depending on your vehicle, you may need to remove the wheel and the brake assembly to access the differential. Start by loosening the lug nuts, raising the vehicle, and removing the wheel.
3. Access the Differential Locate the differential cover. You may need to drain the differential fluid by removing the cover if it is obstructed. Be prepared to collect the oil in a pan, as it will leak out.
4. Remove the Old Seal Using a seal puller or pry bar, carefully remove the old axle seal. Take care not to damage the axle shaft or the housing during this process.
5. Clean the Area Ensure that the sealing surface is free of debris and remnants of the old seal. You can use a clean rag and brake cleaner if necessary.
6. Install the New Seal Carefully press the new axle seal into place, ensuring it is seated correctly. It's crucial to use a slight lubricant on the edge of the seal to ensure easy installation.
7. Reassemble the Differential If you had to remove the differential cover, reattach it and fill the differential with new oil according to the manufacturer's specifications.
8. Reattach the Brake Assembly and Wheel Replace the brake assembly and wheel. Tighten the lug nuts to the specified torque.
9. Test Drive Once everything is reassembled, take your vehicle for a short test drive. Monitor for leaks and listen for any abnormal noises.
Conclusion
Replacing differential axle seals may seem daunting, but with the right tools and careful execution, it can be a manageable task that saves you from more significant repairs down the road. Regular maintenance and early detection of issues can significantly extend the life of your vehicle's differential and enhance overall performance. If you're ever uncertain, consulting a professional mechanic is always a wise choice.
-
Cassette Seal: Integrated Solutions for Heavy Duty
News Aug.29,2025
-
Premium Automotive Oil Seals Suppliers | Durable & Precision
News Aug.28,2025
-
Oil Drain Plug Washer Reusable Types
News Aug.22,2025
-
Oil Drain Plug Replacement Guide
News Aug.22,2025
-
Heavy Duty Seal Waterproof Features
News Aug.22,2025
-
Engine Oil Seals Installation Guide
News Aug.22,2025
-
Seal Oil for Sale High Temperature Grade
News Aug.22,2025
Products categories


