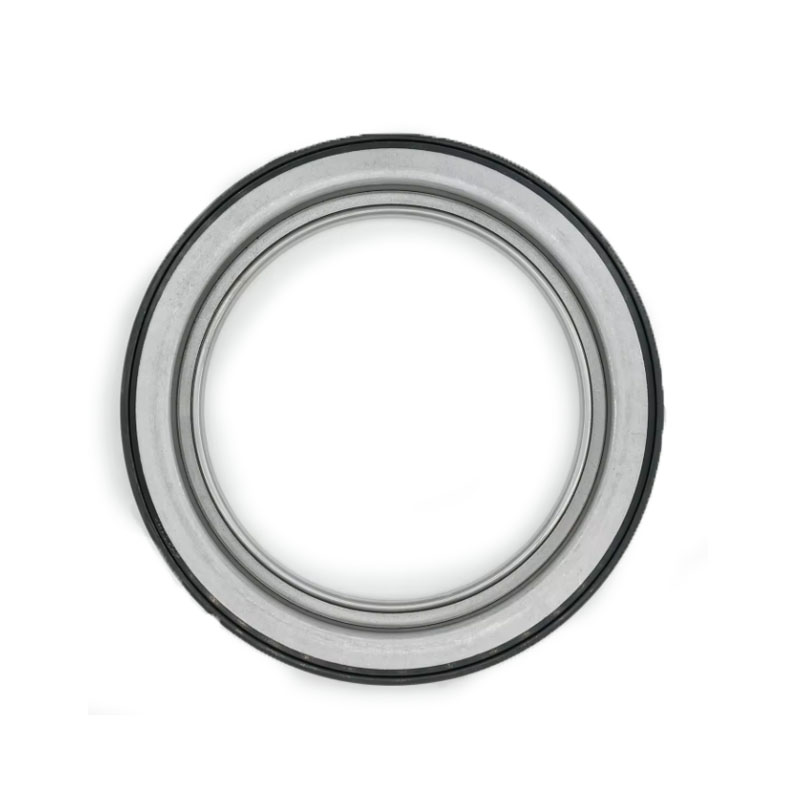
How to Efficiently Replace Your Transmission Pan Gasket for Optimal Vehicle Performance
Replacing a Transmission Pan Gasket A Comprehensive Guide
The transmission pan gasket is a critical component of your vehicle’s transmission system. It serves as a seal between the transmission pan and the transmission casing, preventing fluid leaks that can lead to severe transmission problems. Over time, gaskets can wear out, become brittle, or get damaged due to excessive heat, leading to the need for replacement. This article will guide you through the steps involved in replacing a transmission pan gasket, ensuring your vehicle operates smoothly and efficiently.
Understanding the Importance of the Transmission Pan Gasket
Before diving into the replacement process, it’s important to understand why the transmission pan gasket is so crucial. The gasket helps maintain the fluid level in the transmission, which is essential for proper lubrication and cooling of the transmission components. A leak in the gasket can result in a drop in fluid levels, causing the transmission to overheat and ultimately leading to catastrophic failure. Regular inspection and replacement of the gasket are vital for the longevity of your transmission system.
Signs of a Failing Gasket
Recognizing the signs of a failing transmission pan gasket is the first step toward preventative maintenance. Common indicators include
- Fluid Leaks Puddles of reddish-brown transmission fluid beneath your vehicle are a clear sign that the gasket may be compromised. - Slipping Gears If your transmission is slipping or experiencing rough shifting, it may be due to low fluid levels caused by a leak. - Overheating Transmission overheating can result from low fluid and may trigger warning lights on your dashboard.
If you notice any of these symptoms, it’s crucial to address the issue promptly to prevent further damage.
Tools and Materials Needed
To replace the transmission pan gasket, you will need the following tools and materials
- A socket set and ratchet - A torque wrench - A gasket scraper or razor blade - A new transmission pan gasket - Transmission fluid - A drain pan (to catch old fluid) - Cleaning rags
replacing transmission pan gasket

Step-by-Step Replacement Process
1. Safety First Ensure the vehicle is on a flat surface. Use wheel chocks, and if necessary, lift the vehicle with a jack and secure it with jack stands.
2. Drain the Transmission Fluid Place the drain pan under the transmission pan. Remove the drain plug (if applicable) to allow the fluid to drain. If there is no plug, you will need to remove the pan itself to drain the fluid.
3. Remove the Transmission Pan Using the socket set, remove the bolts securing the transmission pan. Once the bolts are removed, carefully pry the pan loose. Be ready for any residual fluid to leak out as you do this.
4. Clean the Surfaces Once the pan is removed, thoroughly clean both the transmission casing and the pan. Use a gasket scraper or razor blade to remove any old gasket material, ensuring both surfaces are smooth and free of debris.
5. Install the New Gasket Place the new gasket onto the transmission pan, ensuring it is properly aligned. Some gaskets may require adhesive, so check the manufacturer’s instructions.
6. Reattach the Transmission Pan Carefully position the transmission pan back onto the transmission casing. Hand-tighten the bolts to secure the pan in place, then use the torque wrench to tighten the bolts to the manufacturer’s specifications.
7. Refill the Transmission Fluid Reinsert the drain plug if it was removed and refill the transmission with fresh fluid using a funnel. Refer to your vehicle's owner's manual for the correct type and amount of fluid.
8. Check for Leaks Start the vehicle and let it run for a few minutes. Check for any signs of leaks around the pan. If there are no leaks, take the vehicle for a short drive, then recheck for any leaks and fluid levels.
Conclusion
Replacing a transmission pan gasket is a manageable DIY task for those with basic mechanical skills. By following these steps, you can save money on repairs and ensure that your transmission operates smoothly. Regular maintenance and prompt attention to signs of wear can help you avoid more serious transmission troubles down the road. Remember, if you ever feel uncertain about the process, consulting with a professional mechanic is always a wise choice.
-
Understanding the Importance of the Crankshaft Oil Seal in Engine Performance
News Jun.16,2025
-
The Unsung Heroes of Engine Protection: Understanding Automotive Shaft Seals and Oil Seals
News Jun.16,2025
-
Keeping the Engine Tight: The Role of Crankshaft Seals and Gaskets in Oil Control
News Jun.16,2025
-
Complete Protection in Harsh Conditions: A Deep Dive into Cassette Seals
News Jun.16,2025
-
Choosing the Right Oil Seal: A Guide to Trusted Brands and Suppliers
News Jun.16,2025
-
Advanced Sealing Technologies: Exploring the Range of Modern Oil Seals
News Jun.16,2025
-
Your Essential Guide to Car Repair Kits: From Rust to Dings
News Jun.13,2025
Products categories


