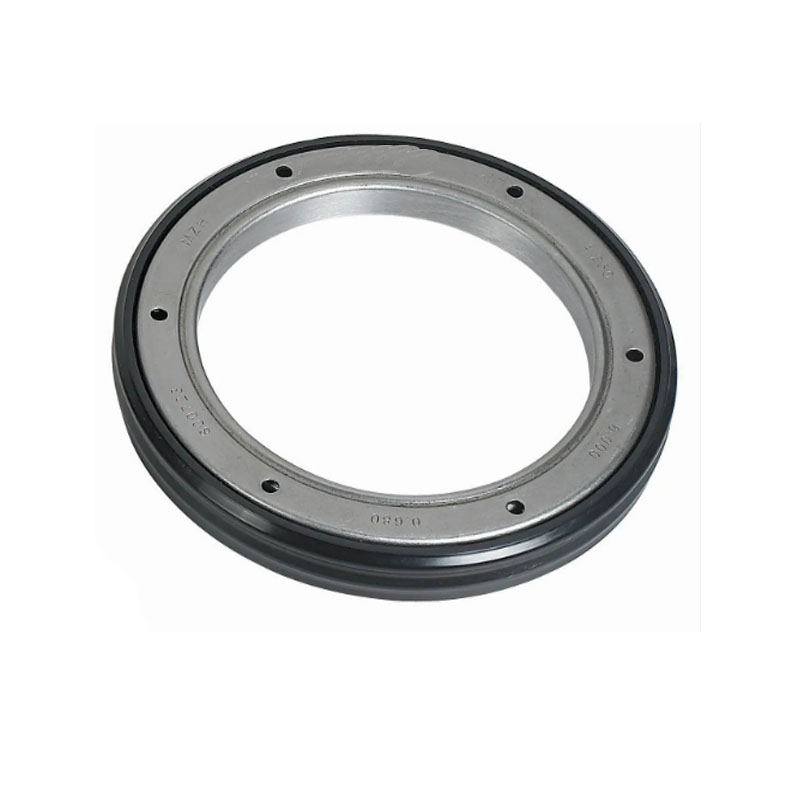
dexter axle seal replacement
Replacing Dexter Axle Seals A Comprehensive Guide
When it comes to maintaining the integrity and performance of your trailer, one of the most critical components to regularly inspect and potentially replace is the axle seal. Specifically, Dexter axle seals are a common type found in many trailer applications, and understanding how to replace them can save you both time and money in the long run. In this guide, we’ll walk you through the replacement process, the tools needed, and some tips to ensure everything runs smoothly.
Why Replace Dexter Axle Seals?
Over time, axle seals can wear out due to exposure to road grime, debris, and environmental elements. A faulty axle seal can lead to grease leakage, resulting in inadequate lubrication of the bearings and ultimately causing serious damage to the axle and wheel assembly. Regular inspection and timely replacement of these seals are critical to keeping your trailer in optimal working condition.
Tools and Materials You Will Need
Before starting the replacement process, it’s important to gather all the tools and materials you’ll need to ensure a smooth operation
1. New Dexter axle seals Make sure to get the correct size and type for your specific axle model. 2. Socket set For removing the axle nuts/bolts. 3. Hammer To assist with seal installation. 4. Pliers For removing cotter pins and other small parts. 5. Grease To lubricate the new seals and bearings before reassembly. 6. Rags For cleaning any grease or debris during the process. 7. Brake cleaner To clean the axle and other parts.
Step-by-Step Replacement Process
1. Prepare the Trailer Before you begin, ensure that the trailer is on a level surface and properly supported using jack stands. Remove the wheel to access the axle.
dexter axle seal replacement

2. Remove the Hub Carefully remove the hub from the axle. This usually involves taking off the cotter pin and axle nut. Utilize your socket set and pliers for this step.
3. Check Bearings Once the hub is off, inspect the bearings for any signs of damage or wear. If necessary, replace the bearings along with the seals.
4. Remove the Old Seal Gently pry out the old axle seal using a flathead screwdriver or any suitable tool. Be careful not to damage the axle surface.
5. Clean the Surface Wipe down the axle and inner hub surface with a clean rag and some brake cleaner, removing any debris or old grease.
6. Install the New Seal Before installing the new seal, apply a bit of grease to its inner surface. This will assist with installation and provide better lubrication. Align the new seal with the axle and use a hammer to gently tap it into place until it is flush with the hub.
7. Reassemble the Hub Reinstall the hub, ensuring that the bearings are properly lubricated and seated. Replace the axle nut and cotter pin to secure everything in place.
8. Reattach the Wheel Place the wheel back onto the hub, tighten the wheel lug nuts, and lower the trailer back to the ground.
Final Thoughts
Replacing Dexter axle seals might sound daunting, but with the right tools and a bit of patience, it can be a straightforward process. Regular maintenance will extend the life of your trailer and ensure it performs safely and efficiently on the road. Always consult your trailer’s manual for specific instructions and specifications related to your model, and don’t hesitate to seek professional help if needed. Happy trails!
-
Understanding the Importance of the Crankshaft Oil Seal in Engine Performance
News Jun.16,2025
-
The Unsung Heroes of Engine Protection: Understanding Automotive Shaft Seals and Oil Seals
News Jun.16,2025
-
Keeping the Engine Tight: The Role of Crankshaft Seals and Gaskets in Oil Control
News Jun.16,2025
-
Complete Protection in Harsh Conditions: A Deep Dive into Cassette Seals
News Jun.16,2025
-
Choosing the Right Oil Seal: A Guide to Trusted Brands and Suppliers
News Jun.16,2025
-
Advanced Sealing Technologies: Exploring the Range of Modern Oil Seals
News Jun.16,2025
-
Your Essential Guide to Car Repair Kits: From Rust to Dings
News Jun.13,2025
Products categories


