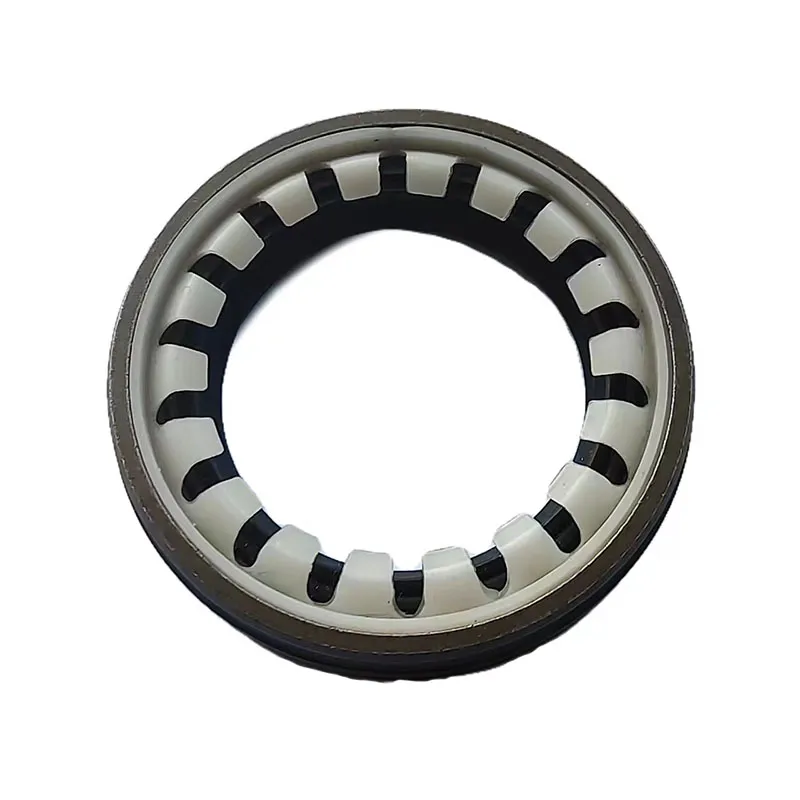
plug washer replacement
A Comprehensive Guide to Plug Washer Replacement
When it comes to maintaining the functionality of your plumbing system, one often-overlooked component is the plug washer. These small, yet essential, parts are crucial in preventing leaks and ensuring a tight seal in various fixtures such as sinks, bathtubs, and showerheads. If you're experiencing water leaks or difficulties in securing a plug, it’s likely time for a replacement. In this article, we’ll guide you through the process of plug washer replacement, empowering you to tackle this home repair task with confidence.
Understanding Plug Washers
Plug washers, also known as sealing washers, are typically made from rubber, silicone, or other flexible materials. They create a watertight seal between components, preventing water from leaking out where it shouldn’t. Over time, these washers can wear out due to constant exposure to water, heat, and pressure, leading to diminished effectiveness and potential leaks.
Symptoms of a Worn Plug Washer
1. Water Leakage If you notice water pooling around your sink or faucet, a faulty washer may be the culprit. 2. Difficulty in Securing Fixtures If turning the plug doesn’t create a tight seal, the washer might not be doing its job. 3. Strange Noises Water passing through a worn washer can create a whining or hissing sound.
Tools and Materials Needed
Before starting the replacement process, ensure you have the following tools and materials
- New plug washers (the correct size for your fixture) - Screwdrivers (flathead and Phillips) - Adjustable wrench or pliers - Towels or rags for cleanup
Replacement Process
plug washer replacement

1. Turn Off the Water Supply Before you begin, locate the water shut-off valves under the sink or in your bathroom and turn them off to prevent any unexpected spills.
2. Remove the Fixture If you’re replacing the washer in a sink or bath plug, you’ll first need to remove the plug assembly. This typically involves unscrewing the screws holding it in place.
3. Take Out the Old Washer Once you’ve accessed the assembly, you can pull out the old plug washer. It may be secured with a nut or simply pressed in place. Use your pliers if necessary, but be cautious not to damage the components.
4. Clean the Area Before installing the new washer, clean the area to remove any debris or buildup that could compromise the seal. This step is crucial for ensuring a proper fit.
5. Install the New Washer Place the new washer in the designated area, ensuring it fits snugly. If it’s a friction fit, make sure it is pushed all the way in.
6. Reassemble the Fixture Replace any nuts, screws, or other components removed during disassembly. Tighten them securely, but avoid overtightening, which can damage the parts.
7. Turn the Water Supply Back On Slowly turn the water supply back on and check for leaks. If everything looks good, congratulations! You’ve successfully replaced your plug washer.
Conclusion
Replacing a plug washer may seem like a small task, but it can significantly impact the efficiency of your plumbing fixtures. By following these steps, you can save money on costly repairs and enjoy the satisfaction of DIY home maintenance. Remember, regular inspections and timely replacements of worn-out parts can prolong the life of your fixtures and fixtures, ensuring they serve you well for years to come. Whether you’re a seasoned DIYer or a beginner, plug washer replacement is an accessible and rewarding project that contributes to a well-functioning home.
-
Simplifying Oil Changes: A Comprehensive Guide to Oil Drain Plugs and Their Variants
News Aug.04,2025
-
Mastering Oil Drain Maintenance: Solutions for Stripped, Worn, and Upgraded Oil Plugs
News Aug.04,2025
-
Fixing Oil Pan Plug Issues: Leaks, Stripped Nuts, and the Right Replacement Solutions
News Aug.04,2025
-
Everything You Need to Know About Oil Drain Plugs: Sizes, Fixes, and Upgrades
News Aug.04,2025
-
Choosing the Right Oil Drain Plug: A Guide to Sizes, Materials, and Drain Innovations
News Aug.04,2025
-
A Complete Guide to Automotive Drain Plugs: Types, Problems, and Innovative Solutions
News Aug.04,2025
-
The Ultimate Guide to Car Repair Kits: Tools and Essentials Every Driver Should Own
News Aug.01,2025
Products categories


