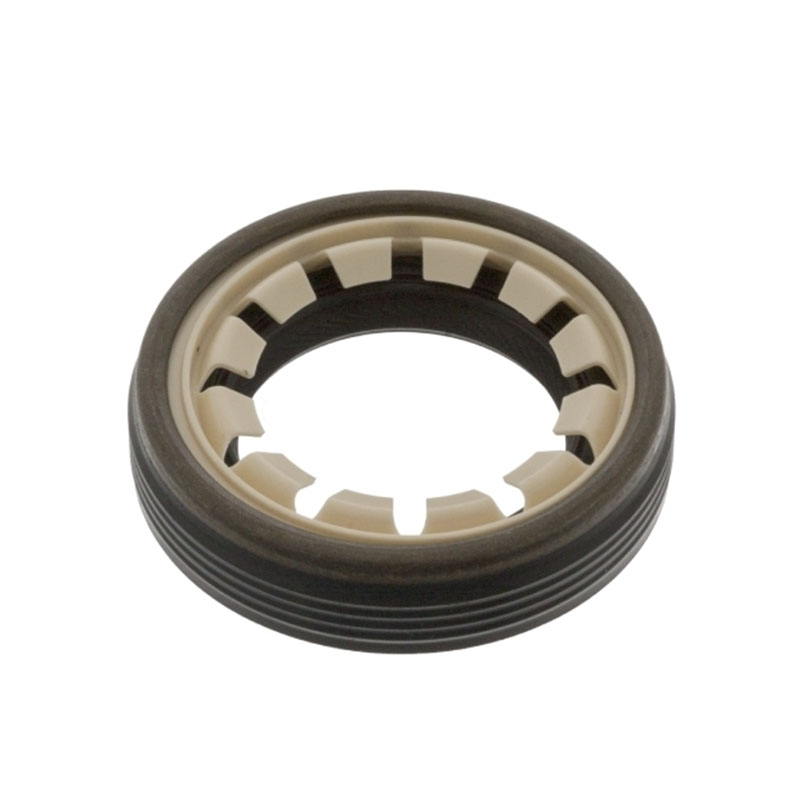
oil drain plug washer
Understanding Oil Drain Plug Washers An Essential Component for Vehicle Maintenance
When it comes to vehicle maintenance, routine oil changes are crucial to ensure the longevity and performance of your engine. Among the various components involved in this process, the oil drain plug washer often goes unnoticed, despite its important role in preventing leaks and maintaining the integrity of the oil system.
What is an Oil Drain Plug Washer?
An oil drain plug washer is a small, typically rubber or metal component that sits between the oil drain plug and the oil pan of a vehicle. Its primary function is to create a seal when the drain plug is tightened. This seal is vital for preventing oil leaks, which can lead to inadequate lubrication, engine overheating, and potentially catastrophic engine failure.
The Importance of Using a New Washer
During an oil change, it's common practice to replace the oil drain plug washer. Over time, washers can become hardened, cracked, or compressed, diminishing their ability to seal effectively. Reusing an old washer can result in oil leaks that not only pose environmental hazards but can also lead to expensive repairs down the line.
It's worth noting that the type of washer you use matters. Some vehicles require a copper or aluminum washer, while others may use a rubber one. Always consult your vehicle’s manual or a trusted mechanic to determine the proper type for your vehicle.
Signs of a Failing Washer
Monitoring your vehicle for signs of oil leaks is vital. If you notice oil spots underneath your car or an oily residue around the oil drain plug, it may indicate that the washer has failed. Prompt replacement is necessary to prevent further damage to the engine and ensure optimal performance.
oil drain plug washer

Best Practices for Oil Changes
1. Gather Supplies Before starting an oil change, gather all necessary supplies, including the correct type of oil, an oil filter, a new oil drain plug washer, and basic tools like wrenches and a socket set.
2. Safety First Always work in a well-ventilated area and take appropriate safety measures, such as using gloves to protect your hands from hot oil.
3. Drain the Oil Remove the oil drain plug carefully, allowing the old oil to flow completely into a drain pan. Dispose of the old oil according to local regulations.
4. Replace the Washer Remove the old washer from the drain plug and replace it with a new one. Make sure the surfaces are clean and free of debris to ensure a proper seal.
5. Reassemble Once you’ve drained the old oil and replaced the washer, reinsert the drain plug and tighten it securely, ensuring not to over-tighten, which can damage the oil pan.
6. Check for Leaks After refilling with new oil, start the engine and let it run for a few moments while checking for any leaks around the drain plug.
Conclusion
The oil drain plug washer may be a small part of the oil change process, but its role is vital for ensuring your vehicle operates without leaks. By being diligent about replacing it during every oil change, you can contribute to the overall health of your engine and avoid costly repairs. Regular maintenance, including this often-overlooked component, is key to a reliable and efficient vehicle. Remember maintaining your vehicle today ensures a smoother ride tomorrow.
-
Simplifying Oil Changes: A Comprehensive Guide to Oil Drain Plugs and Their Variants
News Aug.04,2025
-
Mastering Oil Drain Maintenance: Solutions for Stripped, Worn, and Upgraded Oil Plugs
News Aug.04,2025
-
Fixing Oil Pan Plug Issues: Leaks, Stripped Nuts, and the Right Replacement Solutions
News Aug.04,2025
-
Everything You Need to Know About Oil Drain Plugs: Sizes, Fixes, and Upgrades
News Aug.04,2025
-
Choosing the Right Oil Drain Plug: A Guide to Sizes, Materials, and Drain Innovations
News Aug.04,2025
-
A Complete Guide to Automotive Drain Plugs: Types, Problems, and Innovative Solutions
News Aug.04,2025
-
The Ultimate Guide to Car Repair Kits: Tools and Essentials Every Driver Should Own
News Aug.01,2025
Products categories


