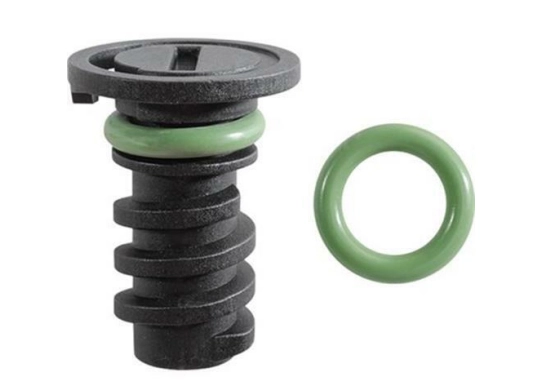
Differential Axle Seal Replacement | Expert Guide & Tips
Differential Axle Seal Replacement A Comprehensive Guide
The differential axle seal plays a critical role in maintaining the integrity of your vehicle’s drivetrain. Its primary function is to prevent differential fluid leaks, which are essential for lubrication and cooling of the gears inside the differential. Over time, these seals can degrade due to wear, environmental factors, and age, potentially leading to significant mechanical issues. Here’s a comprehensive guide on how to replace the differential axle seal effectively.
Understanding the Signs of a Worn Seal
Before diving into the replacement process, it's crucial to recognize the signs that indicate you may need to replace the differential axle seal. Common symptoms include
1. Oil Leaks The most obvious sign is the presence of differential fluid leaks under your vehicle. If you notice a puddle of fluid near the axle area, it's time to investigate further.
2. Whining or Grinding Noise Unusual sounds coming from your differential during operation can be a sign of low fluid levels due to leaks caused by a failing seal.
3. Increased Vibration If your vehicle exhibits increased vibration or unusual handling, it may indicate problems within the differential, possibly exacerbated by low lubricant levels.
Tools and Materials Needed
Before you start the replacement process, gather the necessary tools and materials, including
- Jack and jack stands - Socket set - Torque wrench - Screwdrivers - Differential fluid - New axle seals - Cleaning solvent and rags - Gear oil pump (optional)
Step-by-Step Replacement Process
1. Elevate the Vehicle Use a jack to lift the vehicle and secure it on jack stands. Always ensure you prioritize safety when working underneath a vehicle.
differential axle seal replacement

2. Remove the Wheel Take off the wheel corresponding to the axle seal you plan to replace. This will give you better access to the axle hub.
3. Access the Axle Shaft Depending on your vehicle's configuration, you might need to disconnect components such as the brake caliper or the suspension to gain access to the axle shaft.
4. Extract the Axle Shaft Carefully remove the axle shaft from the differential. You may need to use a slide hammer tool to help with this if the shaft doesn’t pull out easily.
5. Remove the Old Seal Once the axle shaft is free, you can see the old axle seal. Use a seal puller or a flat screwdriver to extract the seal from its housing. Be cautious to avoid damaging the surrounding area.
6. Clean the Area Clean the seal seat in the differential housing with a solvent to remove any debris or remnants of the old seal. This step is crucial for ensuring a proper seal with the new part.
7. Install the New Seal Lubricate the new seal with a small amount of differential fluid, then carefully press it into place using a seal driver or a suitable tool to prevent damaging the new seal.
8. Reassemble Reinsert the axle shaft securely and reattach any components you removed earlier. Ensure all bolts are torqued to the manufacturer's specifications.
9. Refill Differential Fluid If necessary, refill the differential with the appropriate type and amount of fluid.
10. Test Drive Finally, take your vehicle for a short test drive, checking for any leaks or unusual noises.
Conclusion
Replacing a differential axle seal is a manageable DIY task for those with basic mechanical skills. Regular inspection and maintenance of your vehicle’s drivetrain can save you from more extensive repairs down the line. Always consult your vehicle’s service manual for specific instructions related to your model, and when in doubt, seek professional assistance. Maintaining your differential’s health is crucial for a smooth and efficient driving experience.
-
The Ultimate Guide to Car Repair Kits: Tools and Essentials Every Driver Should Own
News Aug.01,2025
-
The Complete Guide to Oil Pan Gaskets: Sealing Engine Leaks the Right Way
News Aug.01,2025
-
Preventing Oil Leaks: A Complete Guide to Oil Pan Gaskets and Drain Seals
News Aug.01,2025
-
Everything You Need to Know About Oil Pan Gaskets and Drain Plug Seals
News Aug.01,2025
-
Essential for Car Owners: How to Use a Car Repair Kit to Deal with Minor Breakdown
News Aug.01,2025
-
Comprehensive Guide to Engine Oil Sump Gaskets and Related Seals
News Aug.01,2025
-
The Ultimate Guide to Boat Propeller Bearings and Trailer Wheel Bearings
News Jul.31,2025
Products categories


