rear crank seal
2025-08-18 08:18:09
15983
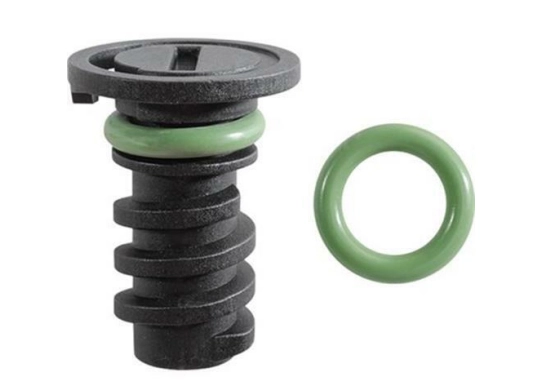
Replacing the Front Crankshaft Seal A Step-by-Step Guide The front crankshaft seal plays a vital role in maintaining the efficiency of your vehicle's engine. It prevents oil leaks that could lead to serious engine issues. Over time, this seal can wear out, leading to oil leaks that not only decrease engine performance but can also cause significant damage if left unaddressed. This article will guide you through the process of replacing the front crankshaft seal, ensuring your engine runs smoothly. Understanding the Front Crankshaft Seal The front crankshaft seal is a circular rubber component located at the front of the engine, where the crankshaft protrudes from the engine block. Its primary function is to keep engine oil sealed within the crankcase, preventing it from leaking out. Signs of a failing seal include oil spots under the vehicle, an oil slick on the front of the engine, or decreased oil levels with no visible leaks. Tools and Materials Needed Before you begin the replacement process, gather the following tools and materials - Socket wrench set - Screwdrivers (flathead and Phillips) - Pliers - Crankshaft seal puller (optional) - Oil-resistant gasket maker - New crankshaft seal - Engine oil - Clean cloths - Safety gloves and goggles Step-by-Step Replacement Process 1. Preparation Start by parking your vehicle on a stable surface and engaging the parking brake. Disconnect the battery to prevent any electrical issues. replacing front crankshaft seal 2. Remove Necessary Components Depending on your vehicle model, you may need to remove various components that obstruct access to the front crankshaft seal. This can include the radiator, fan, belts, and timing cover. Refer to your vehicle's manual for specific instructions regarding your particular engine layout. 3. Access the Crankshaft Once the obstructive components are out of the way, you should be able to see the crankshaft and its seal. Inspect the area for any visible oil leaks or damage. 4. Remove the Old Seal Use a crankshaft seal puller or a suitable flathead screwdriver to carefully pry the old seal out of its housing. Take care not to damage the crankshaft or the surrounding structure during this process. Clean up any residual oil or debris from the area. 5. Install the New Seal Before installing the new crankshaft seal, apply a thin layer of engine oil to the outer edge of the seal to help it slip into place more easily. Gently press the new seal into its designated spot, ensuring it is completely flush with the engine surface. Use a seal driver or a soft mallet to tap it in evenly if needed. 6. Reassemble Components With the new seal in place, begin reassembling the components you removed earlier. Ensure that all bolts and screws are tightened to the manufacturer’s specifications. 7. Reconnect the Battery Once everything is reassembled, reconnect the battery and double-check for any loose connections or tools left in the engine bay. 8. Test the Seal Start the engine and let it idle for a few minutes. Check for any signs of leaks around the new seal. If everything appears to be in order, you can then take the vehicle for a short drive to ensure that the seal is functioning correctly. Conclusion Replacing the front crankshaft seal is a crucial maintenance task that can prevent costly engine repairs in the future. By following this guide, you can effectively perform the replacement yourself and ensure the longevity and performance of your engine. Should you encounter any complications during the process, it is always recommended to seek professional assistance. Regular maintenance checks will also help in identifying potential issues early on, keeping your vehicle in optimal condition.
Address :https://www.yjmseal.com/OilDrainPlugU2WBC/4/675.html
copyright
This article only represents the author's views and does not represent the position of this site.
This article is published with permission from the author and may not be reproduced without permission.