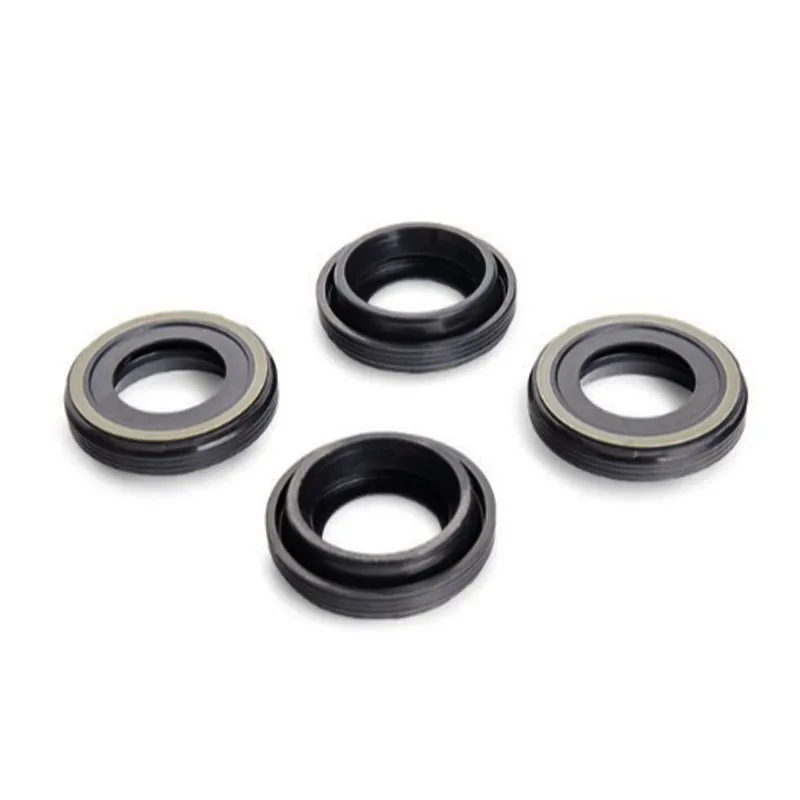
front crankshaft seal


5. Install the New Seal Lubricate the new oil seal with fresh engine oil and carefully position it, ensuring it is seated evenly. A seal driver tool or a correctly sized socket can help push the new seal into place without causing distortion. 6. Reassemble the Engine Components Reverse the removal process, reinstalling all components. Ensure all bolts are tightened to the correct specifications with a torque wrench. 7. Refill the Engine Oil Fill the engine with the recommended type and amount of oil. Start the engine to confirm that the new seal is functioning correctly, checking for any signs of leaks. Professional Expertise and Recommendations Due to the complexity and precision required in replacing a front engine oil seal, having professional expertise in automotive repairs can be immensely beneficial. For individuals lacking experience in mechanical repairs, consulting a certified mechanic may be advisable to avoid any inadvertent damage to the engine. Seal Material and Quality When purchasing a replacement seal, prioritize those made from high-quality materials resistant to heat and wear. Original Equipment Manufacturer (OEM) parts are generally recommended for their reliability and perfect fit, reducing the risk of future leaks. Long-Term Maintenance Tips To extend the life of your new front engine oil seal, maintaining regular oil changes and engine checks is paramount. Pay attention to oil condition and levels, ensuring timely interventions should anomalies arise. Remember, proactive maintenance is less costly than corrective repairs and keeps your vehicle in peak condition. In essence, replacing a front engine oil seal demands attention to detail and adherence to specific mechanical guidelines. Armed with the right tools, parts, and expertise, it is possible to undertake this procedure effectively, securing your engine and elongating its lifespan. Whether opting for a DIY approach or consulting with professionals, understanding the process makes a significant difference in achieving optimal results.
-
Simplifying Oil Changes: A Comprehensive Guide to Oil Drain Plugs and Their Variants
News Aug.04,2025
-
Mastering Oil Drain Maintenance: Solutions for Stripped, Worn, and Upgraded Oil Plugs
News Aug.04,2025
-
Fixing Oil Pan Plug Issues: Leaks, Stripped Nuts, and the Right Replacement Solutions
News Aug.04,2025
-
Everything You Need to Know About Oil Drain Plugs: Sizes, Fixes, and Upgrades
News Aug.04,2025
-
Choosing the Right Oil Drain Plug: A Guide to Sizes, Materials, and Drain Innovations
News Aug.04,2025
-
A Complete Guide to Automotive Drain Plugs: Types, Problems, and Innovative Solutions
News Aug.04,2025
-
The Ultimate Guide to Car Repair Kits: Tools and Essentials Every Driver Should Own
News Aug.01,2025
Products categories


